Are you looking for a simple way to add an elegant, professional touch to your awards? An embossing seal for certificates can transform an everyday piece of paper into a polished document worth hanging on a wall. In this ultimate guide, you’ll learn how to choose the right seal design, prep your materials, and create stunning impressions that show off your style. Let’s dive in, shall we?
Discover embossing seals
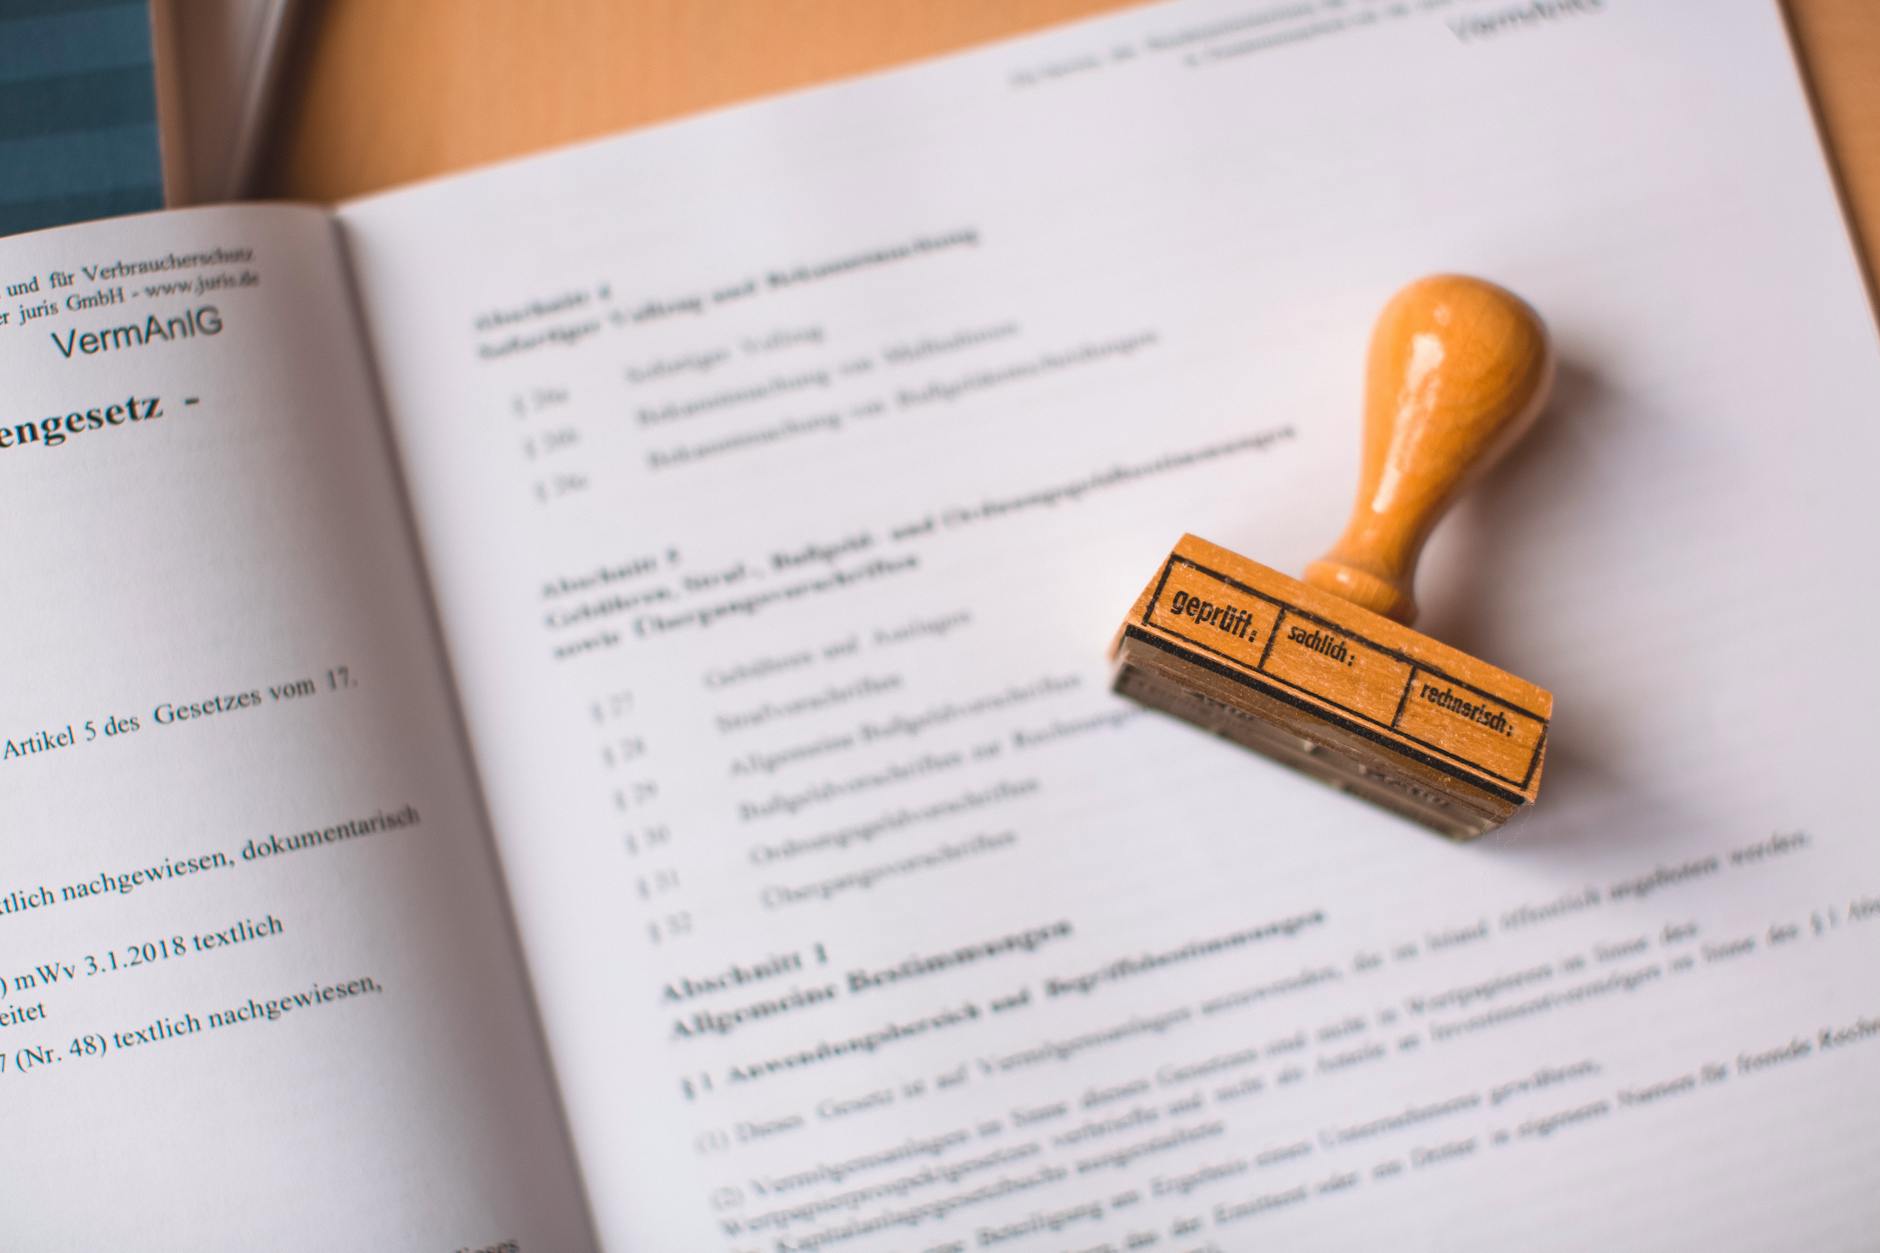
Embossing seals create raised impressions on paper or cardstock using a sturdy metal die and counter-die. When you press the seal together, it imprints your design so it stands out on the certificate’s surface.
How does it work?
You simply place your certificate between the two metal plates, then squeeze or press down with consistent pressure. The plates push the paper fibers into a raised pattern. This is easier than you might think, and once you’ve done it a couple of times, you’ll have the hang of it.
Why certificates benefit
Certificates feel more distinguished when they have a raised element. They catch the light, draw attention to key details, and make recipients feel like they’re receiving something extra-special. Plus, an embossed certificate is less likely to be counterfeited because the impression can’t be replicated by a regular printer.
Design your custom seal
Personalizing your design is half the fun. For a professional look, you want clarity and a clean design that reflects your brand or message. Engineer Seal Stamps (ESS) specializes in creating seals that match your exact specifications, whether you need a formal monogram or a detailed logo.
Picking symbols and text
You can include a symbol, text, or both in your seal design. Common choices:
- Your organization’s crest
- A simple monogram
- A company logo
- Custom text like “Certified by [Company Name]”
Keep the design uncluttered. Fine-line art can lose definition when compressed into a small metal die, so opt for bold, easy-to-read elements.
Selecting materials
Aluminum or brass dies are popular options. Brass often offers greater durability, but both will work beautifully for most certificate projects. When you order from ESS, you can talk through your design vision, and they’ll recommend the best metal fit.
Prepare your certificate paper
Not all papers produce the same crisp embossed finish. Thicker, high-quality stock is ideal. Thin sheets can wrinkle or tear under pressure.
Choose quality and thickness
Look for 80–120 lb cover stock, or ask your local stationery store for “embossing-friendly” paper. If you’re not sure which direction to go, start with a small test batch. Slip one or two sheets in your seal to see how they handle the pressure.
Aligning the seal
It’s important to position the seal in a spot that draws attention. For a classic look, place the seal near the bottom-right corner or just above the signature line. Lightly pencil-mark your placement so you can line up each print exactly.
Emboss your certificates
Here’s where your design truly comes to life. Prepare your workspace by laying everything flat on a firm surface. Then you’re ready to make your first impression.
Applying the right pressure
Consistent, firm pressure ensures a clean imprint. A steady, controlled press usually does the trick. Avoid sudden jerks, and keep your certificate still while pressing. This helps your design come out nice and sharp.
Avoiding common mistakes
- Creased paper: Smooth everything out before embossing.
- Faint impressions: Check that your die is aligned, and add a touch more force.
- Off-center placement: Use those pencil guidelines to position the seal accurately.
Personalize your final look
You can make your certificate stand out even more with a few final flourishes. Consider adding a pop of color or a shimmering finish so the embossed design really shines.
Add color or foil
After embossing, lightly brush metallic ink or colored pencil over the raised area for extra contrast. You can also go for gold or silver foil stamping if you want a luxury look. ESS can guide you on advanced finishes that pair well with custom embossing stamps.
Shine with unique details
Besides ink or foil, you can add ribbons, seals, or even a watermark for security. Each extra detail helps your certificate make a strong impression.
Recap key details
Creating a stunning certificate with an embossing seal is easier than you might expect. First, choose a clear and bold design. Next, pick quality paper so the emboss stands out. Then master the right pressure and placement for each press. Finally, elevate your design with touches of color or foil. Engineer Seal Stamps is here to help with top-quality dies, expert advice, and plenty of customization options to match your vision.
Frequently asked questions
What paper works best with an embossing seal?
Thicker cover stock (80–120 lb) usually works very well. Thinner paper can tear or crease.Can I use an embossing seal on glossy certificates?
Yes, but you’ll want to be cautious about slipping. Hold the paper firmly, and press steadily to avoid smudges or shifts.Are embossing seals permanent?
An emboss is permanent on the paper, and it won’t fade like ink can. The raised impression will last for the certificate’s lifetime.How do I care for my embossing seal?
Store it in a dry place, and wipe it clean occasionally. If debris builds up in the die, use a soft brush or cloth to remove it gently.Is it possible to reorder or update my seal design?
Absolutely. You can contact ESS to modify your existing die or request a new design. They’ll guide you through the process so you get the look you want every time.
Creating a polished certificate can be simple when you have the right tools. With an embossing seal, you bring texture and sophistication to each document. Ready to take that next step? Engineer Seal Stamps has you covered with reliable materials and friendly expertise. Happy embossing!


