Picture this: you’re scanning your production line, checking that every product meets your high standards. One overlooked defect might slip past, and that’s the last thing you want. A simple inspection stamp can make all the difference by confirming that each item has been given the green light. In this post, you’ll discover inspection stamp best practices for quality control that can help you streamline procedures, maintain a stellar reputation, and ensure your customers keep coming back for more.
Recognize The Role Of Inspection Stamps
Inspection stamps serve as a quick validation method in fast-paced production settings. When implemented correctly, they minimize errors, create a sense of accountability, and show your commitment to top-notch quality.
Build Trust And Accountability
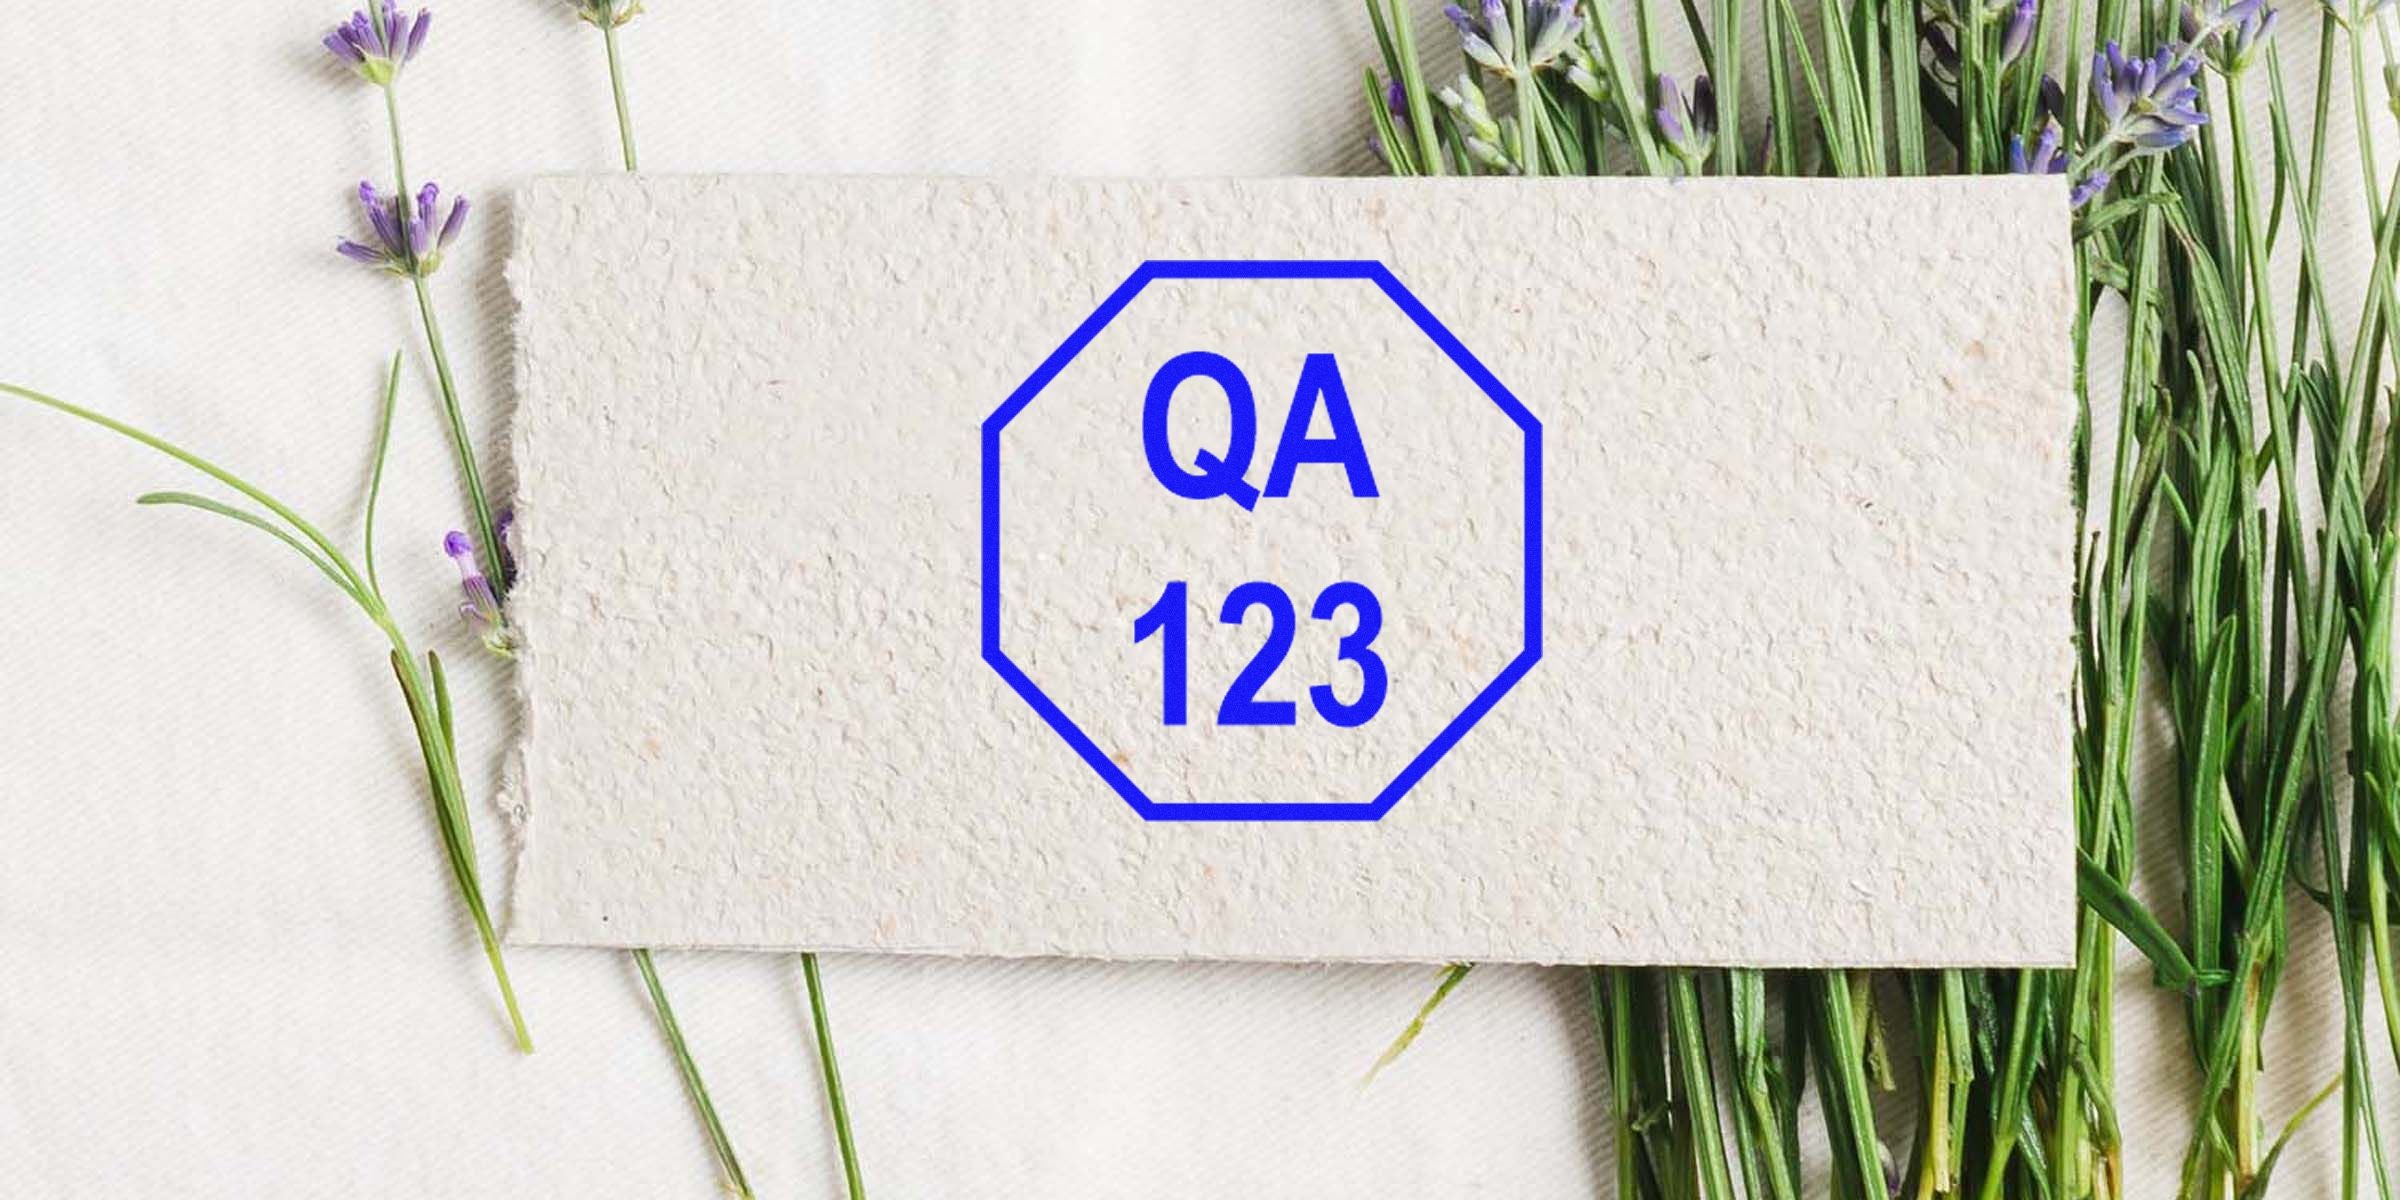
A visible stamp on a product or document signals that someone has taken responsibility for checking that item. This small mark speaks volumes: it tells your team that quality and consistency matter, and it reassures your customers that each product has been thoroughly evaluated.
Ensure Product Consistency
If you work with multiple quality assurance checkpoints, an inspection stamp helps you confirm that each step has been completed in the right order. By identifying the person responsible for each approval, you reduce confusion and maintain consistency across the board.
Choose The Right Materials
The type of stamp you choose can affect both the clarity of your impression and its durability over time. Factors like overall usage, surface type, and ink preferences matter.
Rubber, Self-Inking, Pre-Inked
- Rubber stamps typically require a separate ink pad and are easy to clean or replace.
- Self-inking stamps include a built-in pad that re-inks the stamp surface after each use, making it quick and convenient.
- Pre-inked stamps use a reservoir of ink in the stamp itself, delivering crisp, detailed impressions without needing a separate pad.
Each style has its perks. If you’re stamping repeatedly throughout the day, you might prefer the convenience of self-inking or pre-inked designs. If flexibility is your priority (think multiple colors or specialized surfaces), a classic rubber stamp might fit best.
Select The Ideal Ink
Ink varies in fast-drying properties, fade-resistance, and overall appearance. Quick-dry ink reduces smudging, while fade-resistant ink ensures that your mark stands the test of time. You’ll also want ink that contrasts clearly with your product surface or paper. For instance, a dark-colored ink on a light surface helps keep every detail legible.
Maintain Clarity Over Time
Smudged or illegible stamps can lead to confusion, wasted time, and miscommunication. Set yourself up for success by keeping your stamp impressions clean and recognizable.
Optimize Your Stamp Design
When creating a custom stamp, think about readability. Text that’s cluttered or overly decorative can blur easily. Choose a font that’s neat and simple, and use minimal wording to avoid confusion. If your design requires a logo or symbol, make sure it prints clearly at your chosen size.
Keep It Clean And Fresh
- Wipe the stamp surface with a damp cloth if you notice ink build-up.
- For rubber stamps, clean them gently with mild soap and water.
- Re-ink pads or cartridges before the impression starts to fade.
Taking a few minutes to maintain your stamps on a regular basis goes a long way toward consistently professional results.
Follow A Consistent Process
A stamp is only as effective as the process that backs it up. Clear rules about when, where, and how an item should be stamped set the stage for meaningful quality control.
Establish Standard Procedures
Put together a simple checklist for your production line or quality assurance process. Each checkpoint should specify:
- What needs to be verified (e.g., product dimensions, packaging quality)
- Who is responsible for the verification
- When and how the inspection stamp is applied
These guidelines eliminate guesswork. They also keep your team aligned, because everyone knows exactly which tasks to complete and when each should be marked as finished.
Trace And Record Each Step
Use a traceability system to note who applied each stamp. This can be as straightforward as having employees initial or date their stamp marks. That way, if something ever goes wrong, you can find out where the breakdown happened and correct it quickly.
Train And Empower Your Team
Your quality control process works best when everyone understands how, and why, each step is conducted. Thorough training not only improves consistency, but it also shows employees you trust them to take quality seriously.
Provide Clear Guidelines
Walk your team through each part of the stamping process, from selecting the right ink to verifying the product’s condition before applying the stamp. Encourage them to ask questions so you can clarify any uncertainties immediately.
Offer Ongoing Refresher Sessions
Procedures evolve over time, and new employees join the mix. Schedule occasional refresher courses to ensure everyone is applying your system correctly. These short sessions could cover:
- New regulations or internal policies
- Updated stamp designs or ink refills
- Common stamping mistakes and how to avoid them
Use Company Branding
Including your logo or specific brand elements on a stamp can enhance professionalism and set your products apart. You might choose a minimal design featuring your company’s name, or you might pair your name with a small centered logo.
Enhance Professional Image
Think of your stamped mark as a mini business card. It gives each approved item a polished look and revamps the idea of a standard checkmark into a more significant piece of branding. Over time, your stamp’s unique impression becomes a symbol of quality and reliability.
Highlight Your Logo
If you decide to incorporate your company icon, you can do so with a company logo inspection stamp. This approach can help your customers (and your team) instantly recognize an authorized product. Plus, if you receive items back from clients for any reason, you can confirm quality steps were followed just by seeing your distinct imprint.
Preserve And Replace Stamps
Even the most durable stamp won’t last forever. Proper storage and a keen eye for wear and tear keep your marks crisp and professional.
Store In A Safe Environment
Keep your stamps away from direct sunlight or extreme temperatures, as both can dry out the ink and degrade rubber faster than usual. If you use self-inking or pre-inked stamps, store them upright so that the ink distributes evenly.
Know When It Is Time To Upgrade
If your impressions become faint or parts of the text or logo no longer show up, it’s time to replace or recondition the stamp. Look out for cracks in the rubber surface or worn-out ink pads. Replacing a worn stamp can prevent messy, unreadable impressions that might lead to confusion down the line.
Trust ESS For Custom Stamps
Ready to level up your inspection process with custom solutions? At ESS, we’ve got you covered. We’re proud to be a family-owned and operated business since 1964, specializing in top-quality inspection stamps, QA stamps, and QC stamps. When you need a fast turnaround plus stellar customer service, we’re here to help you design and produce stamps you’ll love.
Whether you want a simple text stamp, a custom brand logo, or specialized ink for a challenging surface, our team is ready to walk you through every step. The end result: a tailored solution that helps you maintain consistency and professionalism across your operations.
Conclusion
In any busy production setting, it’s easy to overlook small details. But your inspection stamp shouldn’t be one of them. From choosing the right materials to training your team, you can create an approval system that’s quick, reliable, and crystal clear every single time. When you make quality control a priority, your customers will notice, your brand reputation will soar, and your business will thrive.
Answer Common Questions
How do I clean my inspection stamp properly?
To clean a rubber stamp, gently rinse or wipe the rubber with mild soap and warm water. For self-inking or pre-inked versions, clean the stamp surface with a damp cloth. Avoid harsh chemicals, because they can damage the stamp.What ink works best for an inspection stamp?
It depends on the surface you’re marking and how long you need the mark to last. Quick-dry ink is ideal for slick materials, while fade-resistant ink keeps impressions visible over time on paper or cardboard.How can I ensure uniform application across multiple products?
Establish a clear set of directions in your standard operating procedures and use a traceability system that identifies who stamped each product. Consistent training and occasional refresher sessions also help.When do I need to replace my stamp?
If part of your stamped design starts to disappear or if the ink remains faint even after re-inking, it’s probably time to replace the rubber die or the entire stamp. Worn-out stamps often lead to messy impressions, so regular checks are important.Can I customize a stamp with my company logo?
Absolutely. You can opt for a company logo inspection stamp to integrate professional branding with your quality assurance process. This not only highlights your brand identity but also provides a quick reference for authorized products.
By implementing best practices for your inspection stamps, you’ll save time, minimize errors, and demonstrate your commitment to delivering products you’re proud to put your name on.


