Understanding Inspection Marks
Validating inspection marks can feel like a puzzle, especially if you’re new to the world of custom stamps. Think of these marks as proof that your products, packages, or documents have passed a specific quality check. When you ensure your inspection marks are consistent and easy to read, you’re basically giving your business processes a stamp of approval—literally. But how do you make sure these marks actually do their job? That’s where proper validation steps in.
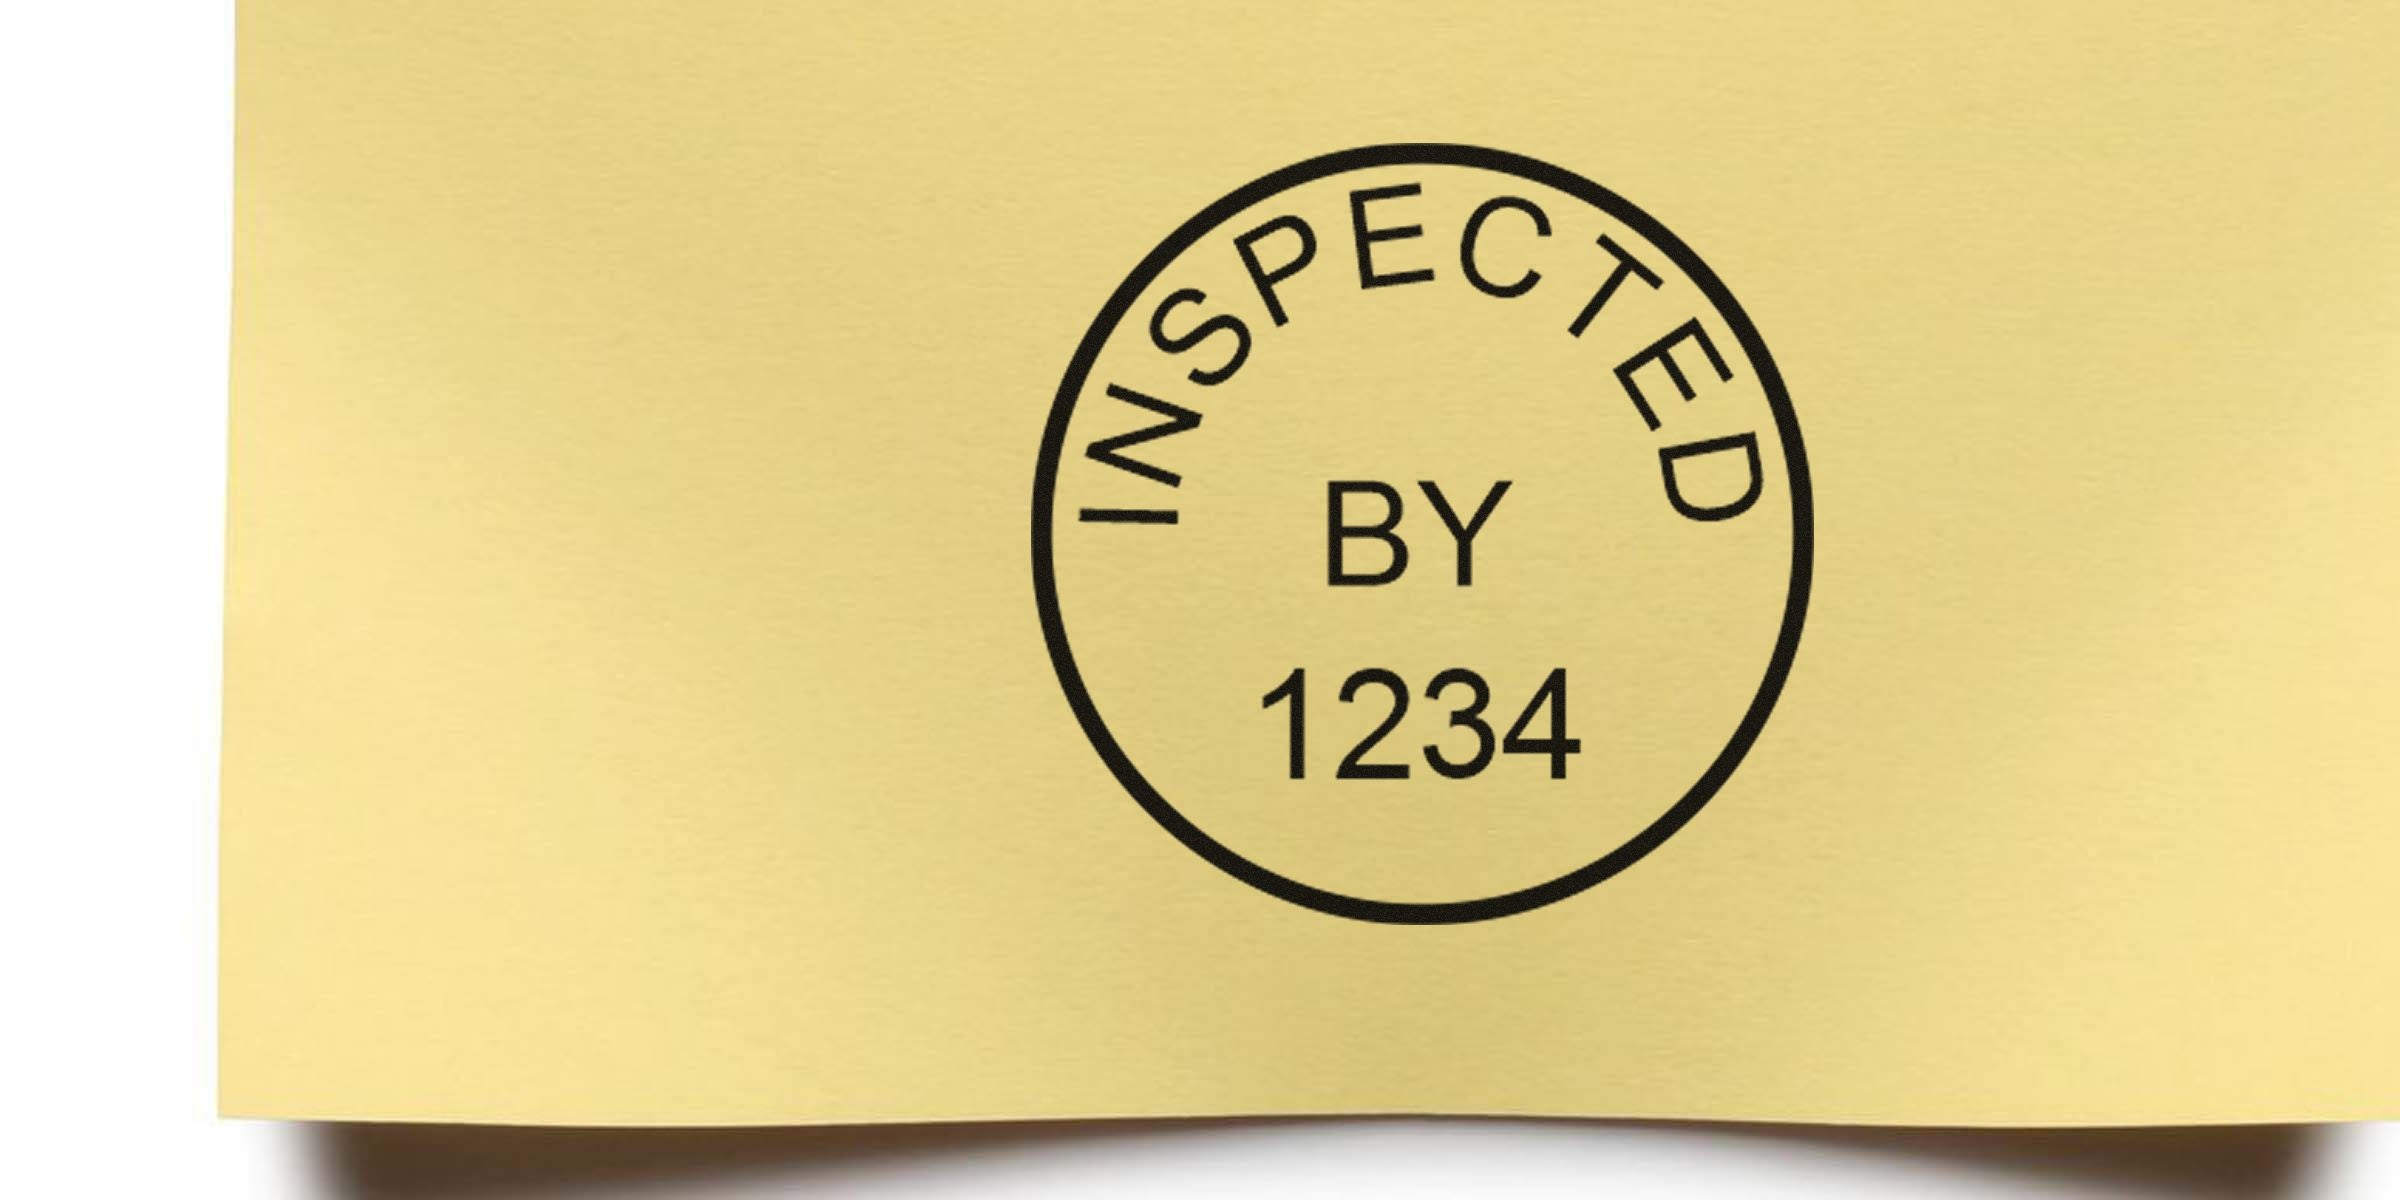
What Are Inspection Marks?
Inspection marks are typically small stamped impressions that confirm a product’s condition, compliance, or status. You might see them on anything from industrial parts to delicate handmade crafts. They serve as a quick visual cue to let you—and anyone else involved—know that the item has been reviewed and approved based on certain internal or external standards.
- They’re often paired with codes or small symbols that indicate who did the inspection.
- Most industries rely on inspection marks to track quality assurance (QA) or quality control (QC).
- The best marks are legible, appropriately sized, and consistent across batches.
Why Validation Matters
When these little stamps get overlooked, the consequences can be significant. The entire point of an inspection mark is to give you immediate information. If your stamp is faded, off-center, or missing crucial details, it won’t serve its purpose. Validating your inspection marks means:
- You avoid confusion and potential rework.
- You reduce the chance of sending flawed products to clients.
- You provide a traceable record that’s easy to audit later on.
If you can’t trust your own stamp, who will? A validated and accurate mark reinforces quality right from the get-go.
Selecting The Right Stamp
Before you even worry about validating inspection marks, set yourself up with a stamp that’s perfect for the job. At ESS, we’ve seen how the right choice of materials and design makes a huge difference in the clarity of your mark.
Material Considerations
Inspection stamps handle a lot of wear and tear. From absorbing ink to pressing onto different surfaces, they need to be durable. Here’s a quick rundown of common materials:
- Rubber Stamps: Affordable, easy to customize, but may wear faster under heavy daily use.
- Pre-Inked Stamps: Great for offering crisp, consistent impressions, though usually more expensive.
- Self-Inking Stamps: Handy for repeated use, often include built-in ink pads that minimize mess.
Depending on the surfaces you’re marking, you might need a certain rubber type or a more robust metal-plate design. If you’re stamping onto rough substrates, opt for a higher-grade material that won’t break down after a dozen uses.
Ink Choices
Selecting an ink that’s designed for your product material is just as important as the stamp body. You’ll find thousands of ink variations, but they generally fall into two categories:
- Water-Based Ink: Works well on porous surfaces like paper or cardboard.
- Quick-Drying or Waterproof Ink: Perfect for glossy finishes, metals, or plastics.
You’ll also find specialty inks—like permanent or UV-resistant options—for harsh environments. The key is consistency. If your ink smears or takes too long to dry, you’ll struggle with accurate impressions.
Placement And Visibility
Sometimes it’s not enough to stamp something; you also need to consider where the mark will appear. Proper placement ensures the mark gets noticed by the right people at the right time.
- Place the mark in a standard spot so it’s easy to find.
- Avoid curved edges and corners whenever possible.
- Use a simple, readable design that doesn’t get crowded by other text or images.
If you’re looking to stand out or brand your product, you can explore a company logo inspection stamp as well. Incorporating your logo into the mark can look professional and boost brand recognition—all while confirming that your product meets specific requirements.
Steps To Validate Marks
Once you’ve chosen a suitable stamp, the next step is going through a validation process. It’s not rocket science, but it does require attention to detail. With a few practical checks, you’ll confirm your stamp’s accuracy and maintain consistent quality.
Check Legibility
A mark that’s impossible to read is about as useful as no mark at all. That’s why clarity should be your first priority:
- Test Print: First, stamp on a sample or scrap piece of the material. Take note of any smudging or faint lines.
- Review Basic Readability: Ask yourself if the date, symbol, or number code in the imprint is obvious at a glance.
- Compare Across Samples: Some variation can happen, but it shouldn’t undermine clarity or cause misinterpretation.
If you see inconsistent inking, your pad might be drying out. Or, you may need to adjust your stamping angle or pressure.
Authenticate And Trace
In many industries, each inspection mark corresponds to a particular inspector, workstation, or date. Validating these details helps you:
- Pinpoint who checked each product.
- Trace back to a batch or production line if issues crop up later.
- Confirm that the right person or team truly performed the inspection.
Double-check that any unique identifiers actually match the assigned inspector or station. This step can save you headaches if you ever need to perform an audit.
Review For Compliance
Certain fields—like aerospace, pharmaceuticals, or food production—require strict compliance documentation. In these cases, your inspection marks must align with the regulations in place. A quick final scan ensures you’re not missing crucial steps:
- Confirm that the mark meets size, shape, or color rules (if applicable).
- Save a digital record (like a photo or scanned document) for easy reference.
- Use a date-and-time approach if your industry typically requires chronological tracking.
After this verification, you’ll know your inspection marks meet both internal and external standards, increasing the trust in your finished product.
Common Pitfalls And Solutions
Nobody wants to discover mistakes in the middle of a large production run. A poorly validated mark could mean reprinting entire batches, or worse, shipping out mislabeled items. Let’s look at some pitfalls you can dodge with a bit of preparation.
Blurry Impressions
If your stamped image is fuzzy or blurred:
- Lighten the Pressure: A softer touch is often enough to keep ink from smearing.
- Use A Brayer: Some people prefer to roll ink evenly onto the stamp surface before pressing it down.
- Refresh Pads: Ensure the ink pad is well-saturated, but not dripping.
Ink Drying Issues
When your mark takes too long to dry:
- Switch To Fast-Drying Ink: Solvent-based or quick-drying formulas can help on non-porous surfaces.
- Avoid Over-Inking: Use just enough ink to coat the stamp. Soaking the pad leads to more smudges.
- Control Temperature And Humidity: Warm, dry environments speed up ink adherence.
Data Entry Mistakes
For stamps that include numbers, dates, or codes:
- Double Check The Setup: Pre-inked and self-inking stamps often have dials or bands for changing codes. Review them carefully before each run.
- Use Reminders: A quick sticky note near your station to confirm today’s date or batch number prevents day-to-day mix-ups.
- Practice Good Recordkeeping: A 5-second glance at your log can reduce costly errors.
How ESS Can Help
At ESS, we understand what it takes to create a reliable inspection stamp. Since 1964, our family-owned and operated business has dedicated itself to delivering top-notch service and custom solutions that genuinely support your quality assurance needs.
Our Range Of Stamps
We handle a broad spectrum of stamp designs, from classic rubber stamps to high-tech self-inking models. Whether you need a simple QA stamp or a unique design for your inspection marks, we have the expertise to guide you through the options. Our lineup includes:
- Pre-Inked Stamps: Ideal for repetitive tasks when consistent clarity is crucial.
- Self-Inking Stamps: Perfect for fast-paced environments, minimizing mess and maximizing efficiency.
- Specialty Stamps: Custom shapes, logos, or text for a truly tailored impression.
With our approach, you can fully adapt the stamp to your application, ensuring it aligns with industry standards and personal preferences alike.
Fast Turnaround And Service
We know you likely have multiple deadlines to juggle—who doesn’t? That’s why we pride ourselves on offering:
- Very fast turnaround: You can get your stamps on time, with no fuss.
- Excellent customer service: Have a question or need a tweak to your design? Our friendly team is here to help.
- A track record of quality: Being family owned since 1964, we take your satisfaction personally.
We want you to feel confident that, from design to delivery, your inspection stamps will consistently meet your expectations.
Frequently Asked Questions
Below, you’ll find answers to some of the most common questions about validating inspection marks. These quick pointers might help if you’re just getting started or looking to improve your process.
What Are Validating Inspection Marks Exactly?
They’re the steps you take—like checking clarity, confirming data, and ensuring compliance—to guarantee your inspection stamps are both accurate and reliable. By validating, you prevent errors that could lead to rework or compliance issues.How Do I Know If My Mark Is Legible?
Test on practice material, then step back and see if the numbers or letters are crisp and clear. If you’re squinting to read it, go for a design tweak or re-ink the stamp.Can I Add A Logo To My Inspection Mark?
Absolutely. You can integrate brand elements into your inspection stamp. Consider using a company logo inspection stamp, which can make your marks both functional and brand-savvy.How Often Should I Re-Ink My Stamp?
It depends on usage. If the impression starts to look lighter or uneven, it’s a good sign you need a refill. Regularly checking ink levels is a simple way to maintain consistent quality.Is It Worth Investing In A Custom Stamp For Validation Purposes?
Yes. Custom stamps—especially from ESS—ensure your mark meets your specific requirements. You’ll have better durability, clearer impressions, and faster stamping processes, all contributing to a well-organized QA or QC workflow.
By focusing on validating your inspection marks, you’re not just stamping an item. You’re marking each product with quality, consistency, and trust. And with the right supplier and practices in place, you’ll find the process surprisingly straightforward. Whether you operate in a bustling factory, a small craft studio, or a busy office, consistent stamp validation lets you maintain high standards. After all, when that little mark is accurate and clear, it speaks volumes about your commitment to excellence. And we at ESS are right here, ready to help you find the perfect stamp for your needs—fast, friendly, and family-run since 1964.


