If you’ve ever wanted to transform plain textiles into custom treasures without spending a fortune, a fabric stamping kit could be your new best friend. By simply applying ink or paint to a specially designed stamp, you can create personalized patterns, names, or decorative accents on everything from T-shirts to tote bags. It’s an easy, fun, and cost-effective way to make your mark on your projects. Plus, once you get the basics down, you’ll probably look around the house and see endless stamping opportunities—pillows, curtains, even your holiday wrapping paper.
So, how does this whole thing work? And what do you need besides the actual stamps? Let’s dive into the essentials of fabric stamping, explore techniques for long-lasting designs, and show you how a reliable supplier like ESS can help you get started with confidence.
Discover The Basics
Fabric stamping kits generally include rubber or polymer stamps, an ink or paint suitable for textiles, and a sturdy handle or block to keep your stamp secure. That’s really all you need to begin. Rubber stamps have been around for years, so you might be picturing old-school desk stamps for office documents. But fabric stamping kits are specifically made for textiles, so they often come in various sizes and designs, from letters and numbers to intricate floral motifs.
Here are a few reasons why a well-put-together kit can turn even the simplest project into something special:
- It’s easy to learn. If you can press a stamp onto a piece of paper, you can stamp fabric.
- Results are customizable. Pick colors and patterns that align with your taste or event theme.
- Minimal mess. The kit keeps your supplies organized, so you don’t end up chasing half-dried ink around your workspace.
Selecting a kit that matches your creative aspirations can be as exciting as starting the craft itself. Some are designed for neat, smaller prints, while others focus on big, bold statements. Either way, your final outcome depends on choosing a kit that comes with the right stamps, quality ink, and user-friendly instructions.
Choose The Right Supplies
Your fabric stamping kit is the catalyst for your next crafting adventure. But if you’re serious about getting vivid prints that stand the test of time, you’ll want to consider all the associated tools and materials. Besides your basic stamps, you should think about:
- Ink Pads Or Fabric Paint
- High-quality ink pads are crucial for crisp images that won’t fade after a single wash. You can also use fabric paint or markers specially made for cloth.
- Permanent fabric inks are typically waterproof and designed to bond with textile fibers.
- Sturdy Blocks Or Handles
- Many stamps come pre-mounted, but if yours doesn’t, you’ll probably want a wooden or acrylic block to provide a stable grip.
- A clear acrylic block can help you see exactly where you’re placing your design.
- Protective Gear
- Lay down newspaper or old towels to protect your table from accidental spills.
- Wearing gloves isn’t strictly necessary, but if you’re working with children or get a bit messy, gloves can help keep your hands clean.
- Backup Supplies
- Keep spare ink pads in colors you love, so you’re never stuck mid-project.
- Store extra cleaning wipes or a rag nearby to quickly dab away smudges.
If you feel overwhelmed by the sheer variety of stamp designs or ink colors, start small. Pick a theme—like flowers, geometric shapes, or uppercase letters—and expand as you get more comfortable with the process. You’ll be impressed at how adding just a couple of extra colors can completely change the personality of a design.
Prep Your Fabric Properly
Before you jump into stamping, there’s a simple rule of thumb: prepare your fabric correctly, or you risk ending up with blotchy, uneven designs. Part of the magic of a fabric stamping kit is how the ink or paint adheres to the material, so it’s essential that your cloth is clean, flat, and as lint-free as possible.
- Wash And Dry Your Fabric First
Launder your fabric—especially new items—to remove any manufacturing residue or sizing chemicals. Dry it thoroughly to ensure you’re starting with a clean surface. - Iron Out Wrinkles
A quick press with an iron will smooth out any bumps or creases, helping your stamp make more even contact. - Use A Flat Surface
Place your fabric on a sturdy table or desk. You can slip a cutting board or cardboard under the fabric to prevent ink from bleeding onto your work area.
If you’re stamping on something shaped—like a drawstring bag—turn it inside out or flatten it as best you can. For heavier fabrics (canvas or denim), keep extra pressure on your stamp to make sure the ink seeps into the deeper grooves. This simple but important prep ensures your project has that professional look once you’re done.
Master Basic Stamping Techniques
Ready for the fun part? Here’s how to stamp like a pro:
- Ink Your Stamp Evenly
- Tap the stamp lightly onto the ink pad. You don’t want a puddle of ink, just a gentle coat across the design. If you’re using paint, dab a small amount on a foam brush and apply a thin, even layer.
- Test On Scrap Fabric
- It’s wise to do a quick test on a rag or extra swatch before stamping onto your main piece. This helps you gauge ink distribution and see if you need more or less.
- Press, Don’t Rock
- Align your stamp to the spot, press straight down using moderate pressure, and lift it back up in a quick motion. Rocking or wiggling the stamp tends to smear the design.
- Let It Dry
- Length of drying time depends on the ink or paint. Some set almost instantly, while others might take a few hours.
- Set Your Design
- Most permanent products require heat-setting. After the ink is fully dry, cover it with a piece of parchment paper or a clean cloth, then iron gently to lock in the color.
When you’re done, consider using a soft cloth or an ink cleaner to wipe off any leftover residue on your stamp. That way, your kit stays in top shape for your next project.
Add Personal Touches
There’s something uniquely satisfying about seeing a design you created—especially if it includes your own name, a meaningful quote, or a beloved character. Luckily, adding a bit of flair to your fabric stamping process is straightforward:
- Layer Colors
Once your first color dries, you can stamp a second shape or letter right on top with a contrasting hue. This injects dimension into your design. - Combine Techniques
Like a watercolor background? Lightly apply paint first or use a sponge to create a soft gradient. Then, stamp over it when the base is dry. - Embellish With Markers
If you have a steady hand, outline your stamped design or add small dotted accents in metallic or fluorescent markers. - Mix And Match Designs
You don’t have to stick to one stamp design. A blend of letters, flowers, and geometric shapes can create a charming patchwork effect on your cloth.
Here’s a pro tip: keep your composition balanced. Stamping every inch of the cloth can look chaotic, so consider a focal point or pattern that guides the eye. A well-placed cluster of stamped shapes can be just as impactful as an all-over pattern.
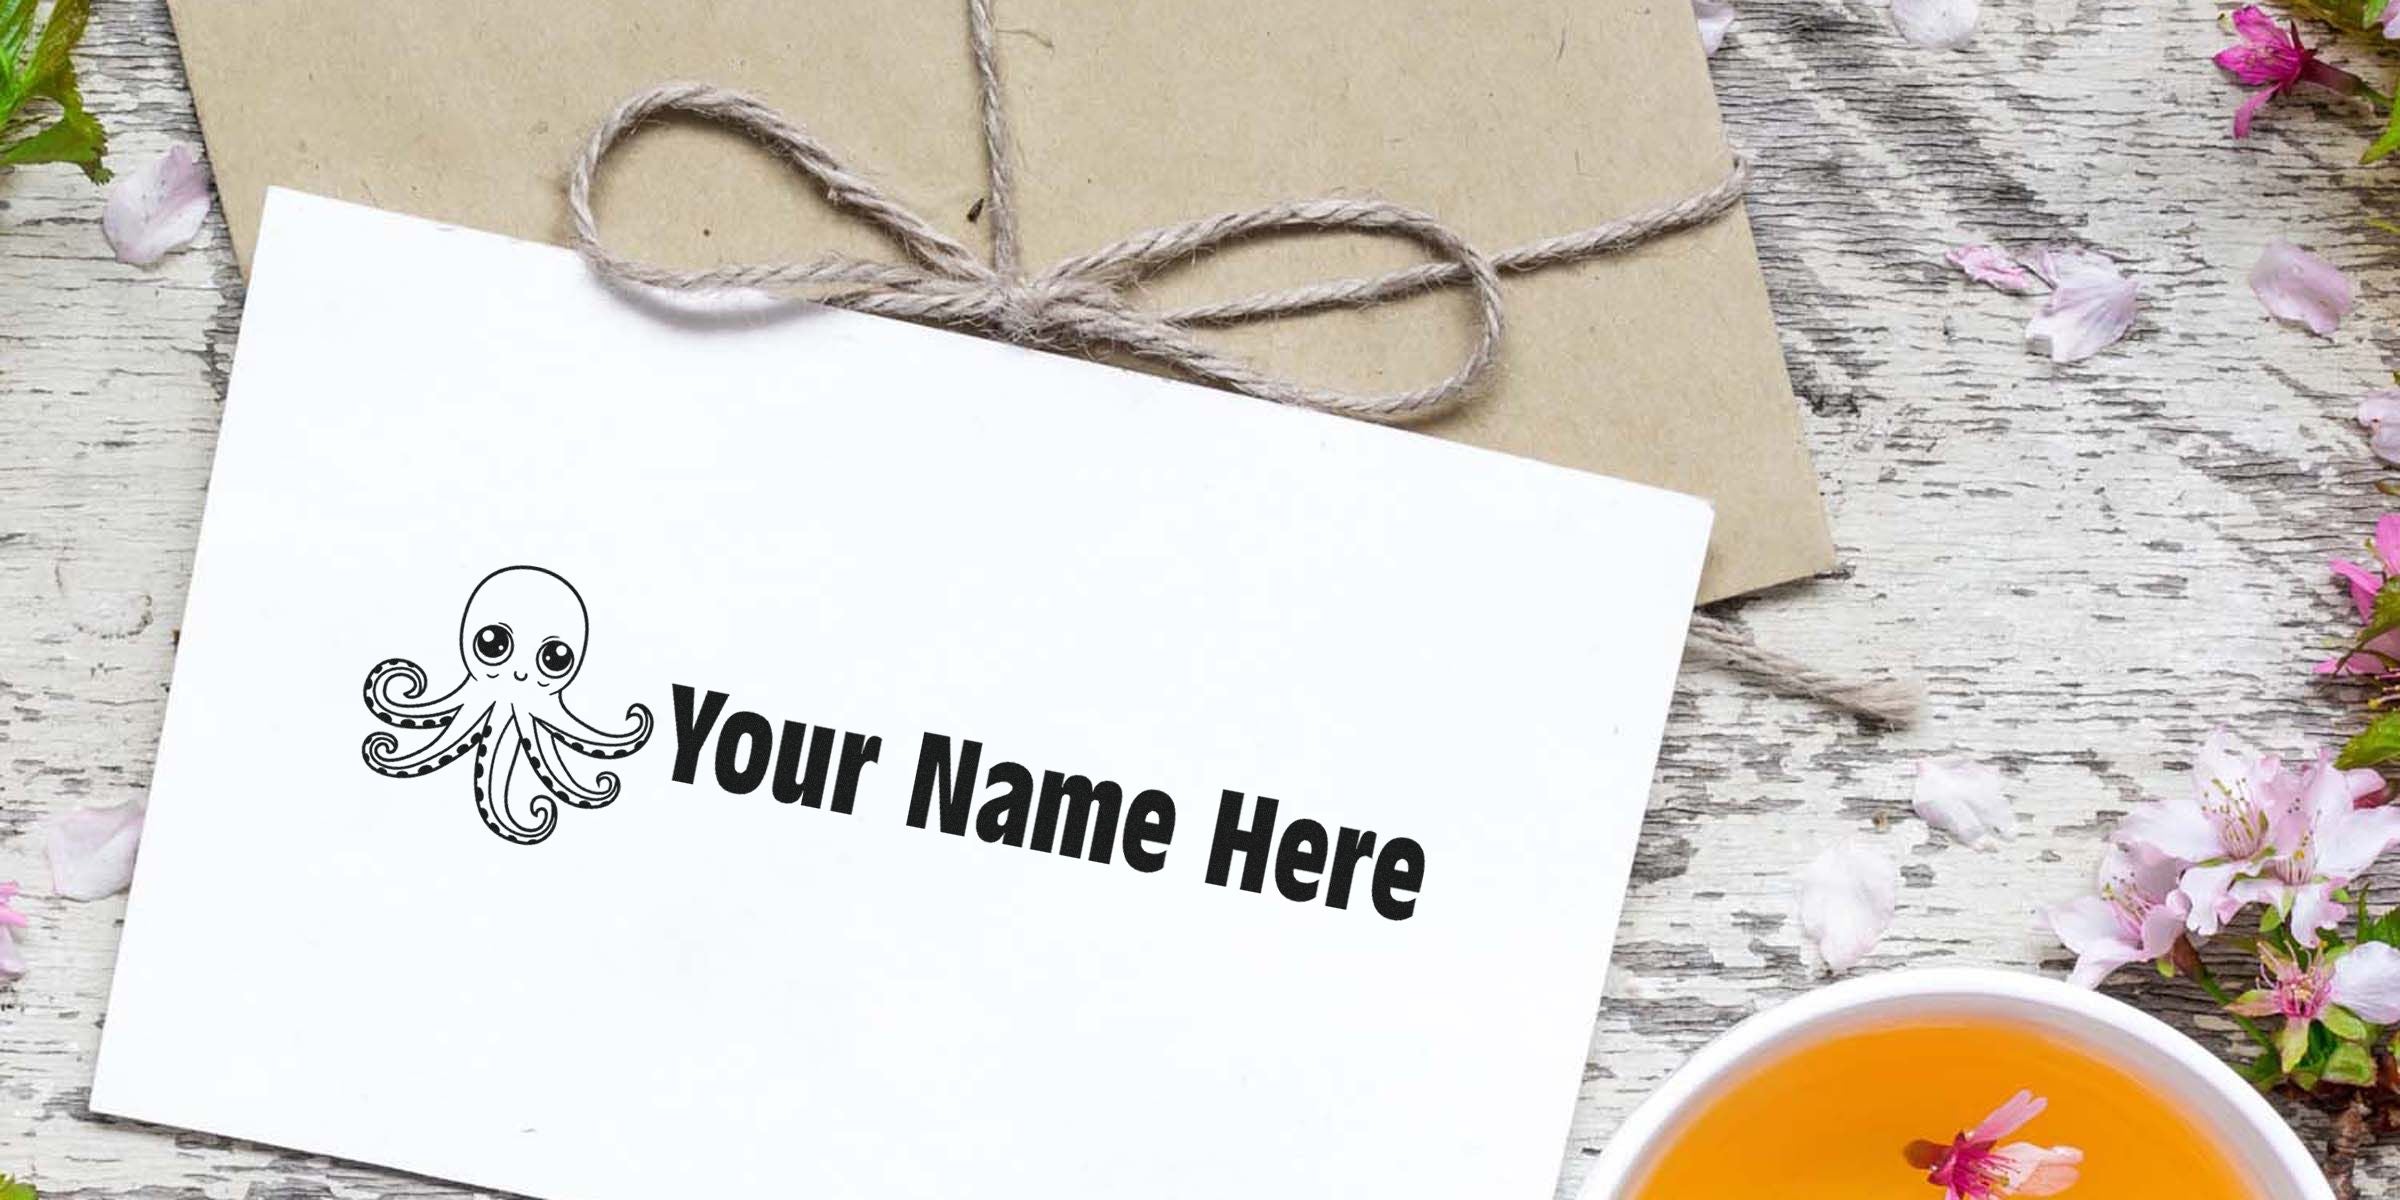
Use A Fabric Stamp For Labeling
Labeling your clothes, kiddo’s school uniform, or your homemade crafts can be a breeze with a dedicated fabric stamp. These stamps often come with customizable plates, so you can include your name, contact info, or a fun nickname. It’s an efficient solution that saves time in busy situations—like prepping back-to-school supplies or personalizing gifts.
Since these specialized stamps come pre-inked or can be used with permanent textile ink, your printed text won’t wash away. They’re also a huge help if you find yourself rummaging through a crowded cloakroom, trying to find your jacket among identical-looking ones. With your name clearly stamped, you’ll spot it right away.
A high-quality product not only stamps clearly but is also easy to store for repeat use. That’s why many crafters rely on brands like ESS to supply developed, reliable tools for lasting fabric marking. Whether you need a single name stamp or a set for the whole family, these solutions simplify your labeling process while keeping everything neatly organized.
Why Trust ESS
By now, you’re probably raring to get started on a stamping project. But if you’re wondering where to find a trustworthy source for a fabric stamping kit, consider ESS. Here’s what sets them apart:
- Family-Owned Since 1964
With six decades of experience, ESS has honed the art of providing cloth marking stamps and supplies. Being family-owned usually translates to strong customer care and attention to detail. - Stellar Customer Service
Questions about the best ink? Unclear on how to set your stamp? ESS has you covered. Their friendly, knowledgeable team is always ready to guide you through the process. - Super Fast Turnaround
Hate waiting around for supplies? ESS offers quick processing and shipping, so you can get your kit in hand sooner and start creating. - Top Supplier In Cloth Marking
From clothes name stamps to big surface stamps for large projects, ESS stands out for its specialized range of products. Customers rely on them for everything from personal crafts to professional labeling.
Plenty of crafters have discovered that with the right supplier, fabric stamping goes from a hesitant “maybe” to a confident “I can’t stop.” Every kit delivered by ESS is a chance to turn plain textiles into something memorable, full of life, and entirely your own.
Frequently Asked Questions
Below are five questions that regularly pop up when people consider using a fabric stamping kit. Hopefully, the answers will help you avoid unexpected mishaps and get more out of each stamping session.
Can I Wash My Stamped Fabrics?
Absolutely. Most permanent fabric inks and paints are designed to withstand typical washing cycles. Be sure to follow the manufacturer’s instructions on heat-setting, because that step is crucial for a long-lasting design. Once your ink is set, you can safely machine wash printed items in cold or warm water without major fading.What Fabrics Work Best For Stamping?
Cotton, linen, canvas, and other natural fibers generally hold ink or paint better. Synthetic fabrics, such as polyester, can be trickier because the ink might not penetrate the fibers as effectively. However, many modern fabric inks are formulated to work on blends, so it’s always best to test a small area first.Which Ink Or Paint Should I Use?
Look for ink or paint that’s specifically labeled for fabric. Traditional stamping inks designed for paper won’t always remain vibrant after washing. Fabric-specific inks often mention whether they need heat-setting. If you want extra texture or dimension, textile paints or markers can also do the trick.How Long Does It Take To Dry?
Drying time depends on the product used. Some inks dry almost instantly, while thicker paints may need a few hours. Always check the drying guidelines on the packaging, and make sure the fabric is fully dry before trying a second layer of ink or tossing your item into the washing machine.How Do I Prolong The Life Of My Stamps?
Cleaning your stamps after every use helps preserve their detail. A damp cloth or specialized stamp cleaner will remove any leftover ink or paint. Store your stamps flat in a dry container, away from direct heat or sunlight, to prevent cracking or warping of the stamp material.
By knowing these basics, you’ll be well on your way to stamping success. And remember, if you’re ever stuck, ESS is just a call or click away, ready to help you choose products, troubleshoot issues, and turn your creative vision into a reality. Enjoy turning ordinary fabric into a vibrant work of art. Happy stamping!


