Have you ever found yourself double-checking someone’s signature and thinking, “I could make this official?” Well, if that sounds like you, there’s a good chance you’re ready to learn how to become a notary in District of Columbia. Serving as a notary means you’ll vouch for the validity of signatures and identities on critical documents like contracts, real estate deeds, and affidavits. But what’s the actual process? In this friendly guide, you’ll discover the steps involved, from meeting basic requirements to grabbing the right supplies for the job.
By the time you’re done reading, you’ll know exactly what to expect, how to keep your notary commission active, and where to find your District of Columbia notary stamp or seal. Think of this as your step-by-step map to a rewarding and incredibly useful community service.
Meet The Basic Requirements
Before you fill out a single form, you need to meet certain qualifications. These requirements exist to ensure that each notary is trustworthy, responsible, and capable of safeguarding important legal documents.
- Confirm Your Age:
- Generally, you should be at least 18 years old.
- Age requirements can change, so check local regulations in case the minimum age differs.
- Demonstrate Residency Or Employment:
- You typically need to be a resident or have a primary place of employment in the District of Columbia.
- If you live near the border but work in D.C., you can usually still apply.
- Maintain A Clean Record:
- Expect a background screening.
- A felony or certain misdemeanor convictions could be an issue, depending on notary laws and the specific circumstances.
- Show Basic English Fluency:
- Reading and writing in English is essential.
- If you also speak multiple languages, that’s a bonus, because a bilingual notary can be in high demand.
Those are the key points for eligibility. If you meet these requirements, you’re off to a good start. Remember, the District of Columbia might have specific or updated regulations, so it’s always wise to verify details with official sources. By doing a quick check, you’ll save yourself any wasted application fees and possible rejection.
Complete The Required Training
Once you’ve confirmed your eligibility, your next big step is training. While not all states or districts mandate formal classes, the District of Columbia often requires you to understand notary laws, procedures, and best practices. Doing so isn’t just about paperwork, it’s also about knowing how to handle real-life notarial acts.
Find Suitable Courses:
Look for local or online programs that walk you through D.C. notary statutes (laws and rules). A reliable course will break down everything from proper identification methods to record-keeping guidelines.Study Essential Laws:
You’ll need a good grasp on the “how” and “why” behind each step of notarizing, including what can invalidate a notarial act. Think of it as learning the non-negotiables that keep you out of legal hot water.Focus On Practical Scenarios:
Many training sessions offer real-world examples: how to spot a fake ID, what to do if the signer doesn’t speak English, or how to handle someone who shows up with an incomplete document. These everyday scenarios prepare you for the unexpected.Pass Any Required Exam:
Depending on evolving regulations, you might need to take and pass a notary exam. If that’s the case, set aside study time, and practice with sample quizzes. It’s a low-stress way to make sure you’re fully prepared.
Don’t forget that a little extra learning never hurts. Even if you feel confident about your knowledge, training can fill in the gaps. The District wants to know its notaries can handle tricky document situations with ease, and a solid training course goes a long way toward proving you’re up to the task.
Submit Your Application


With training under your belt, it’s time to submit your notary application to the relevant District of Columbia office. This phase can feel a bit bureaucratic, but don’t worry, it’s not nearly as complicated as it might seem.
Gather Necessary Documents:
Application form (some are now available online).
Proof of residency or employment.
Training completion certificate (if the District requires it).
Any other personal details, like references.
Pay The Application Fee:
You’ll typically pay a fee when you submit.
Keep the receipt handy in case you need to follow up with the notary office.
Expect A Background Check:
They may do an official screening to confirm your criminal record eligibility.
This step helps maintain high standards and fair oversight.
Periodic Updates:
If you’re approved, you’ll usually get a confirmation notice or email.
If there’s an issue, they may ask for more info. Promptly respond to avoid delays.
The trick to a smooth application is to stay organized. Jot down your form submission date, keep copies of everything, and set reminders to follow up if you haven’t heard back in a timely manner. That way, you’re not left in the dark wondering whether your application fell through the cracks.
Obtain Your Commission Certificate
It’s an awesome feeling when your application is accepted. One minute, you’re just someone who wanted to become a commissioned notary in the District, and the next, you’ve got official recognition in your hands. This step cements your legal authority to perform notarial acts.
- Look Out For The Acceptance Letter:
- Most offices will send a letter or email letting you know you’re in.
- You’ll receive instructions on how to collect your commission certificate.
- Complete The Oath Of Office (If Required):
- Some states or districts ask that you appear before an official to swear an oath.
- This often takes just a few minutes.
- Retrieve Your Certificate:
- Keep it in a safe spot.
- Make a digital copy for backup in case the physical document is lost or damaged.
- Mark Key Dates:
- Your certificate includes an official start date and an expiration date.
- Put those on your calendar so that renewing on time is stress-free.
Once you hold that commission certificate, you’re legally recognized by the District of Columbia to begin notarizing documents. But there’s a bit more to do before you’re fully in business.
Use The Right Supplies


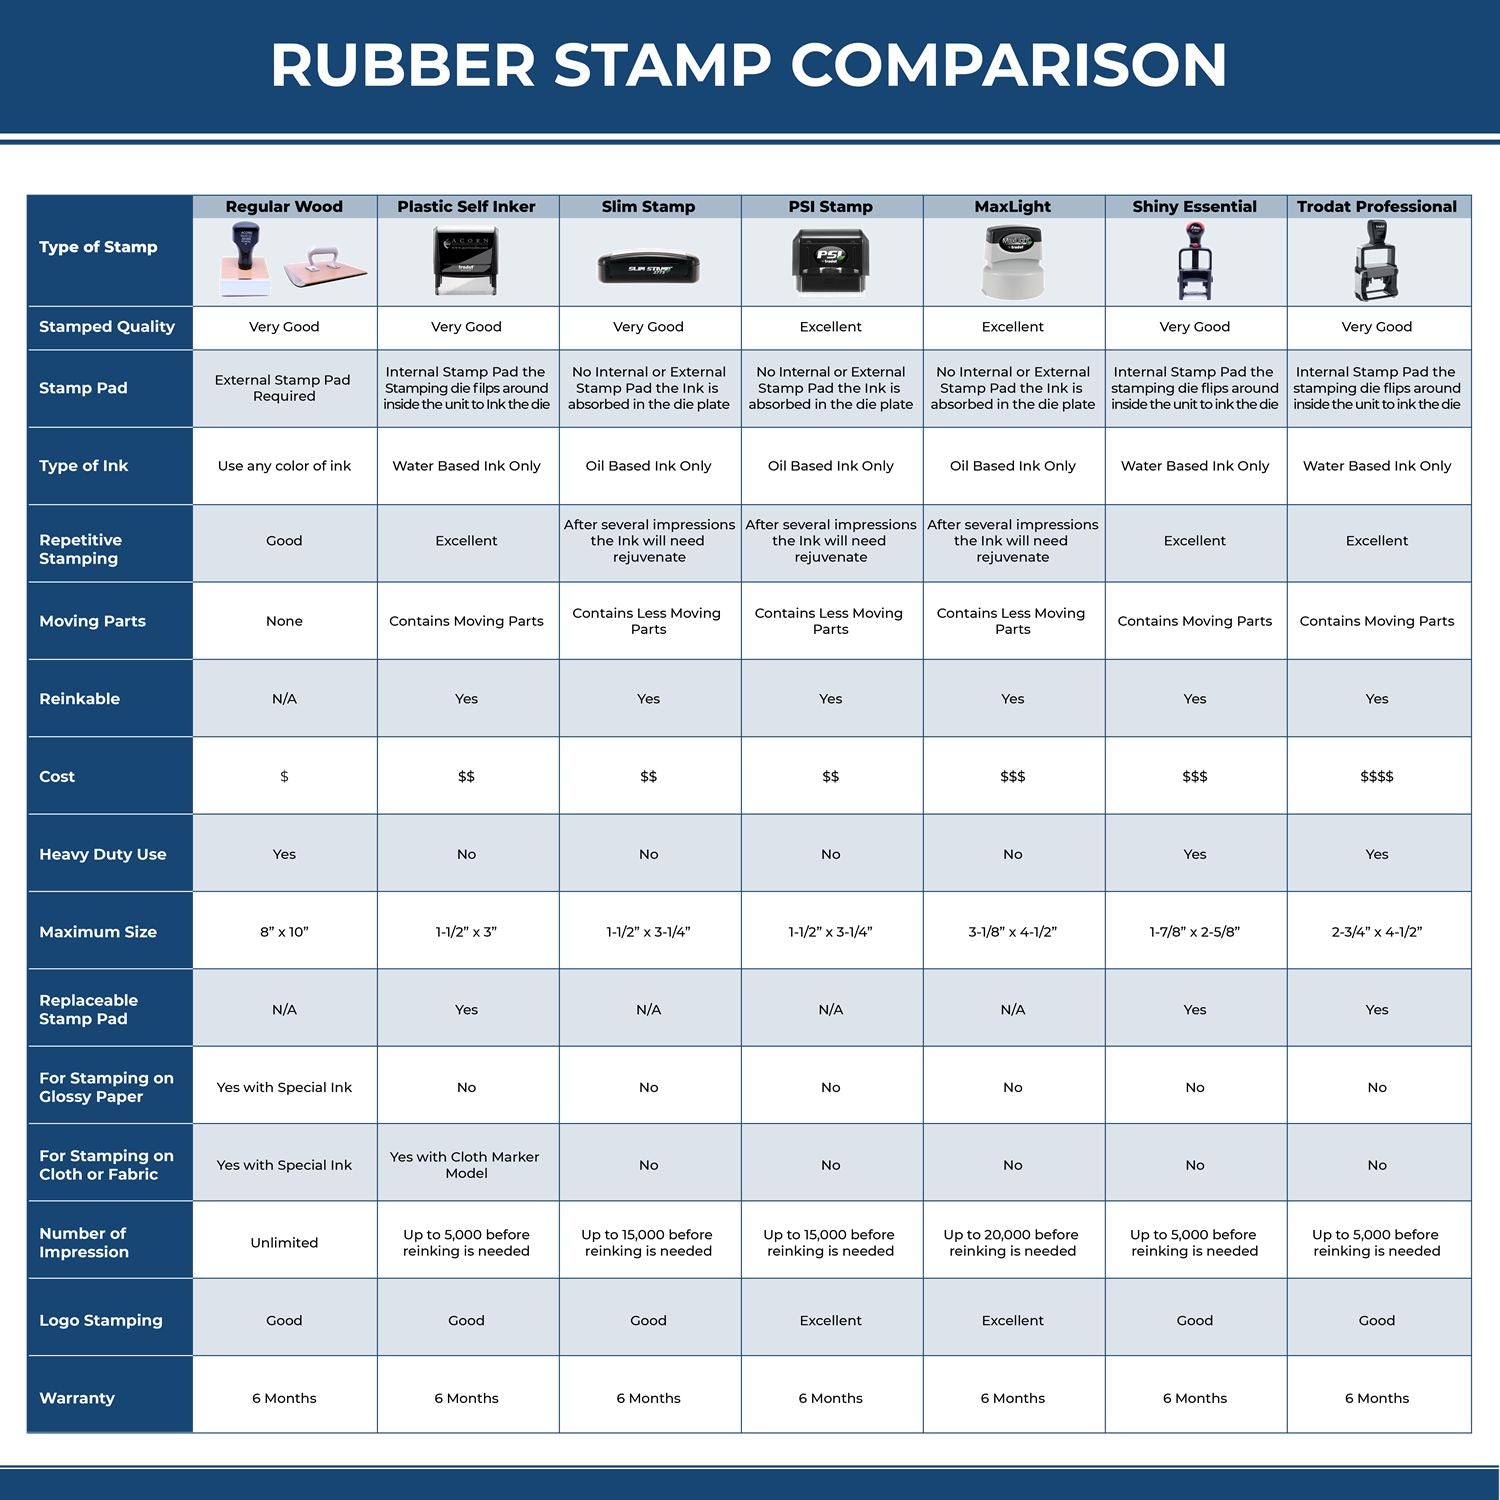
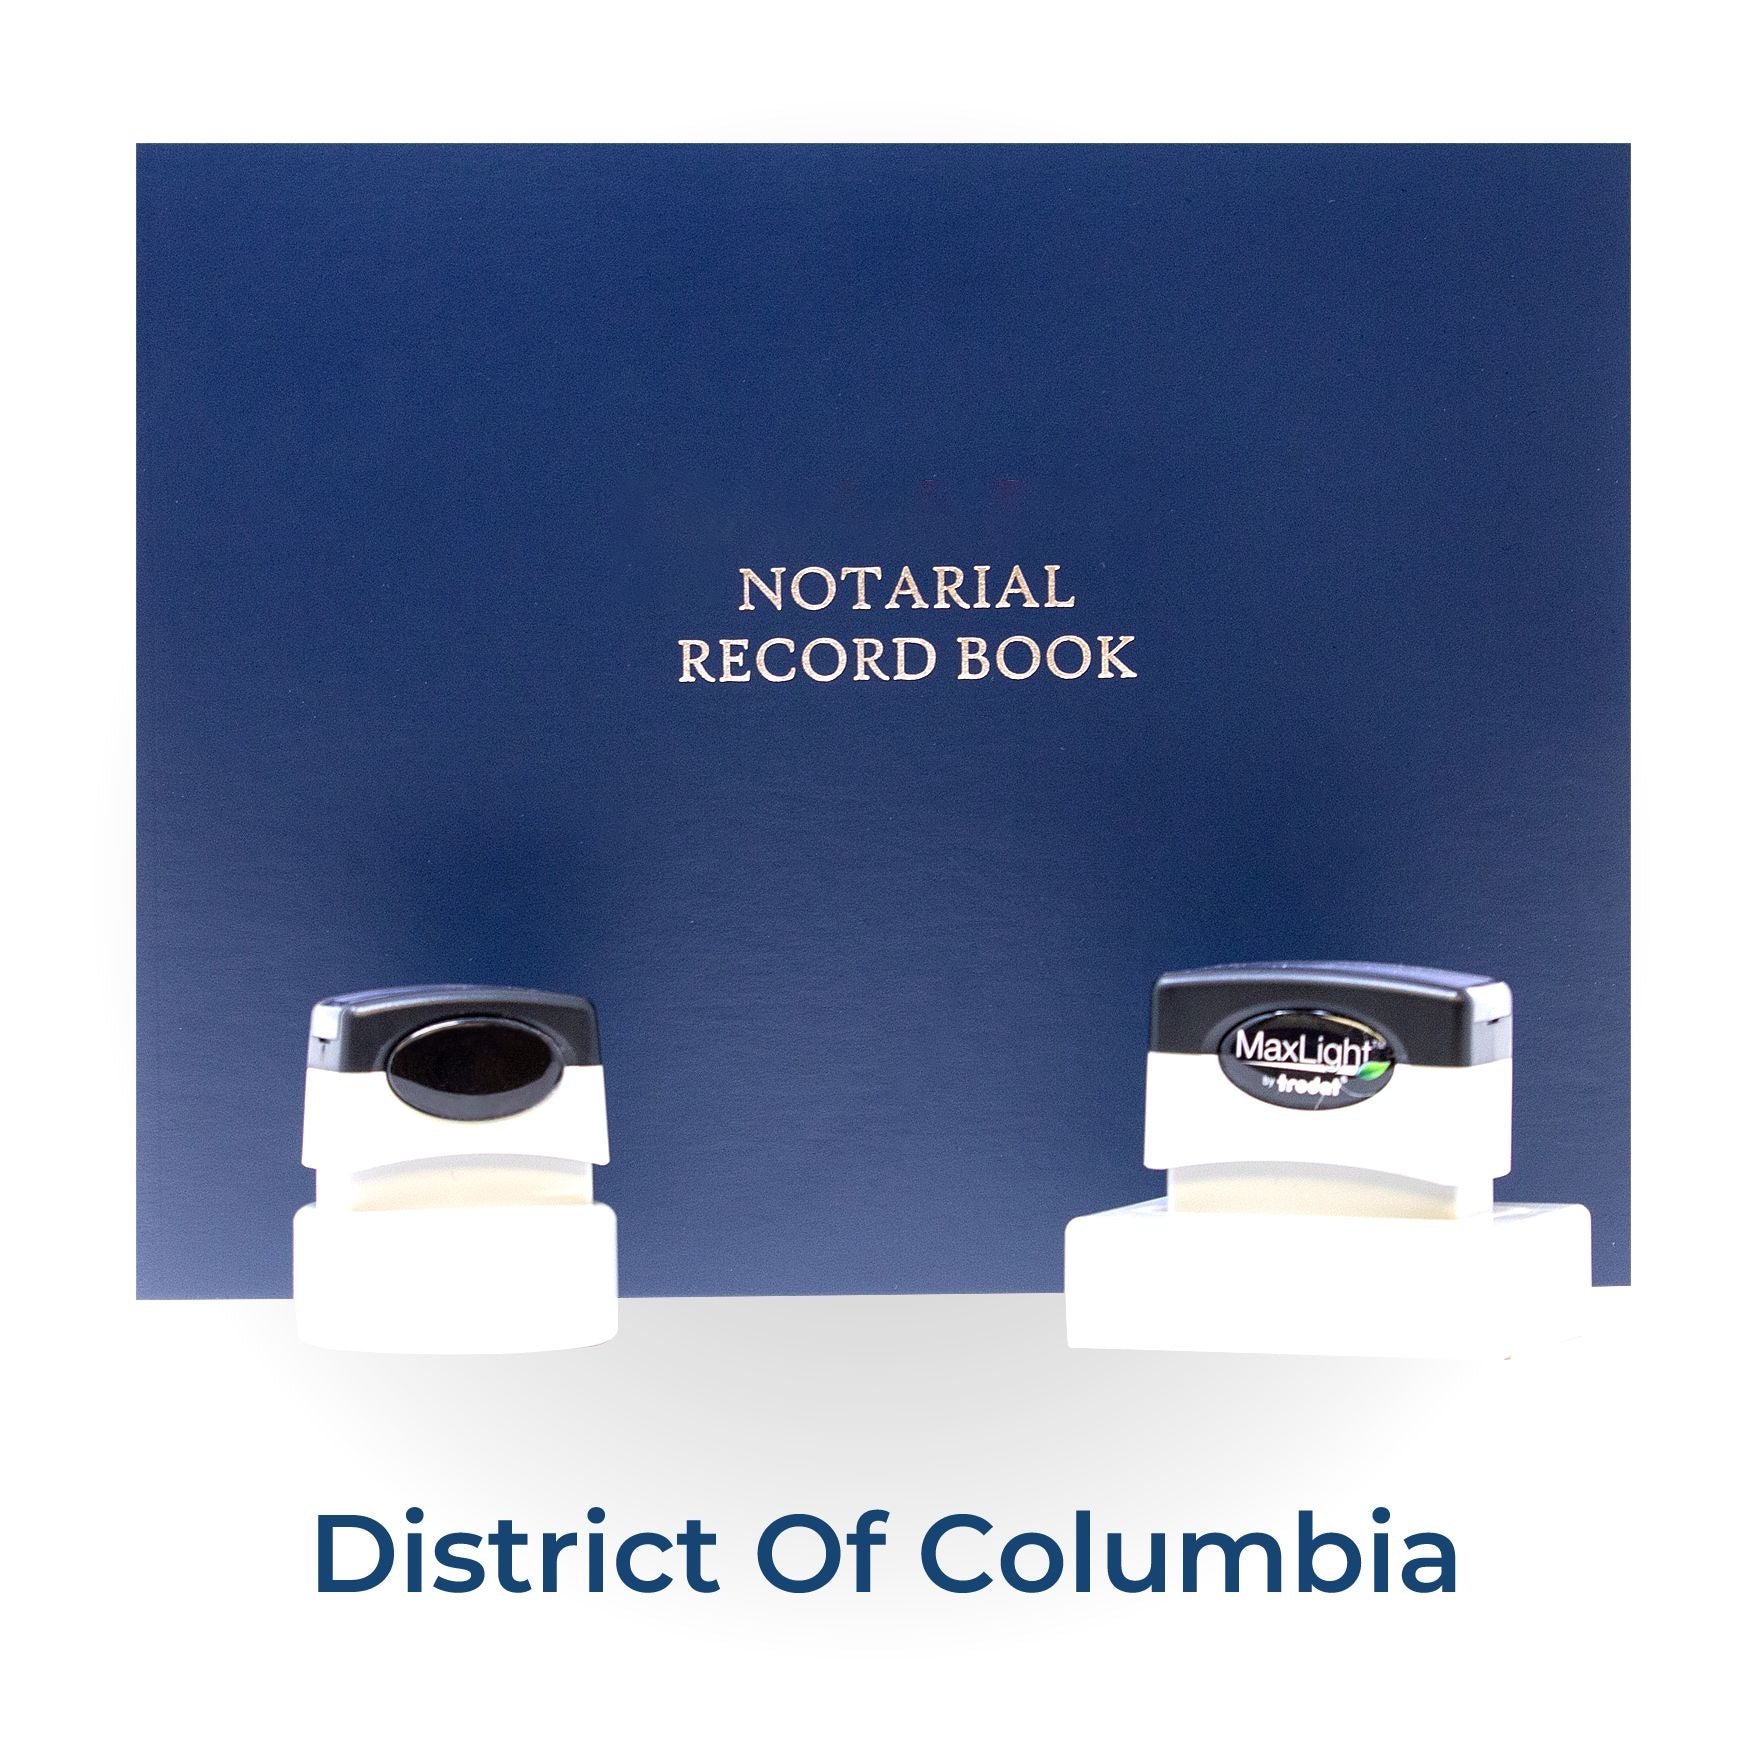
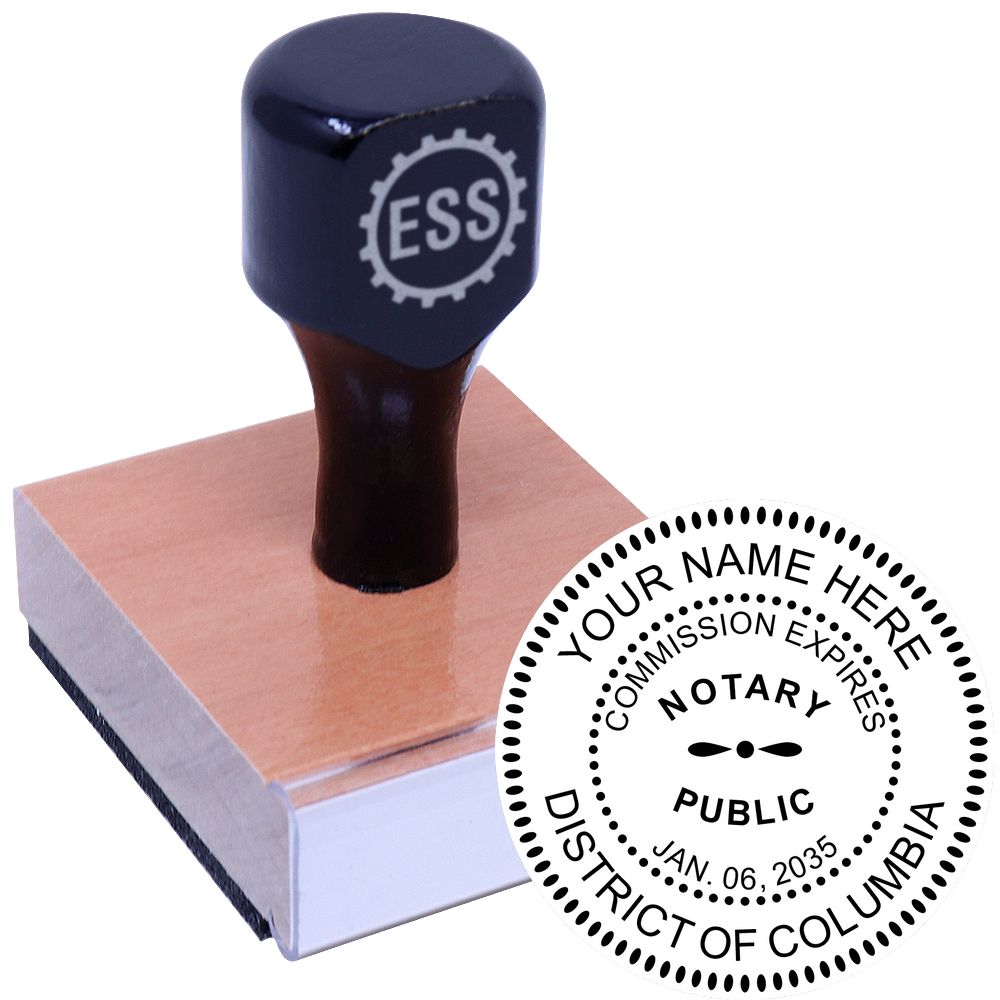
Now comes one of the most exciting parts: collecting your notary supplies. You’ll need tools that meet the District’s standards, like a seal or stamp that clearly identifies you as a D.C. notary. Plus, it helps to have a notary journal so you can record each act.
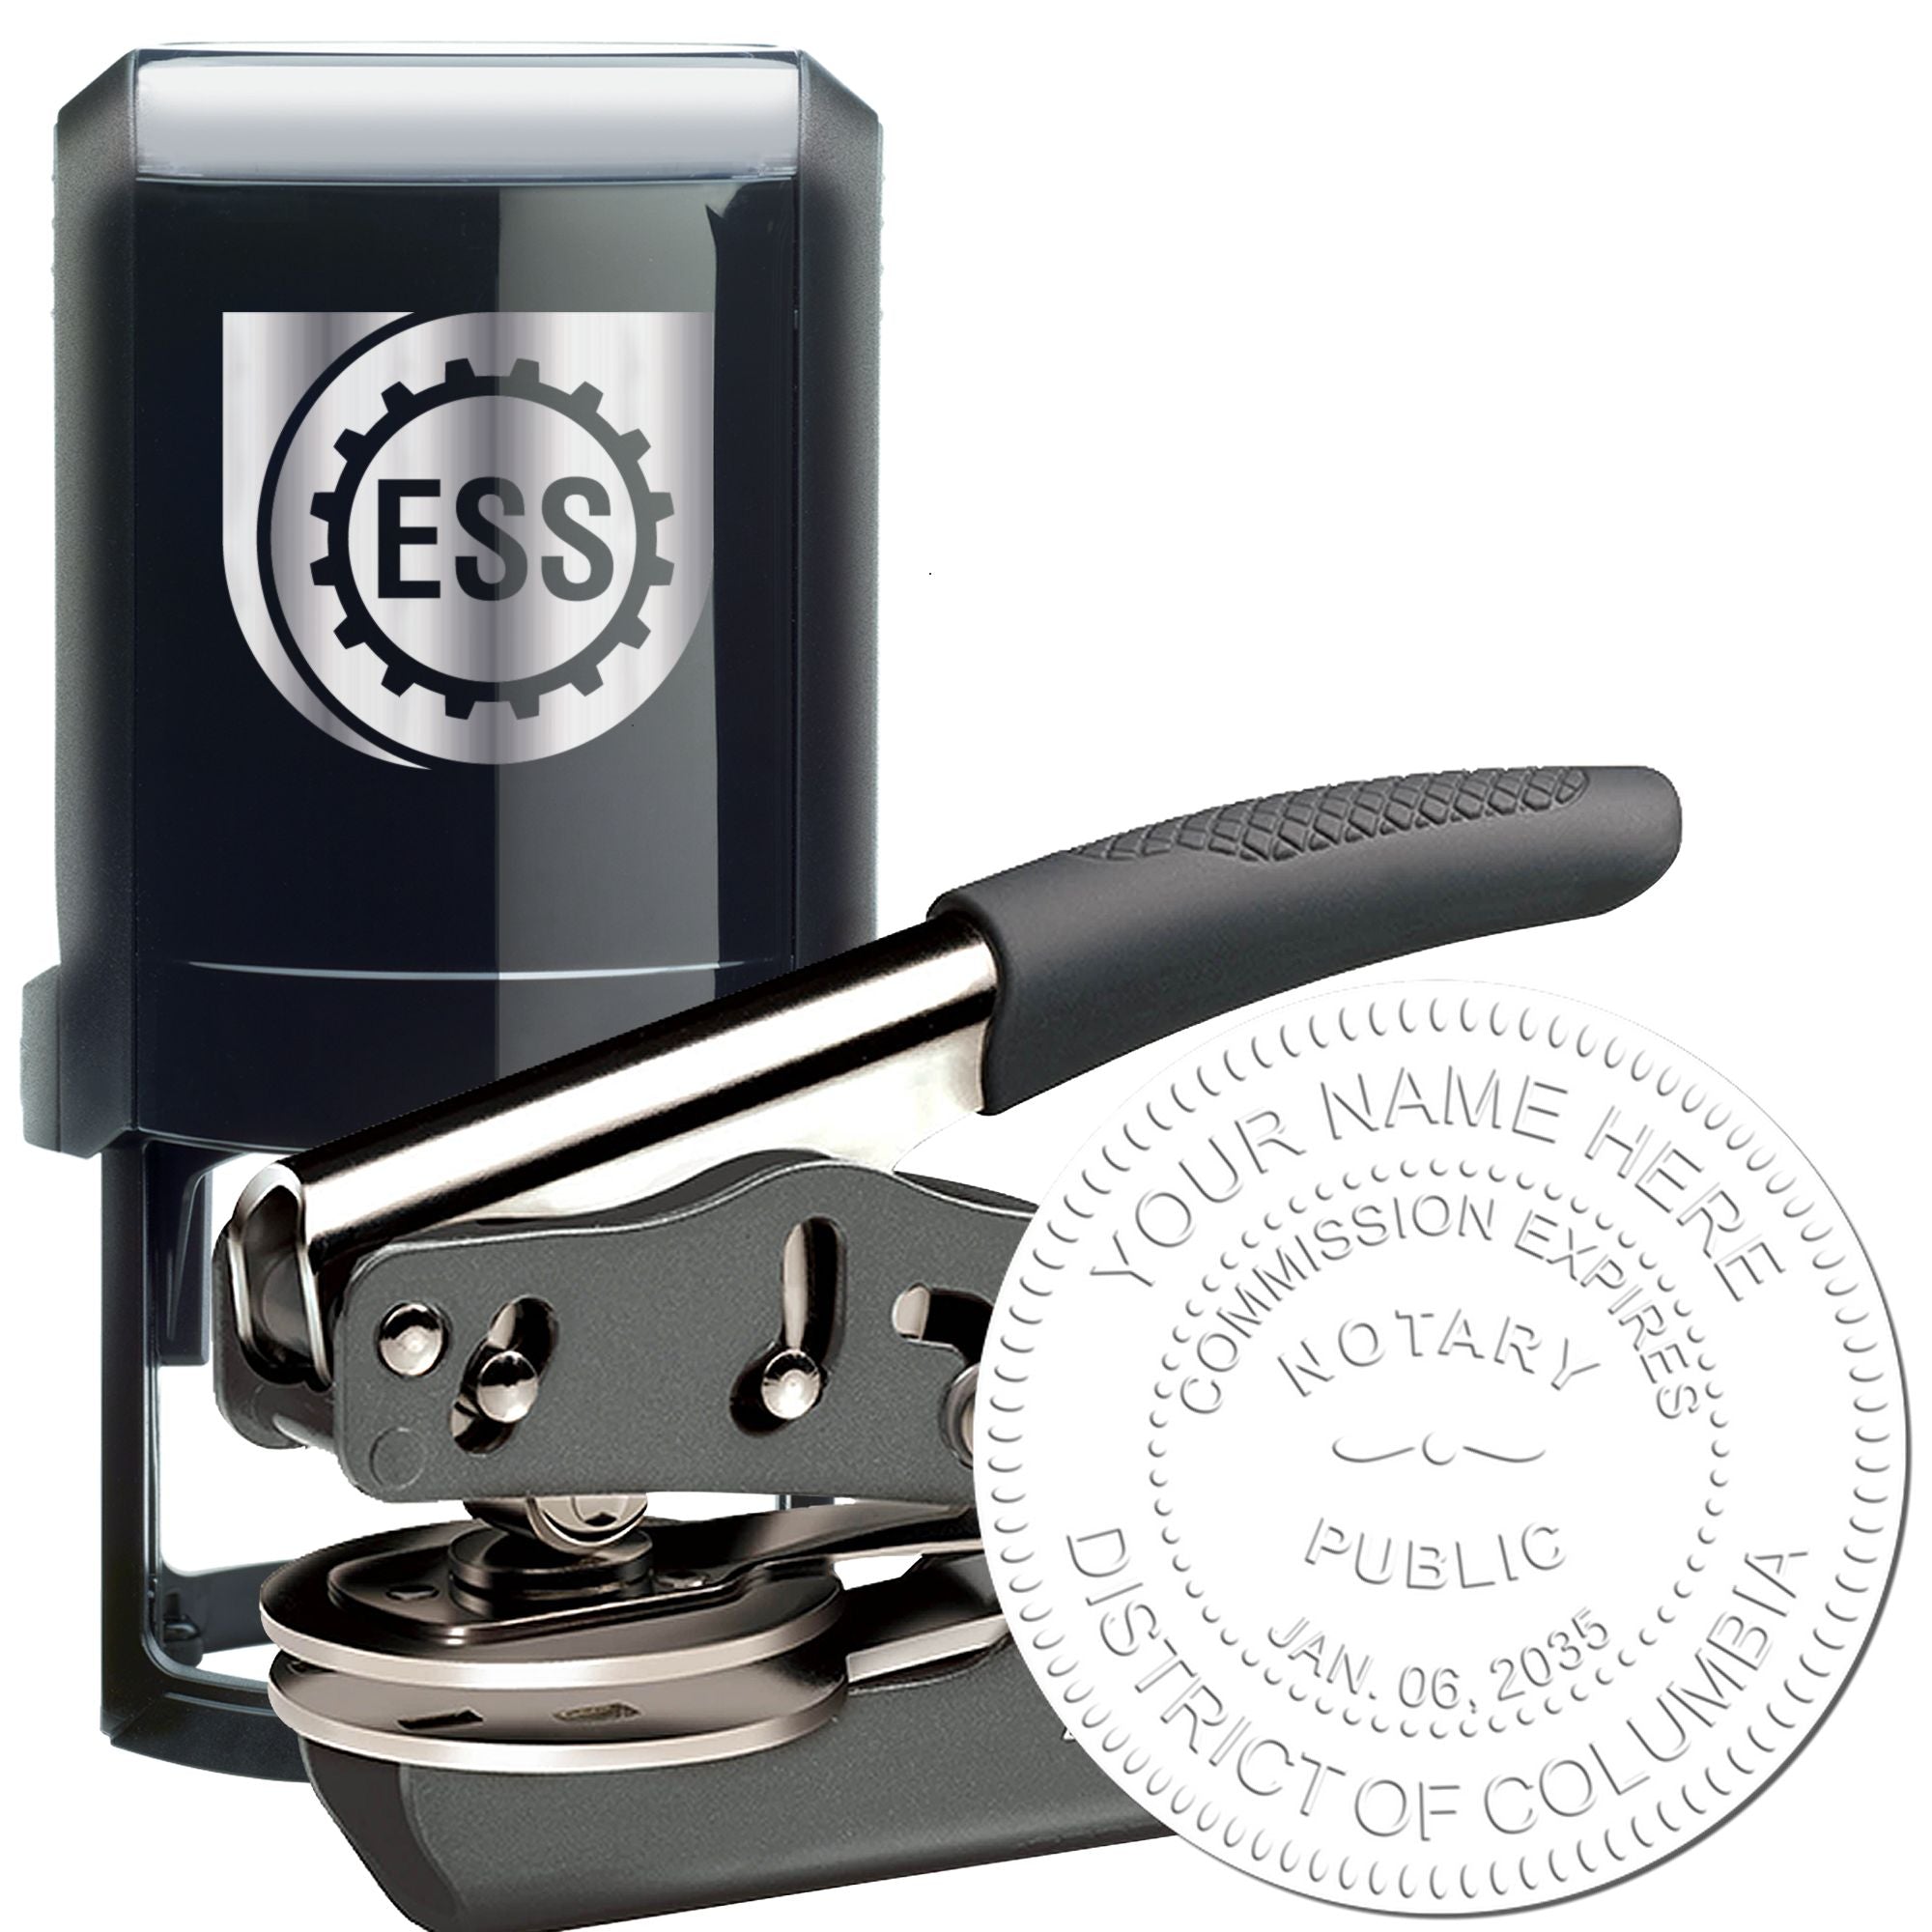
Choose A Reliable Provider:
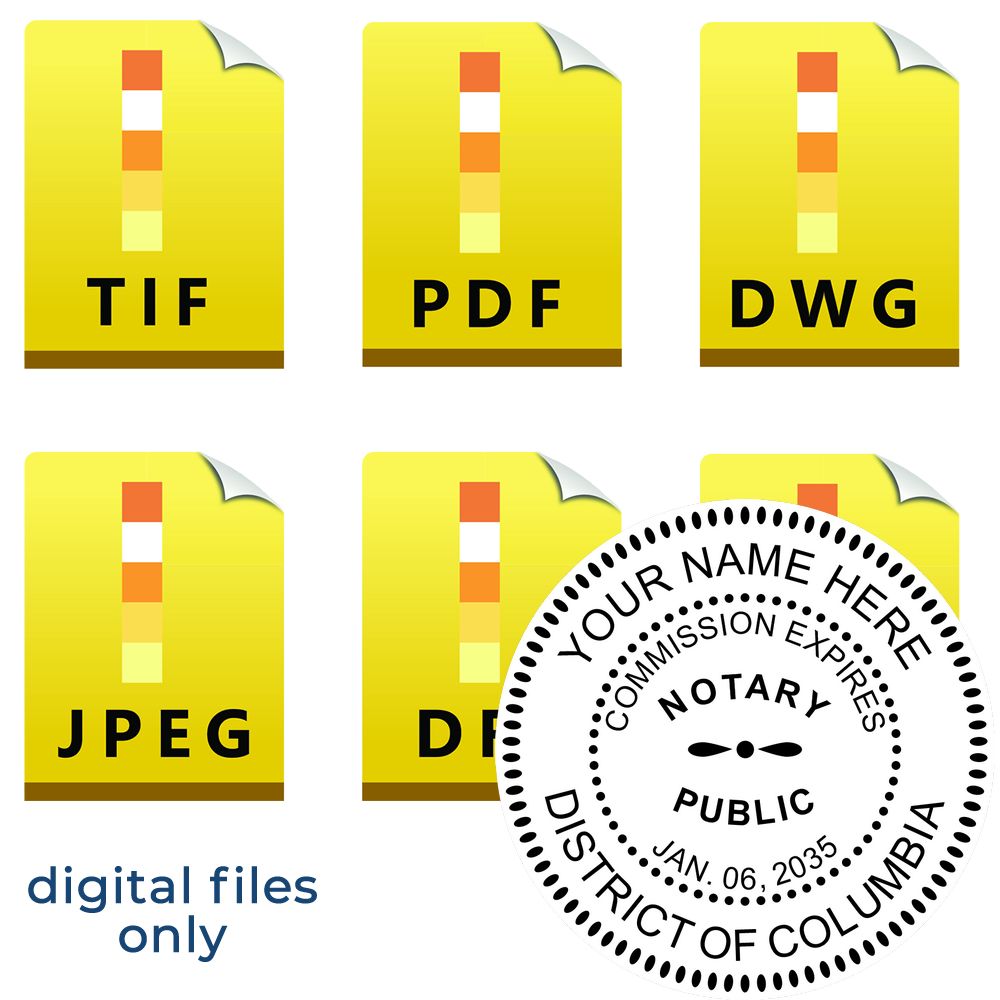
Engineer Seal Stamps is a trusted name in the industry, with over 60 years of experience providing District of Columbia notary supplies. Beyond that, you can enjoy quick service and a free digital stamp with your purchase. It’s all about getting what you need, fast, so you can begin your notary work without delay.Select Your Must-Have Items:
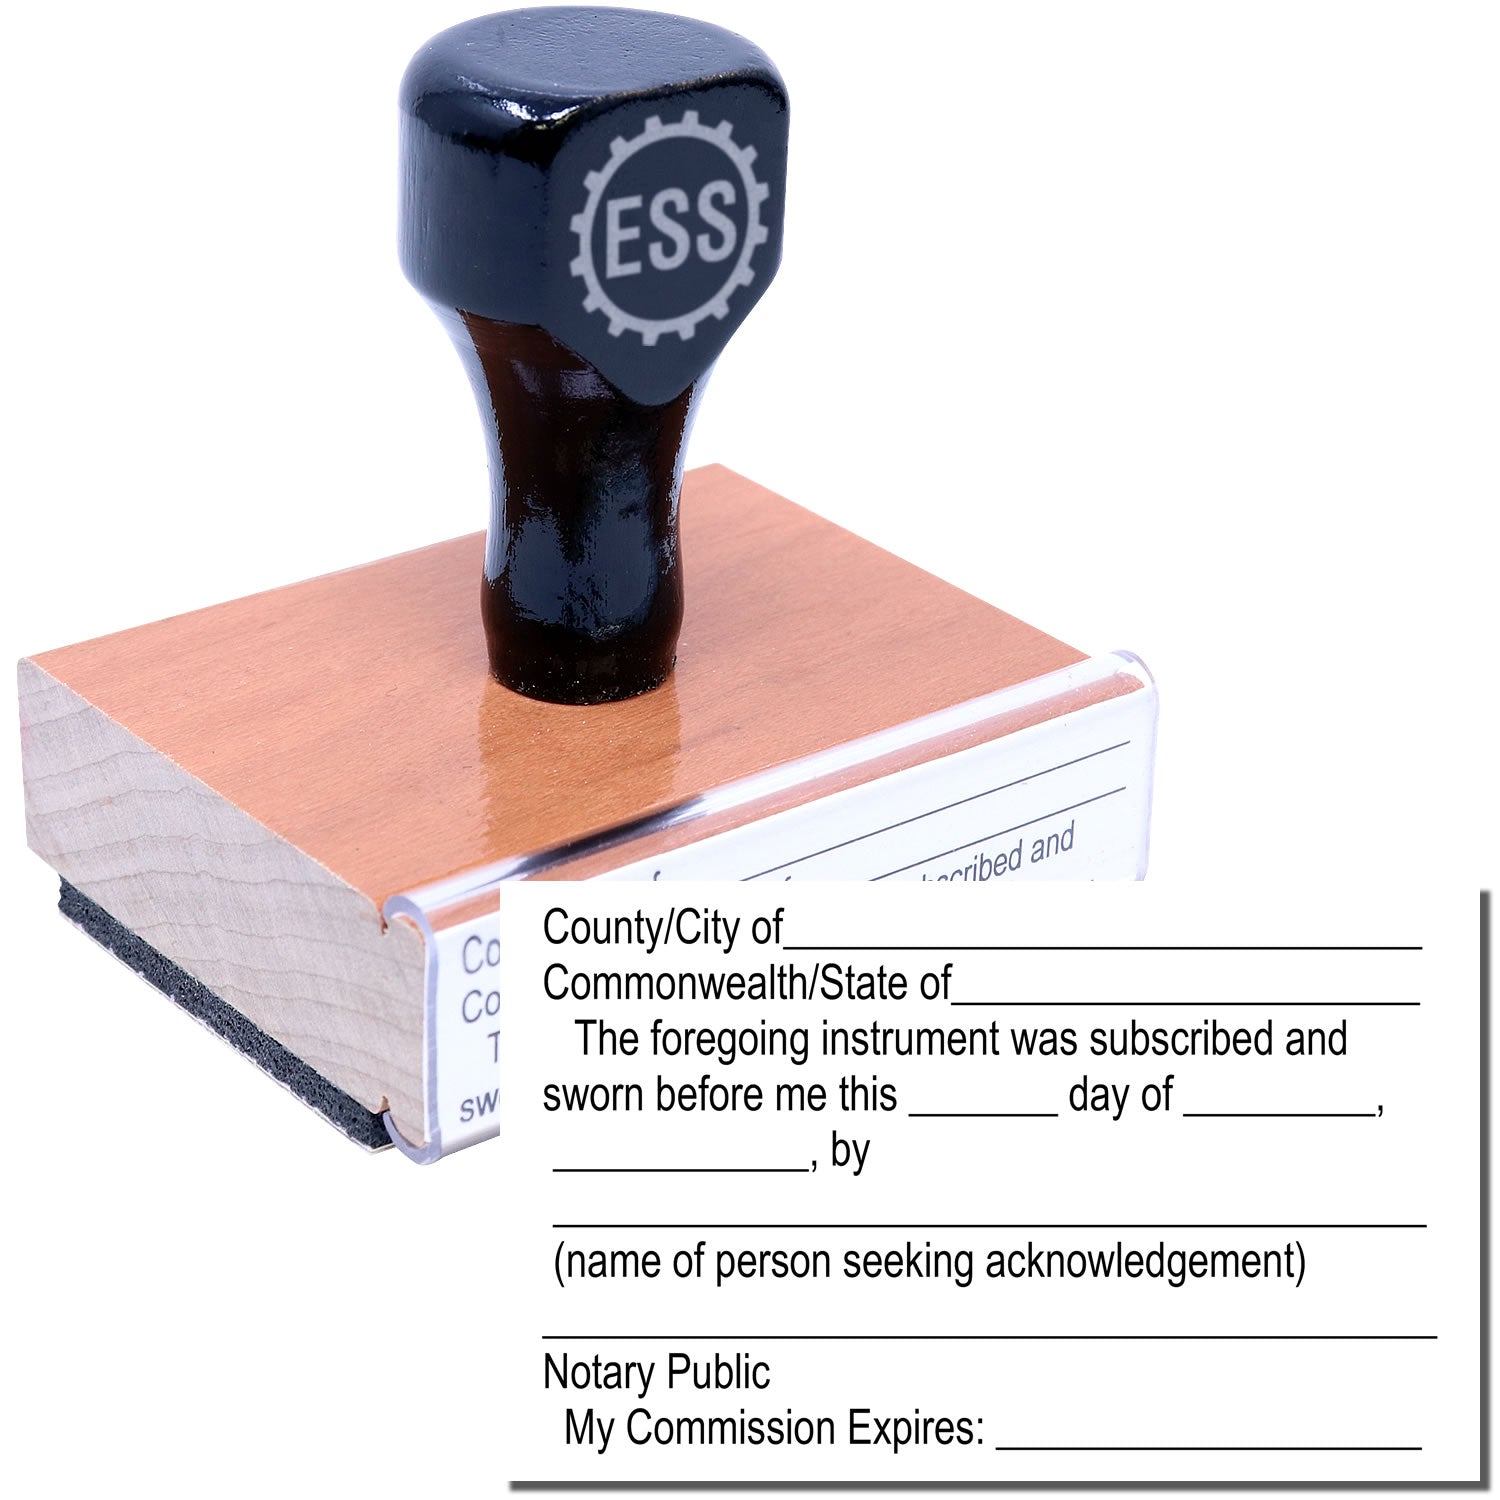
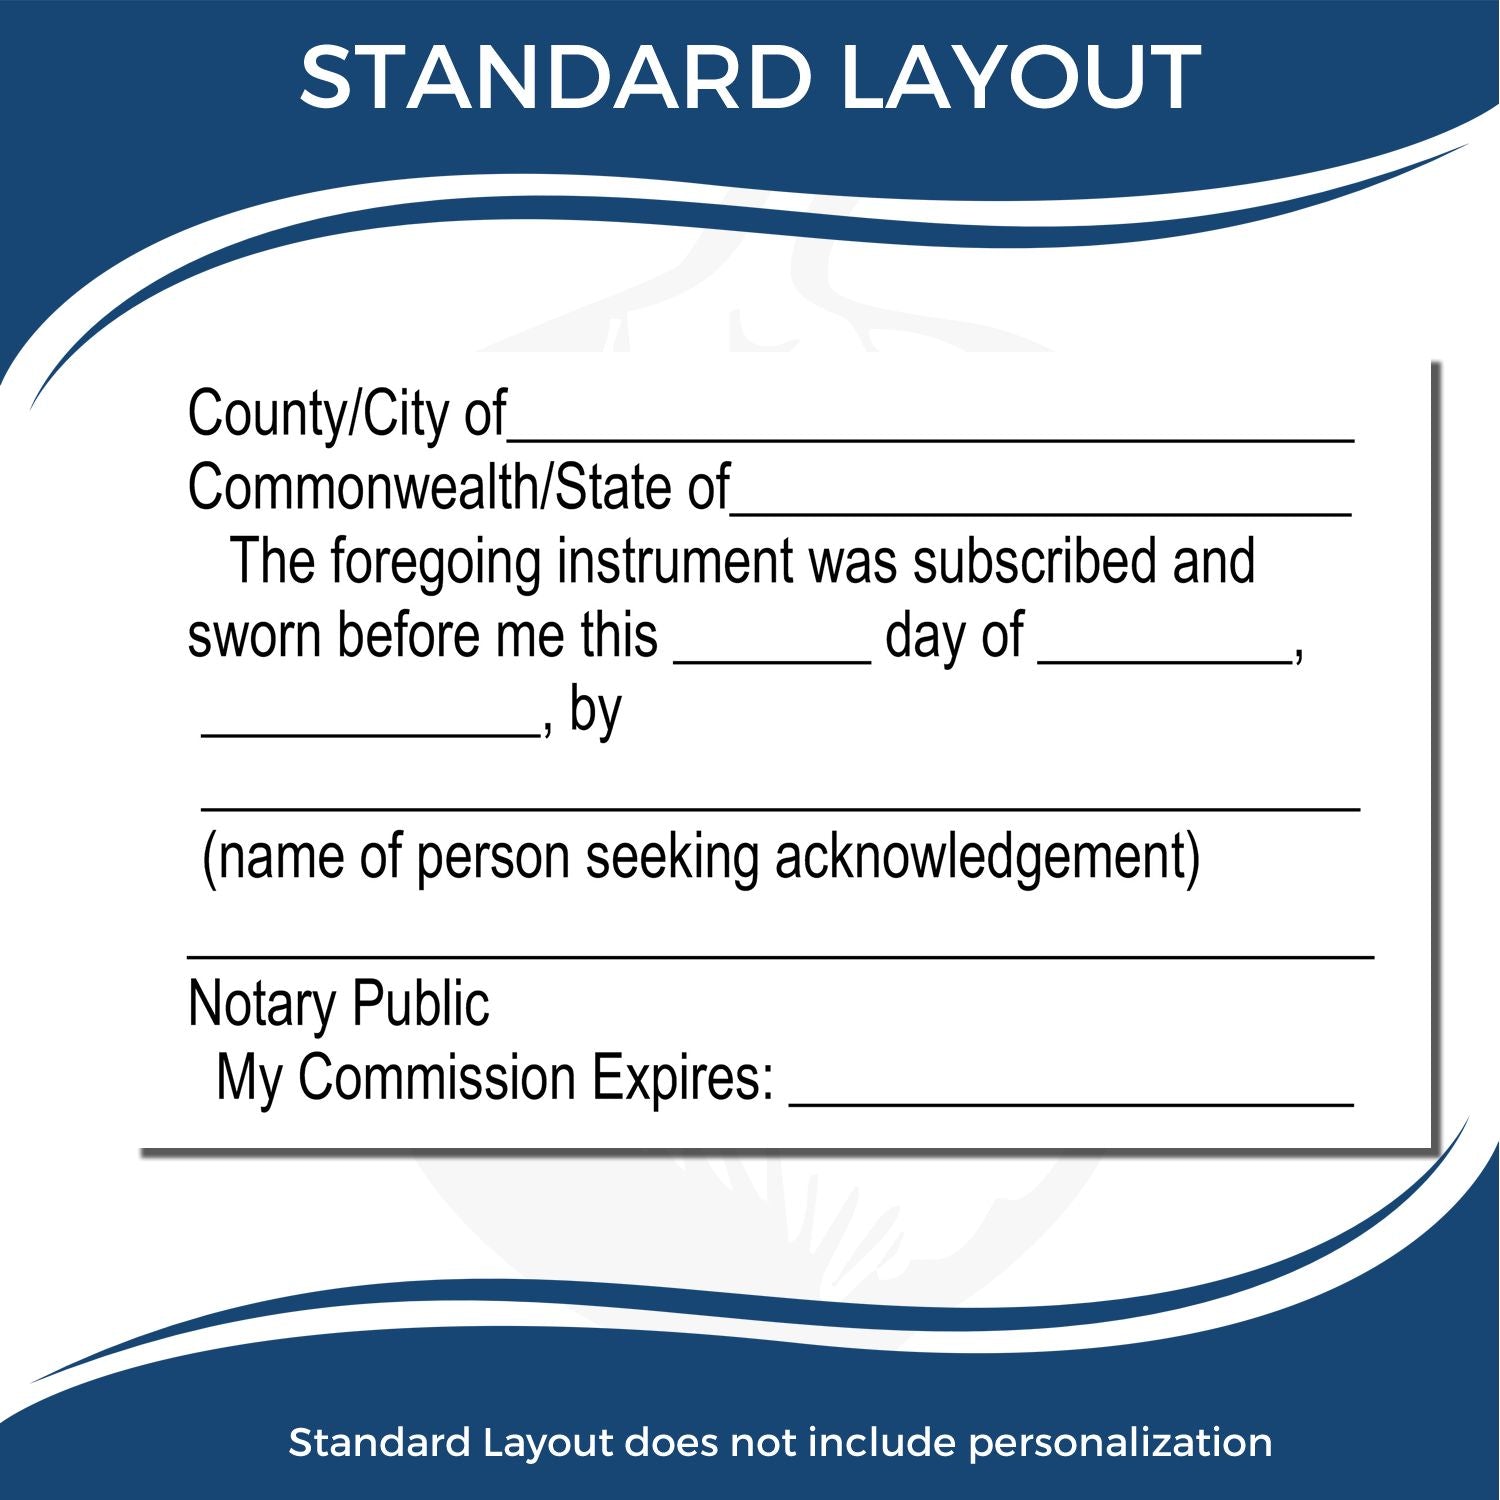
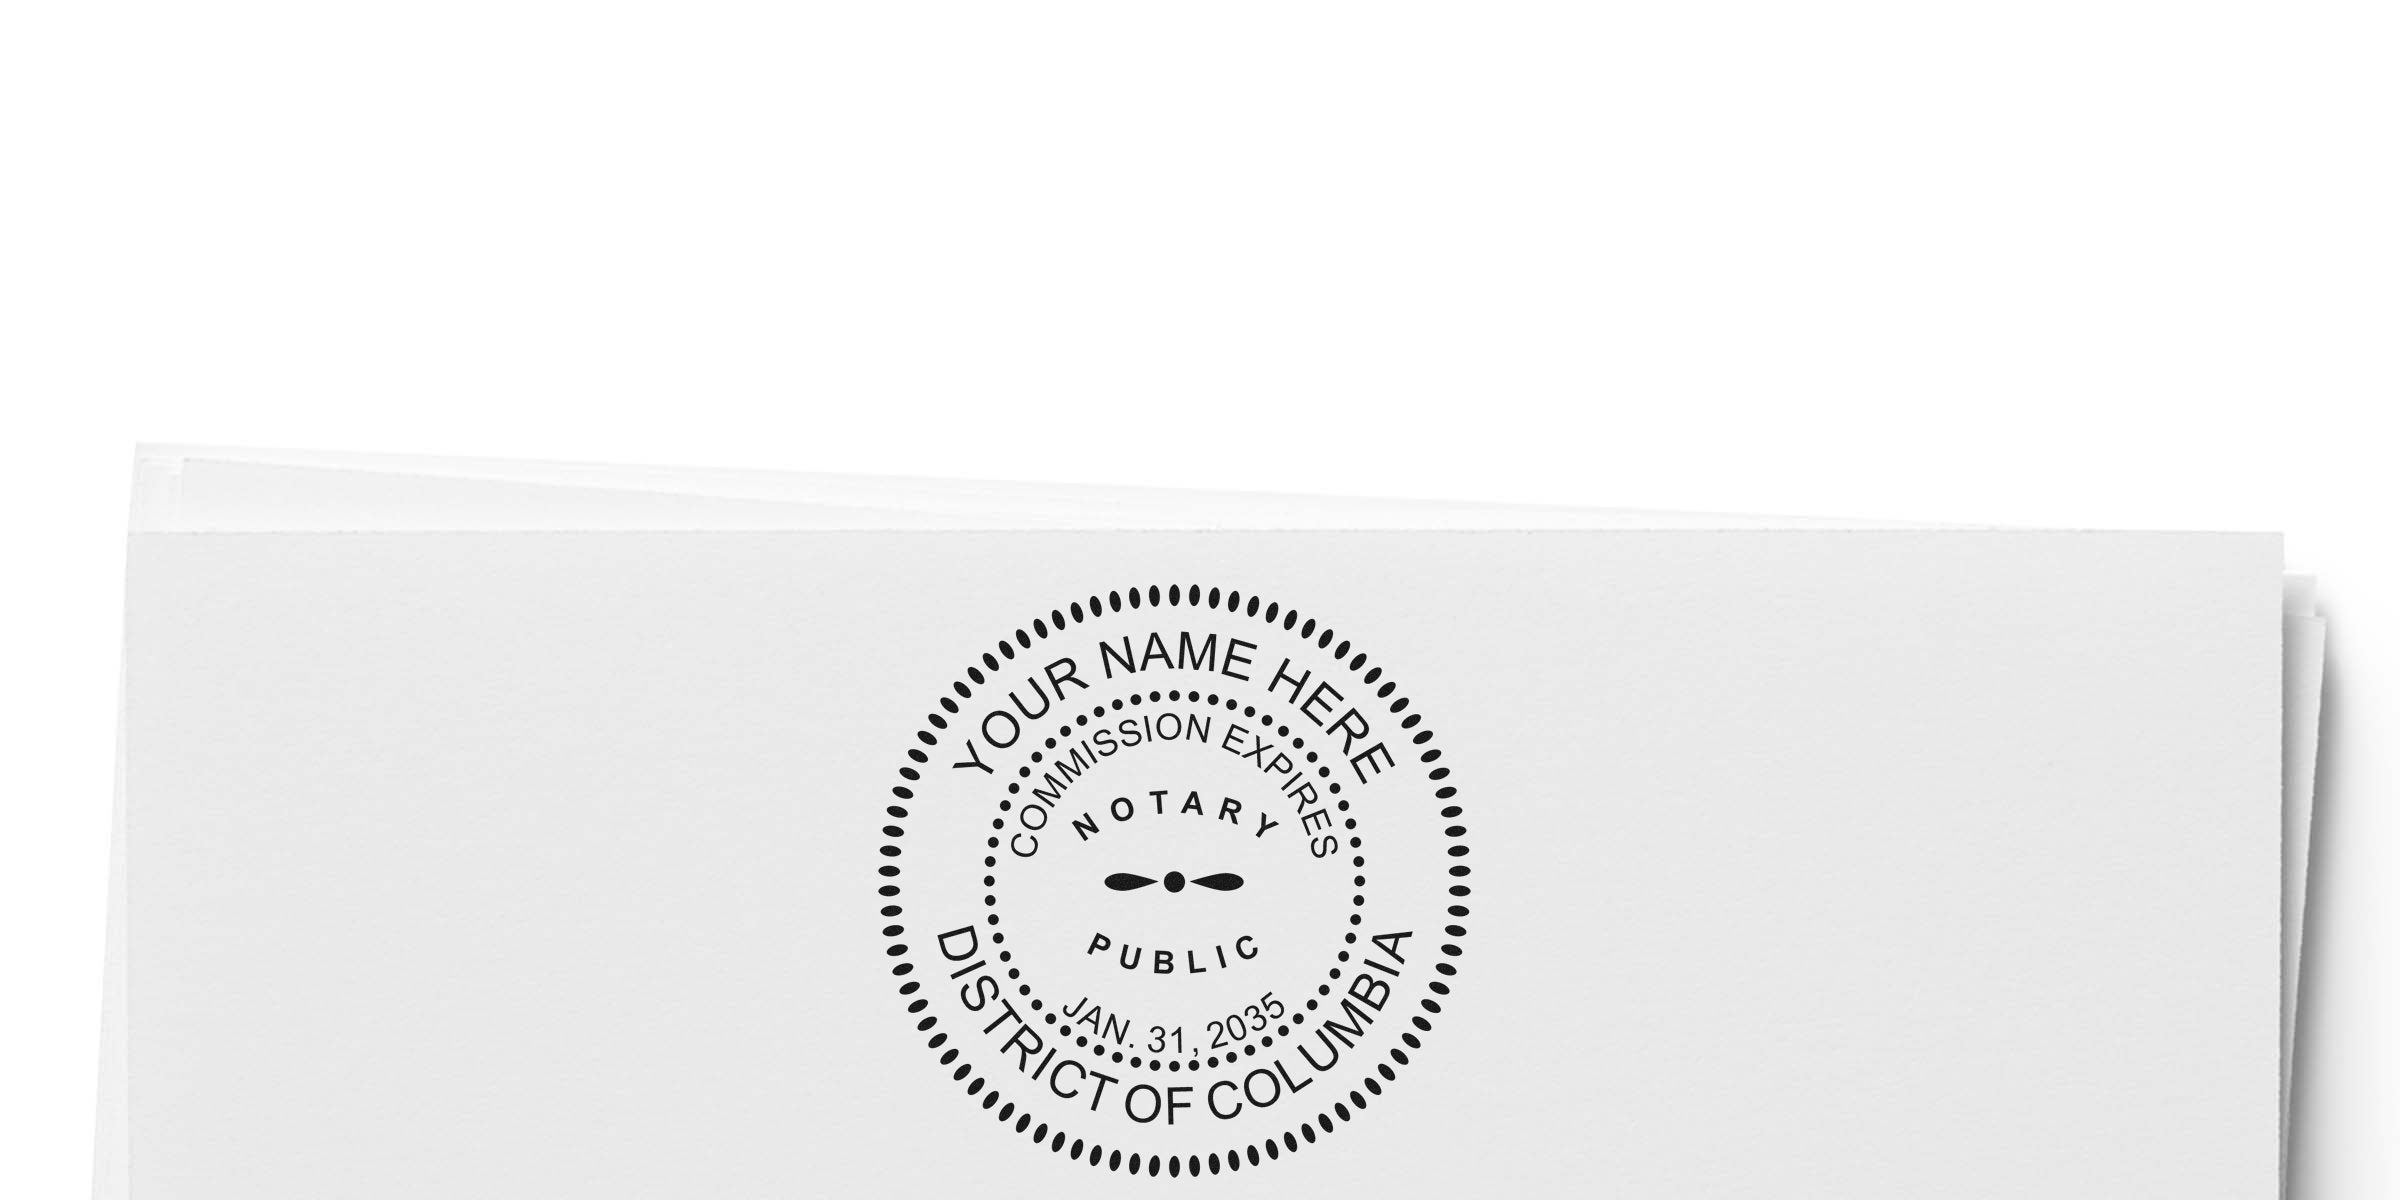
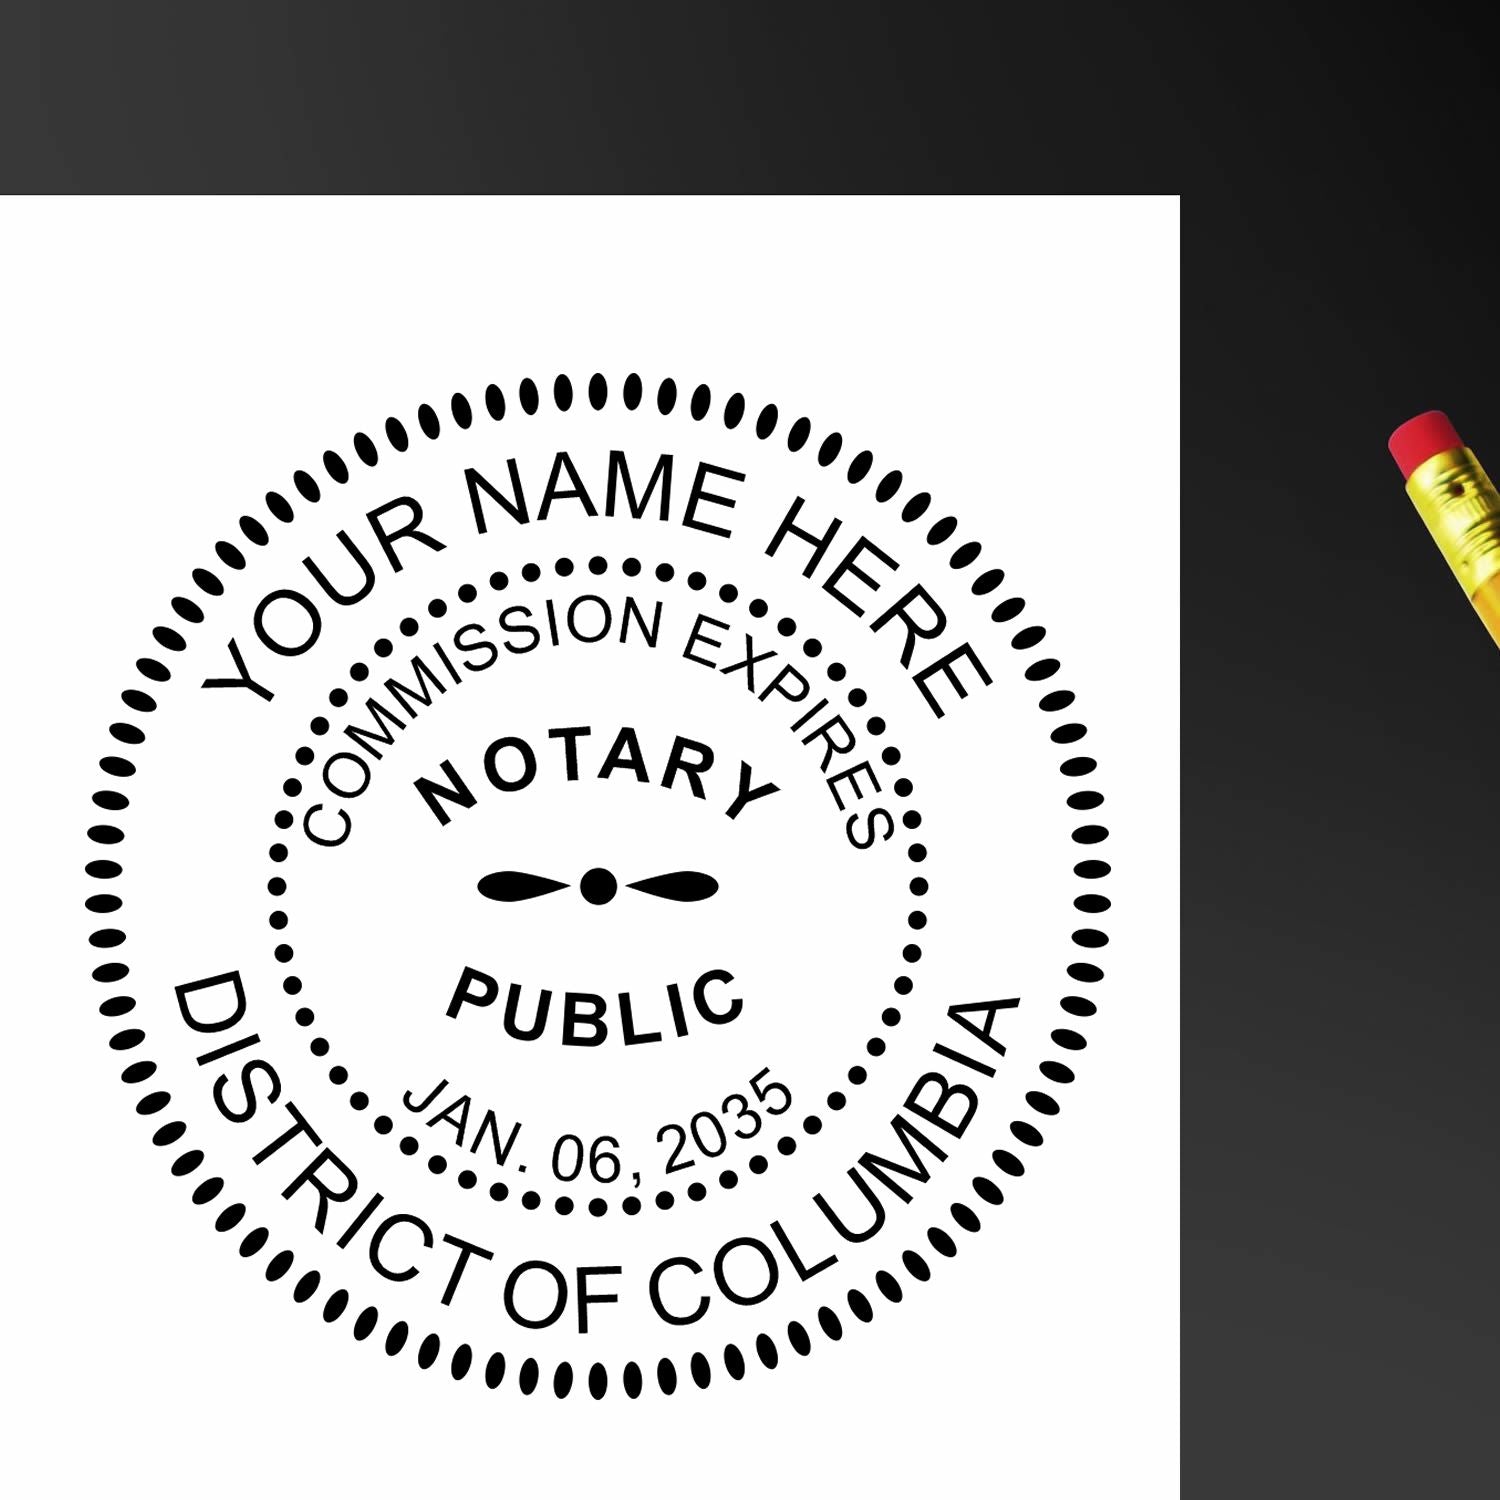
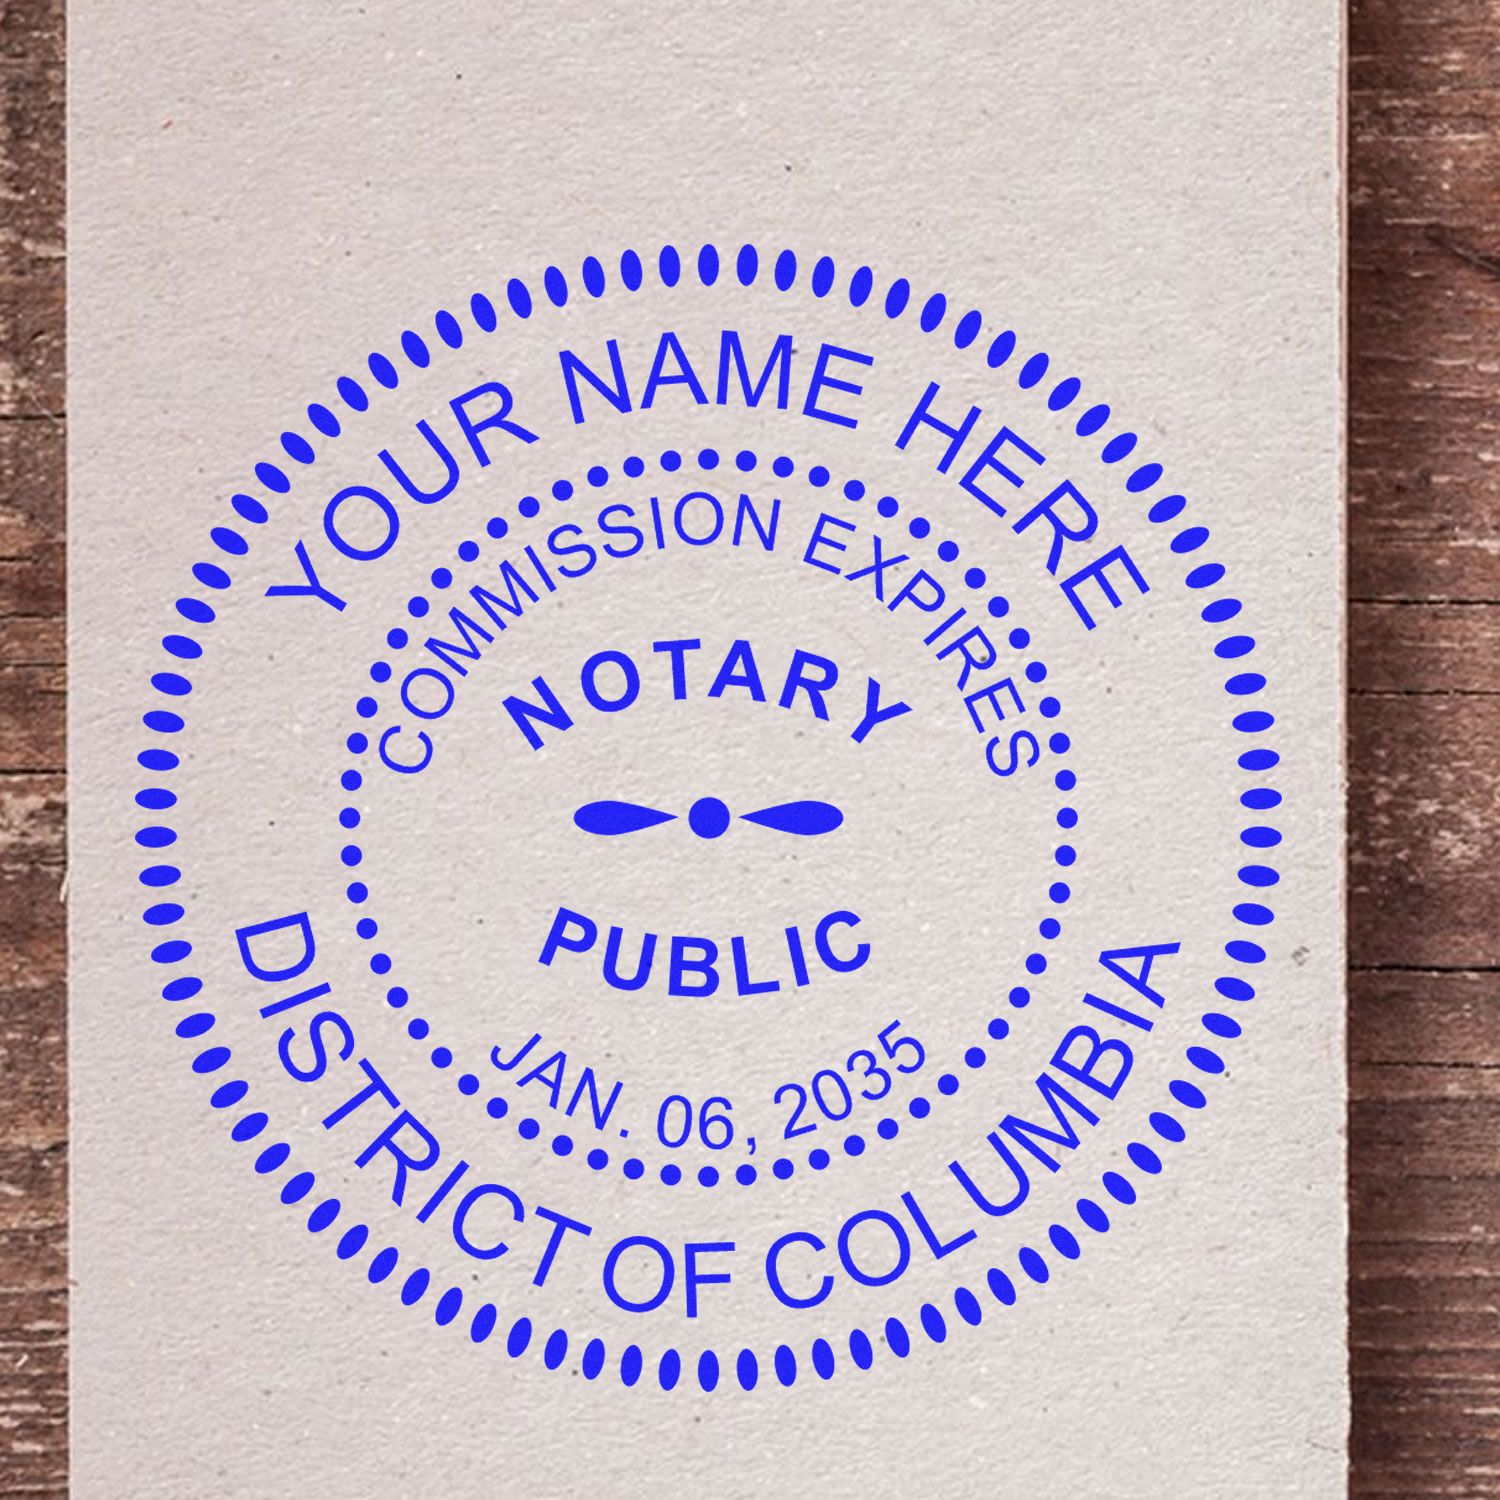
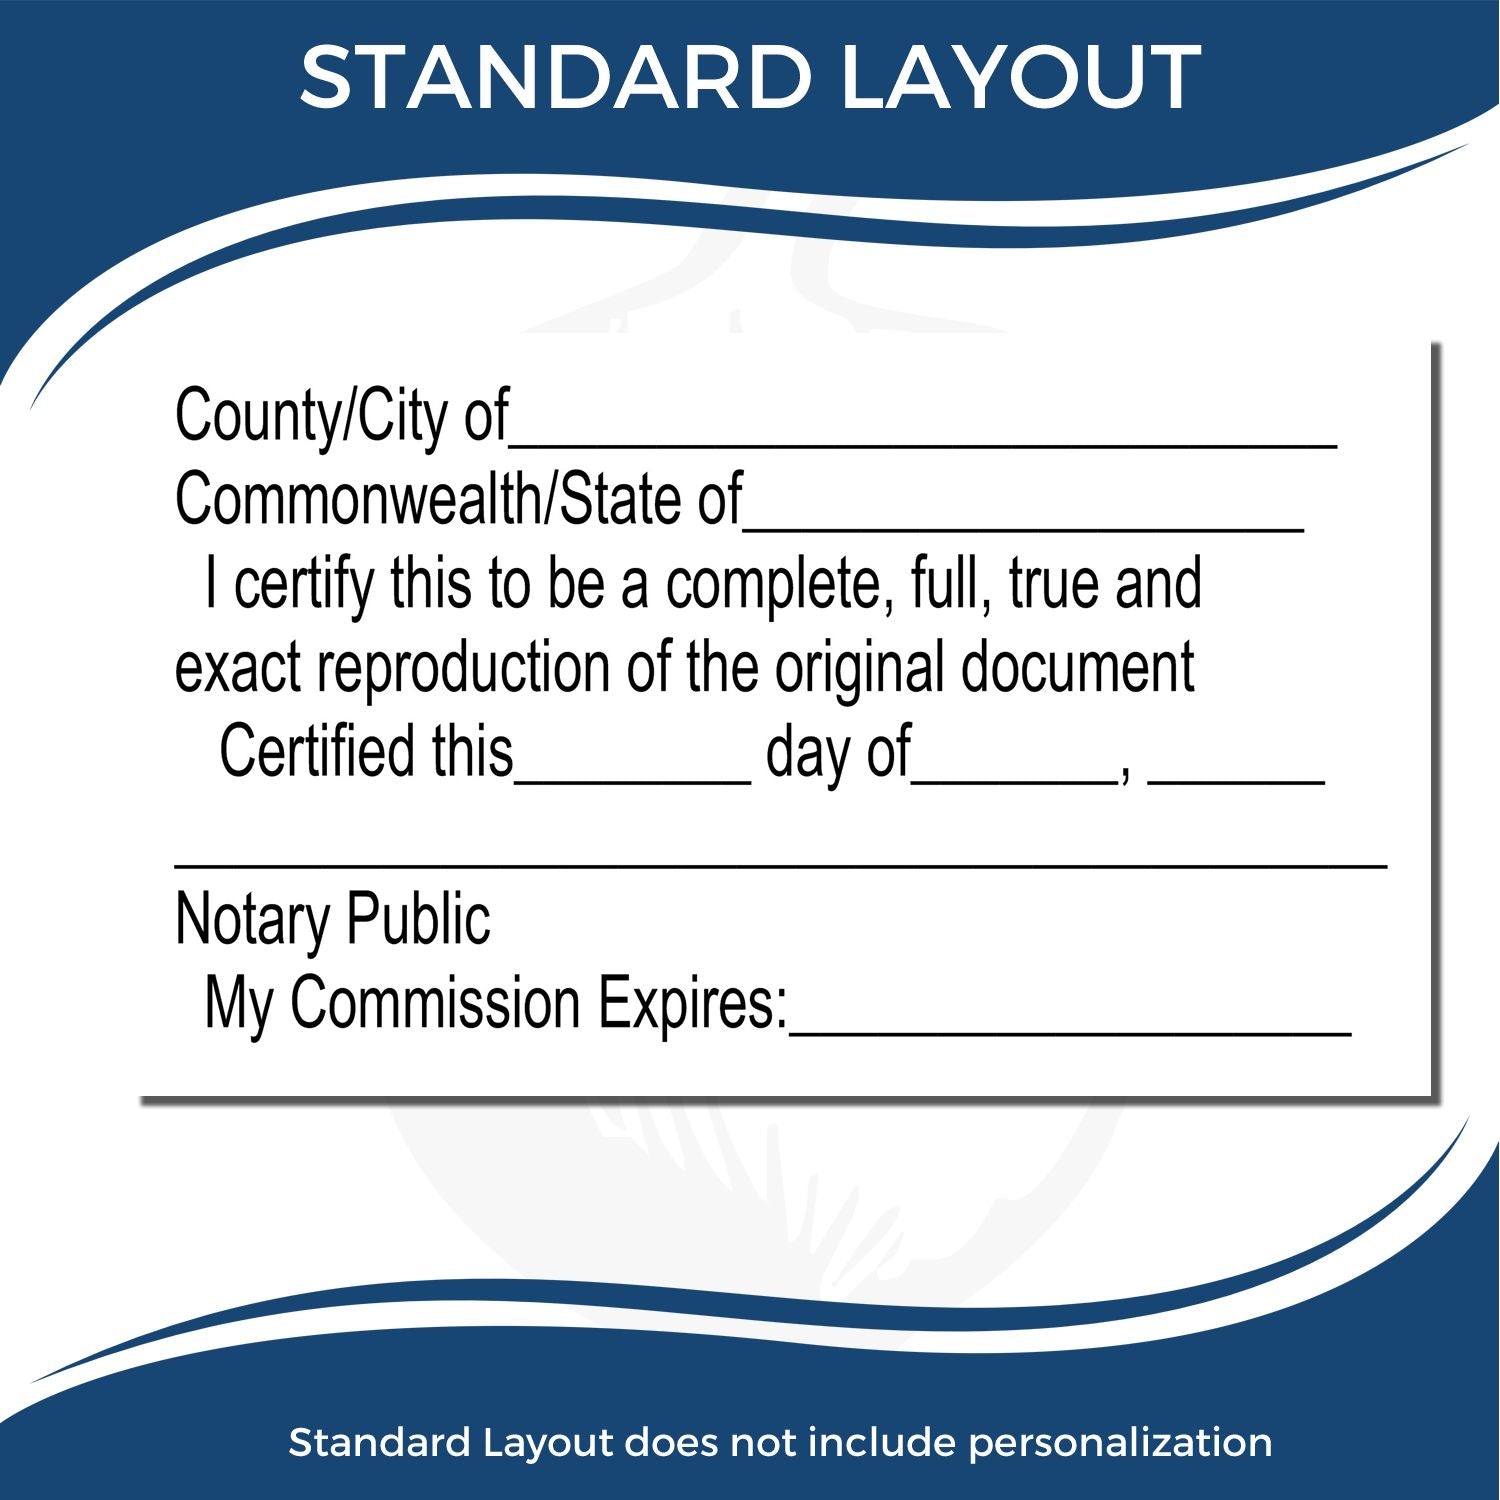
- Notary Stamp:
- Must include your name, the words “Notary Public,” and “District of Columbia.”
- Always check size and ink color requirements set by local rule.
- Notary Journal:
- Handy for logging every transaction.
- Good records protect you (and signers) if a situation is contested in court.
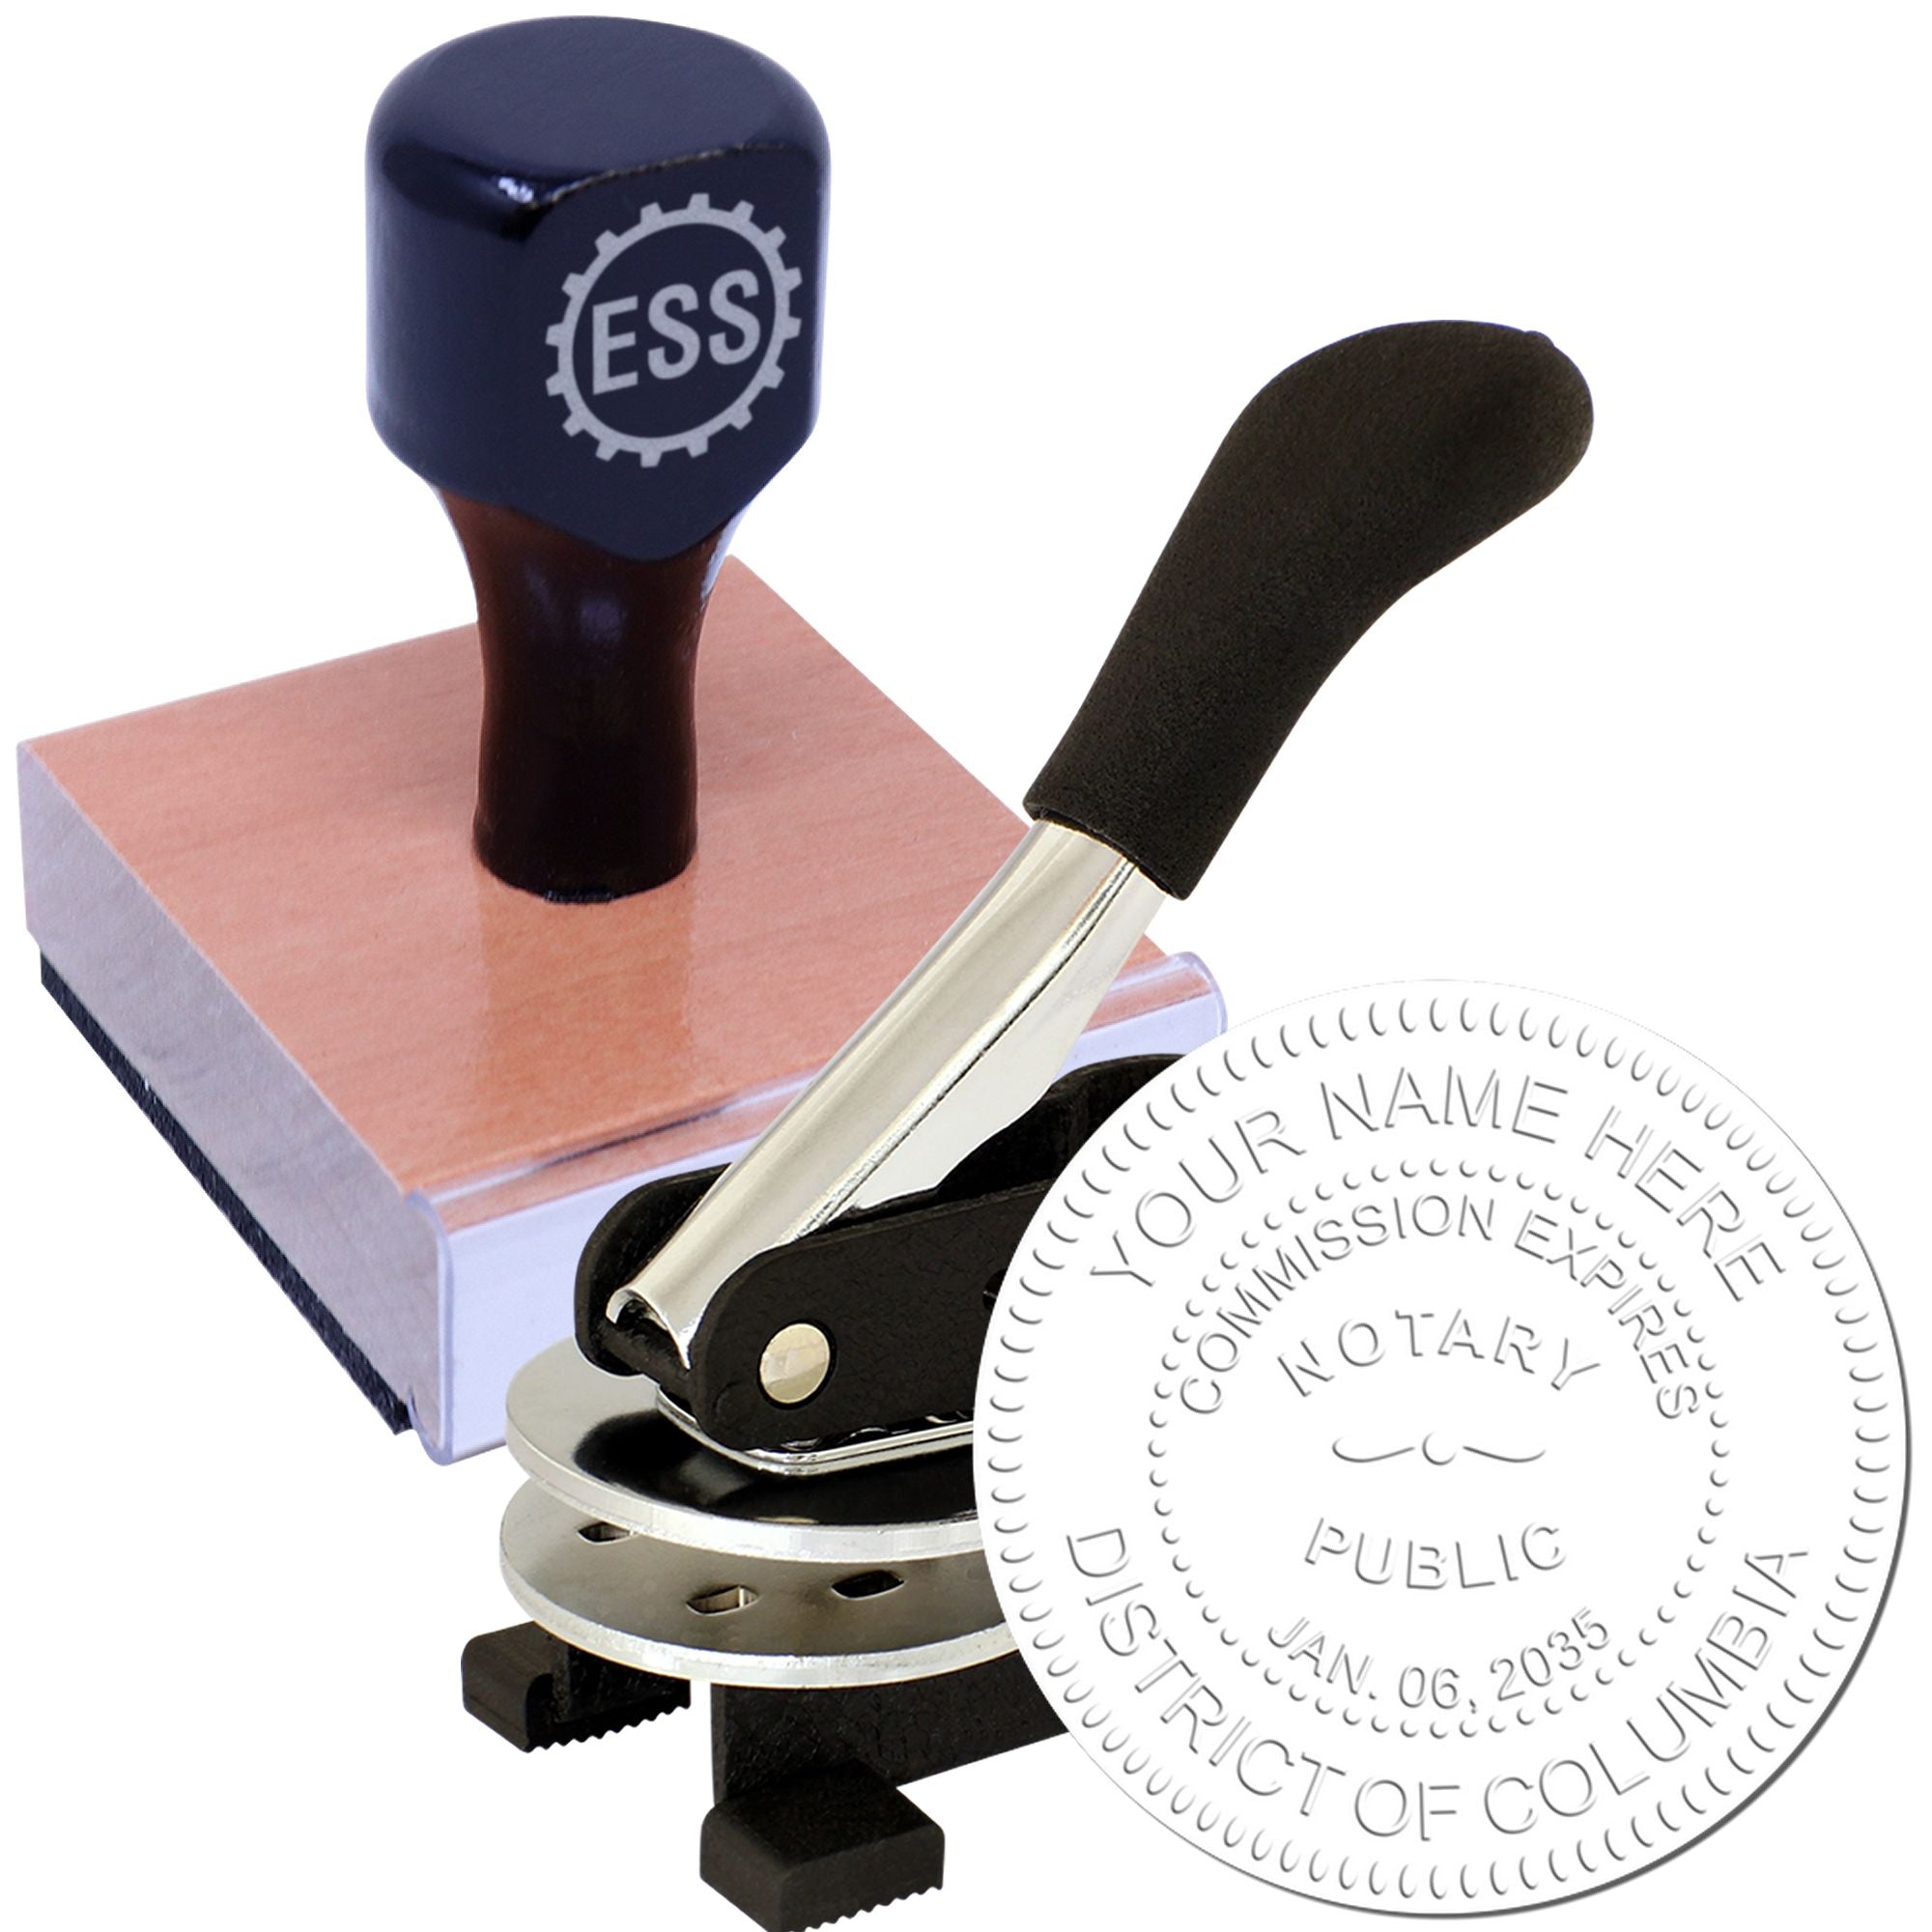
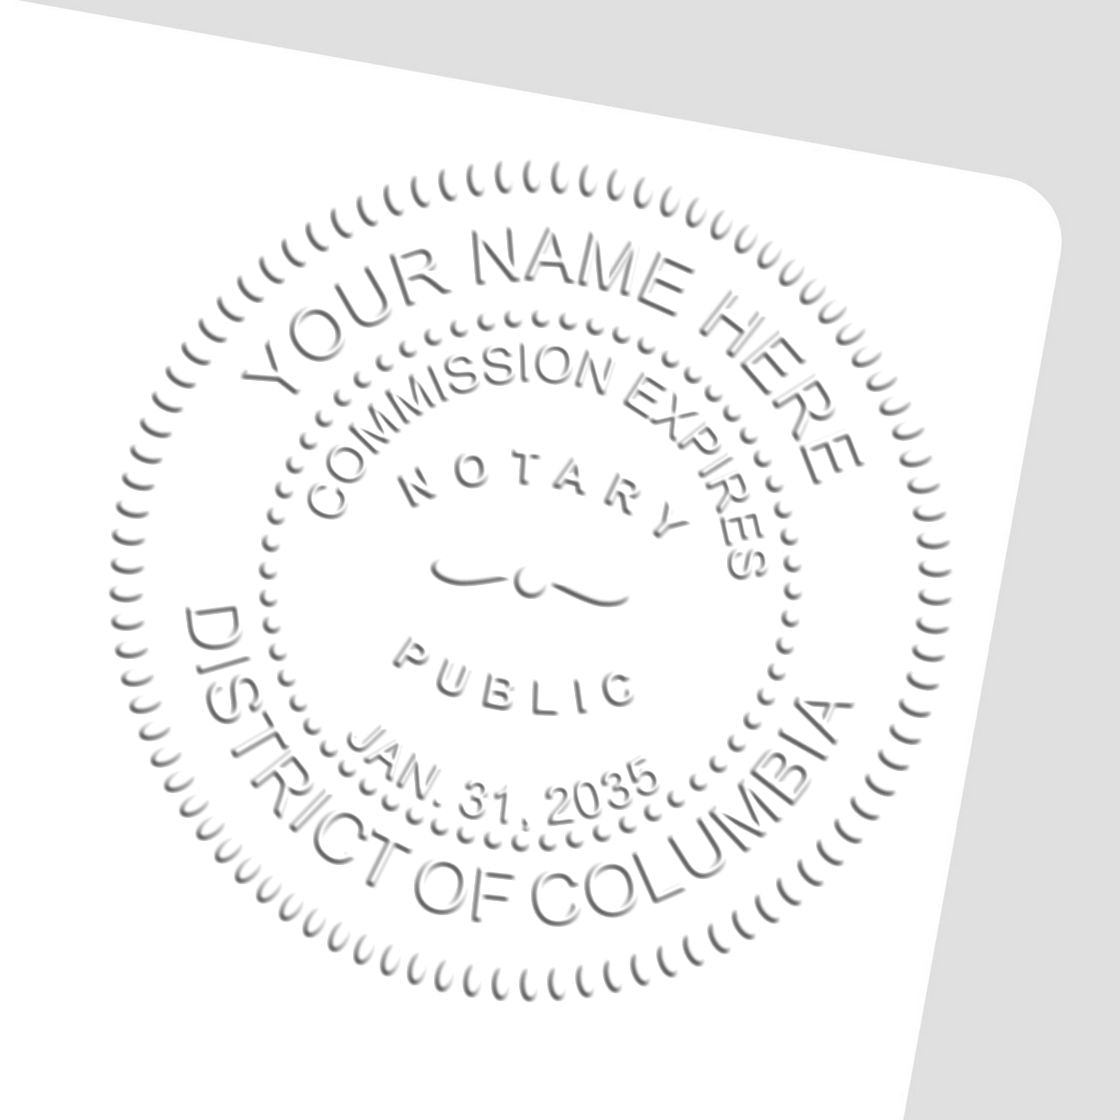
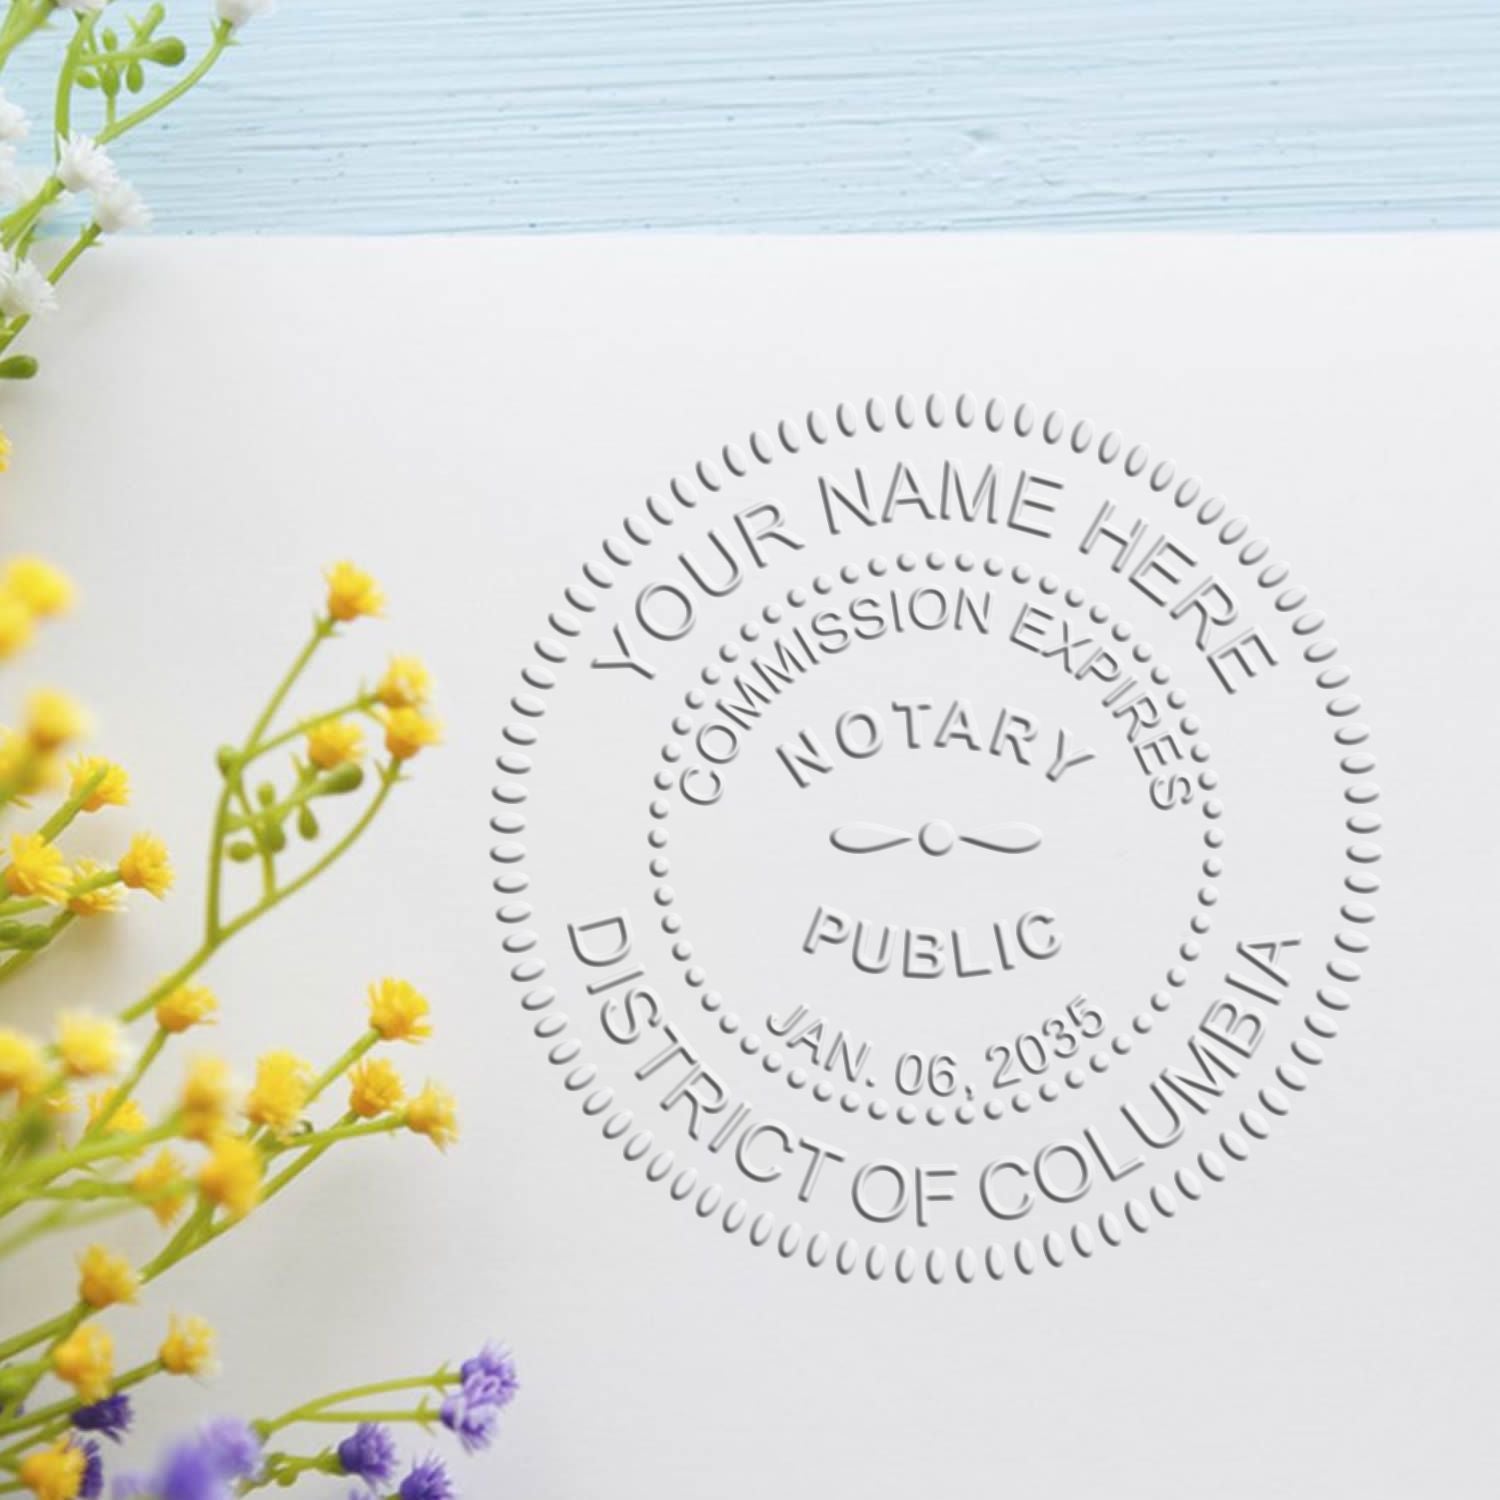
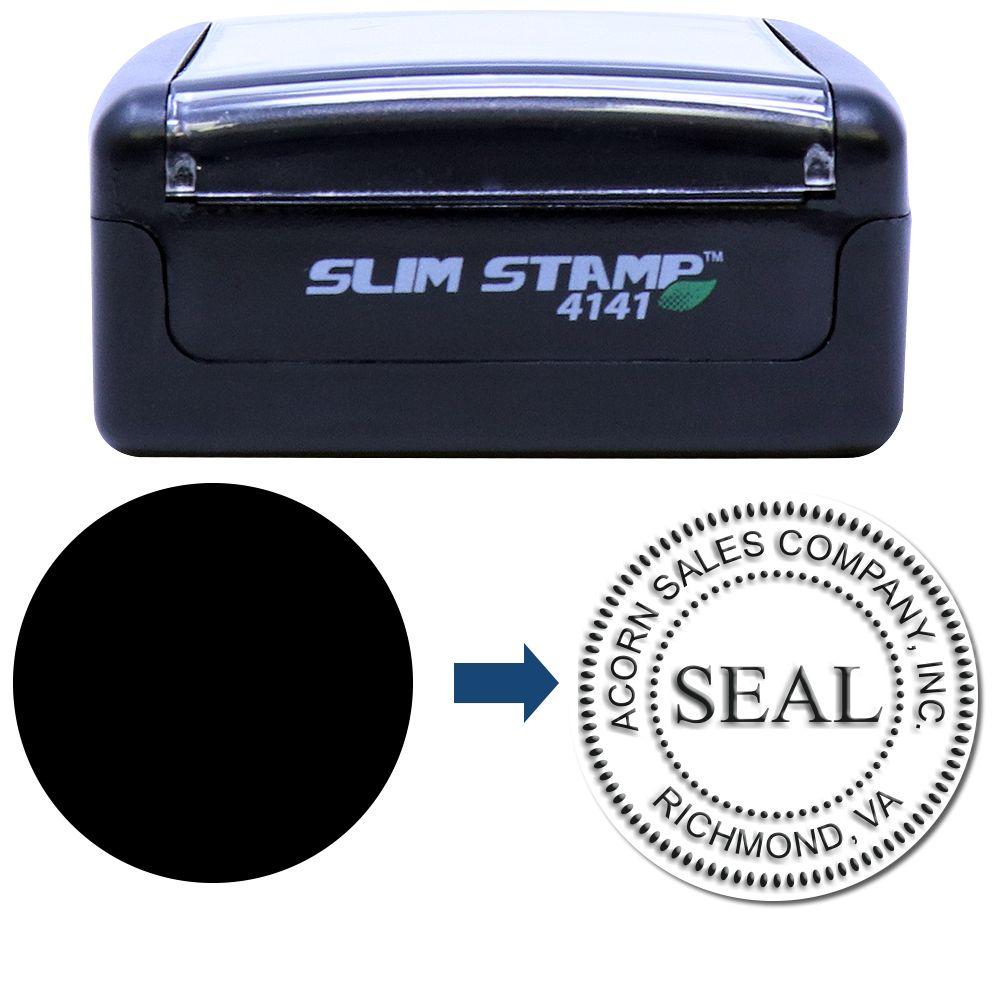
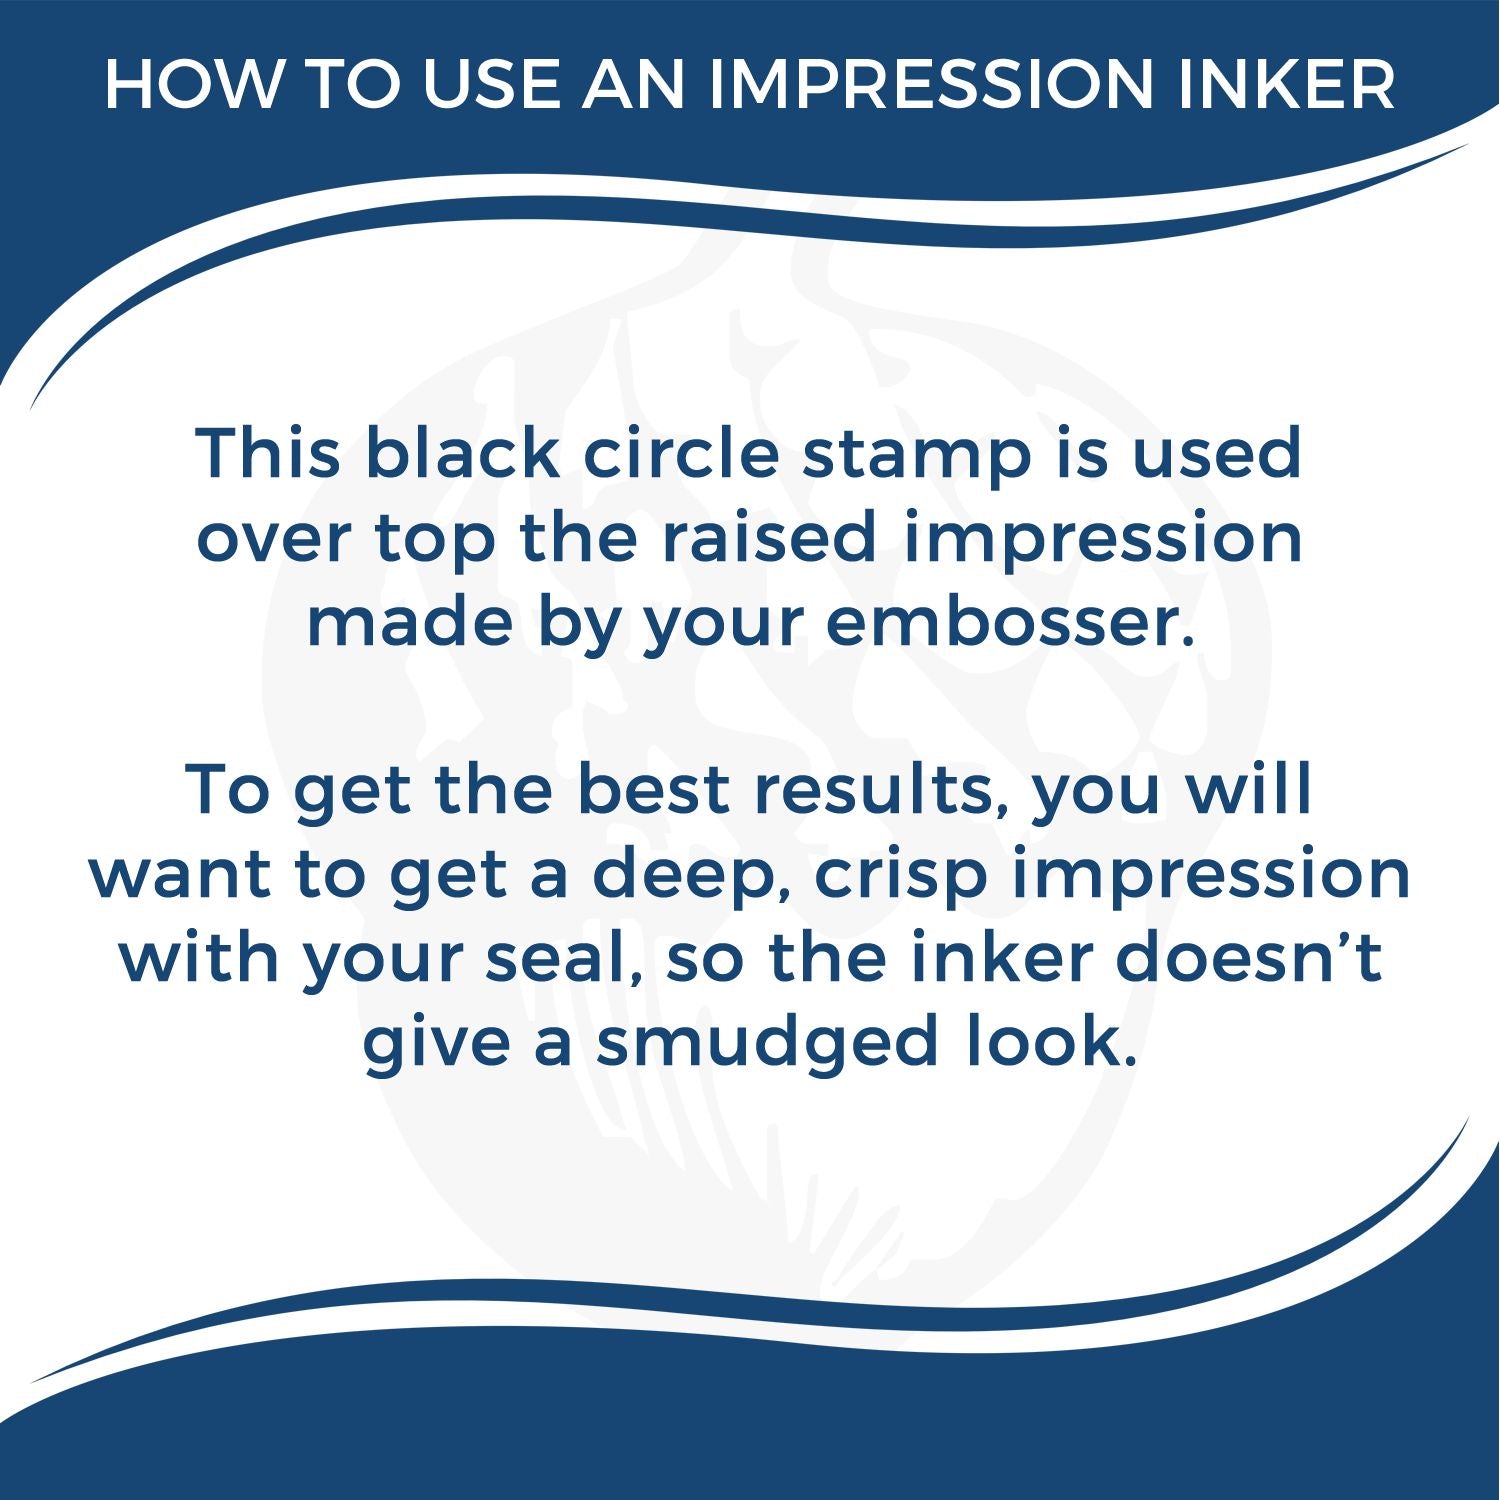
- Notary Seal (If Required):
- Some jurisdictions demand a seal in addition to a stamp.
- Make sure you understand whether the District of Columbia calls for one.
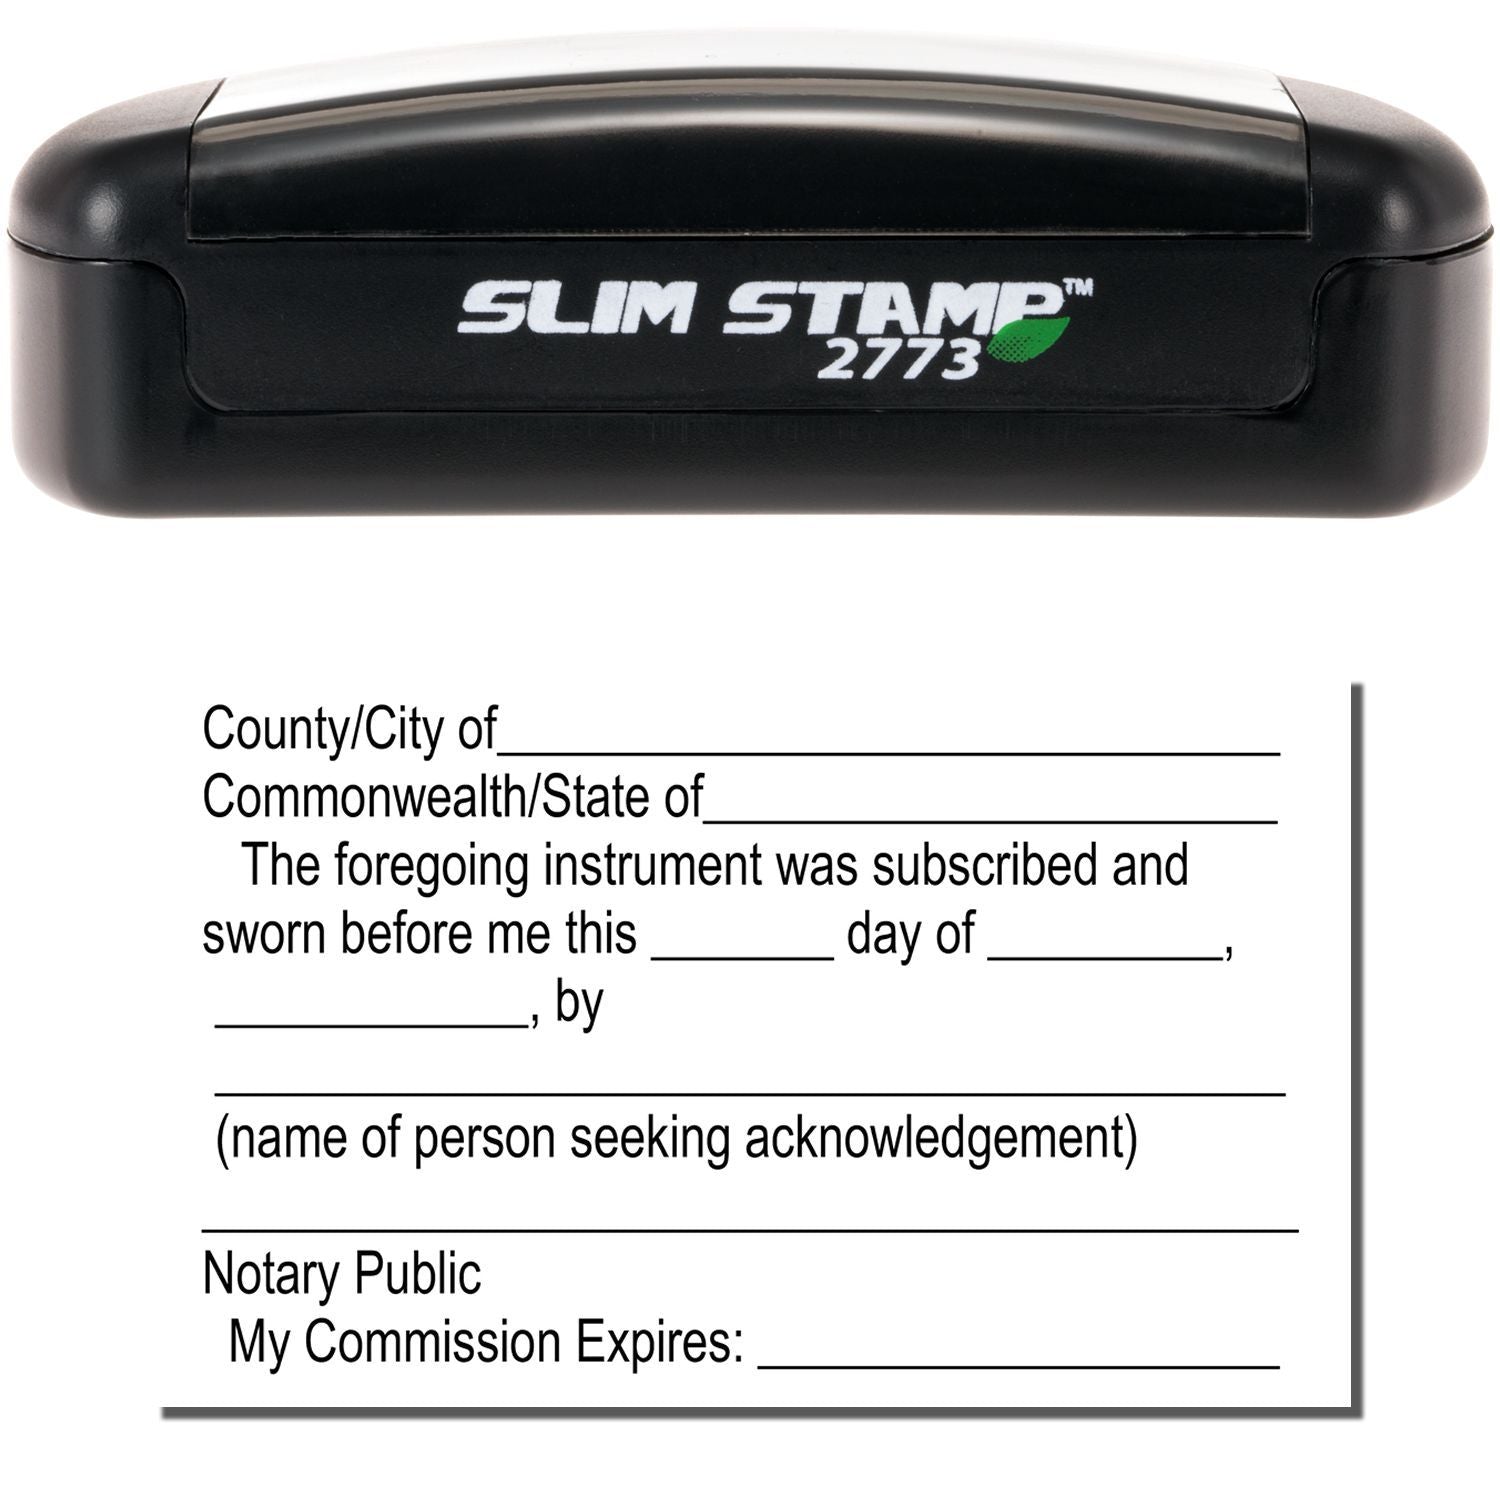
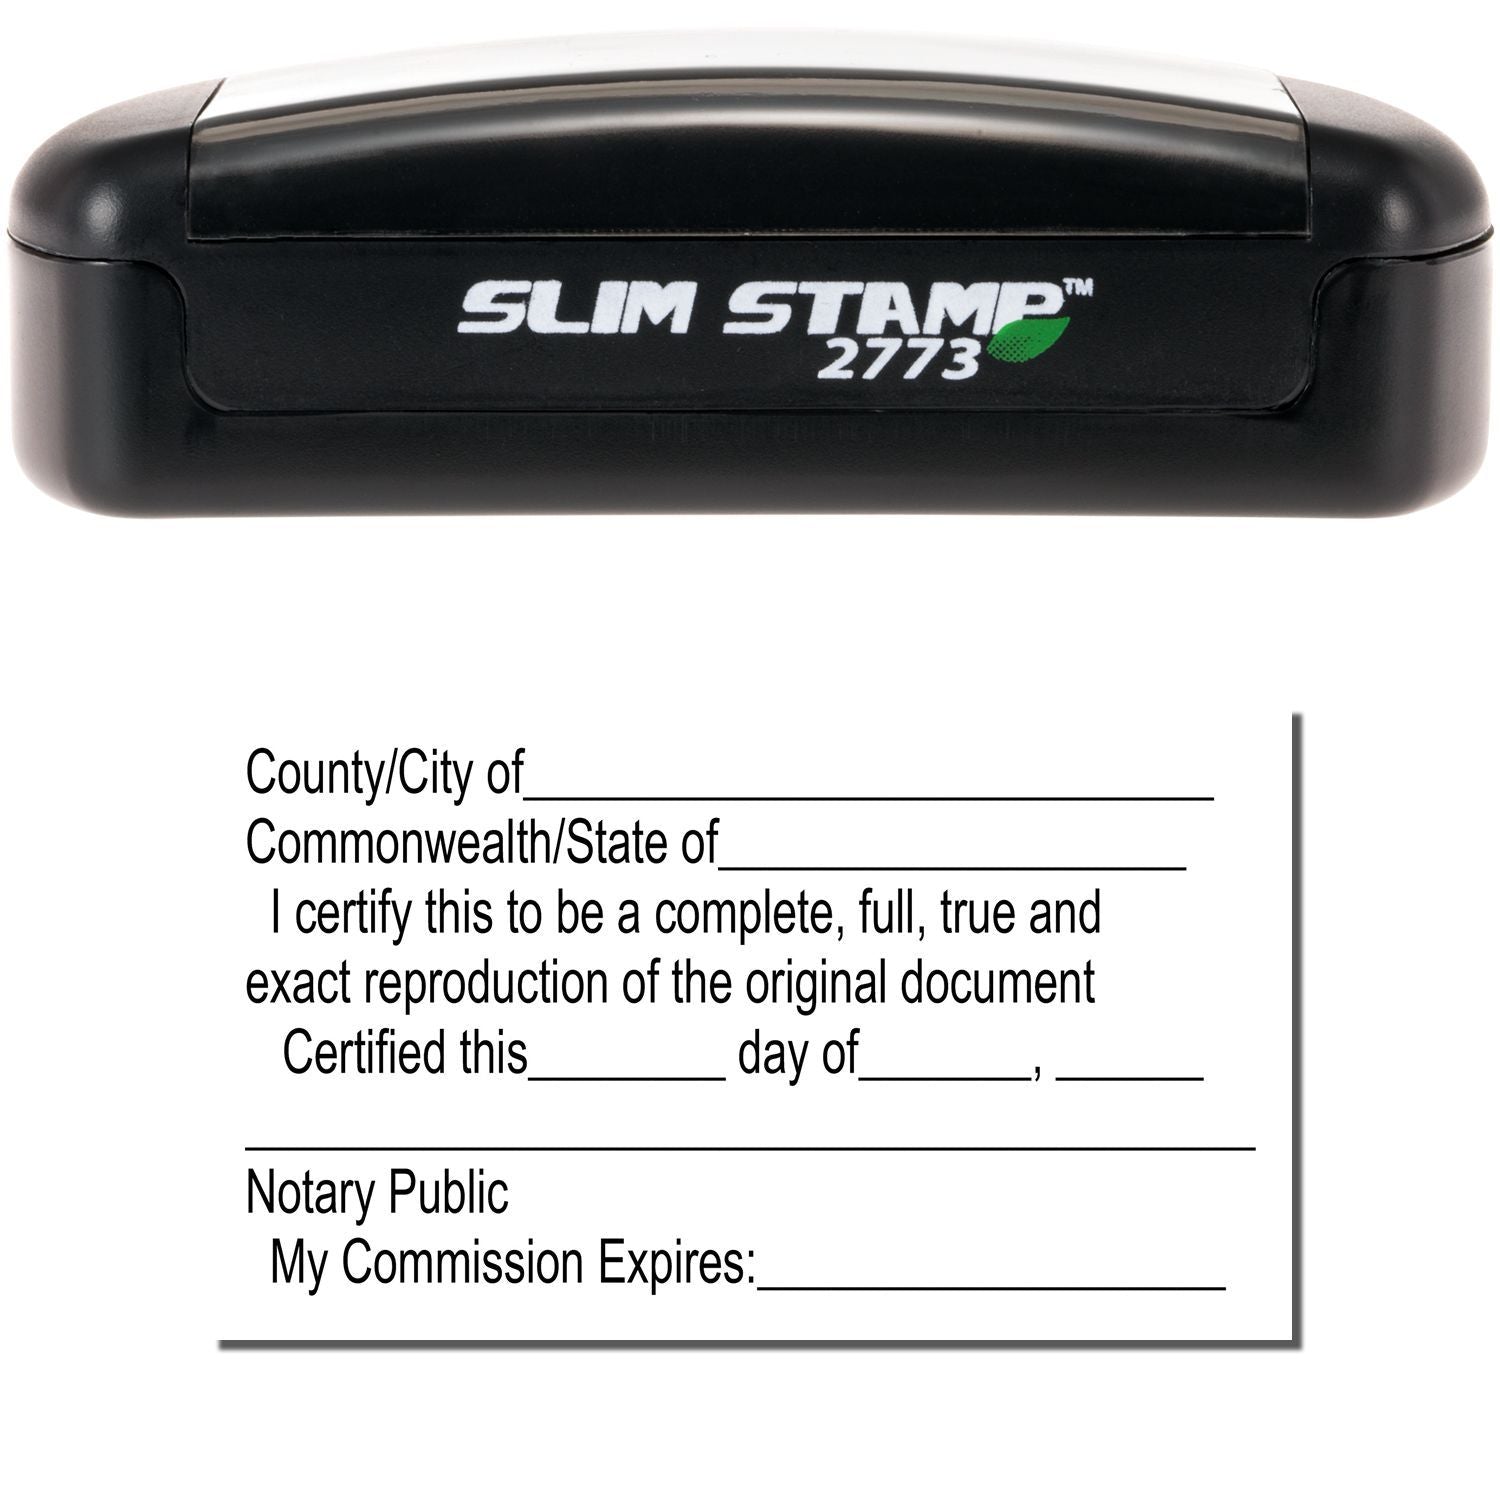
- Make It Convenient:
Go ahead and browse your District of Columbia notary supplies to find exactly what suits your style. For instance, you might prefer a self-inking stamp over a traditional one. The key is clarity. Each stamp impression or seal must be clear enough to read easily.
Quality supplies are worth every penny. The last thing you need is a smudgy stamp that invalidates a document or raises questions about authenticity. With the right gear, you’ll be able to do your job smoothly, protect yourself legally, and keep your clients happy.
Renew And Maintain Your Commission
Being a District of Columbia notary isn’t just a one-time achievement. To keep this official role, you need to stay on top of renewal dates and day-to-day responsibilities.
- Track Your Expiration Date:
- You’ll find it on your notary certificate.
- Set a calendar alert six months before it expires, so you’re not scrambling at the last minute.
- Complete Any Renewal Forms:
- Likely similar to your initial application.
- Some offices will require another background check or refresher training.
- Maintain Your Notary Journal:
- Keep it neat and orderly.
- Each time you notarize something, record the type of document, date, and signer details.
- Follow Changes In Laws:
- Rules can shift over time.
- If you ignore updates, you risk missteps.
- Stay in the loop by occasionally checking official D.C. websites or bulletins.
Remember, you’re offering a service that has real legal weight. So even after your first commission, you want to keep learning, stay vigilant about any legal changes, and always keep accurate records. Consistency helps to preserve your good standing, which your clients will appreciate.
Gather Helpful Tips
While the official steps are necessary, there are extra tips and tricks that can make your notary experience smoother. It’s a little like having a cheat sheet for best practices.
Keep Your Workspace Organized:
When someone walks in for a notarization, you want to project confidence. Having your stamp, seal, and journal neatly laid out puts everyone at ease.Confirm Signers’ Identities Thoroughly:
Don’t rely on a quick glance at their ID. Take a moment to match the photo, confirm date of birth, and double-check the name. This added care prevents fraud and covers you if questions arise later.Educate Signers On Incomplete Documents:
If you spot blank sections or missing pages, let them know you can’t notarize until everything is correct. It’s better to delay a few minutes than to be linked to an invalid or fraudulent document.-
Suggest Pre-Signing Steps:
If someone has never used a notary before, explain they should fill out all fields that don’t need your official seal or signature. This usually speeds up the meeting, making everything smoother.Save 27%
 Save 13%
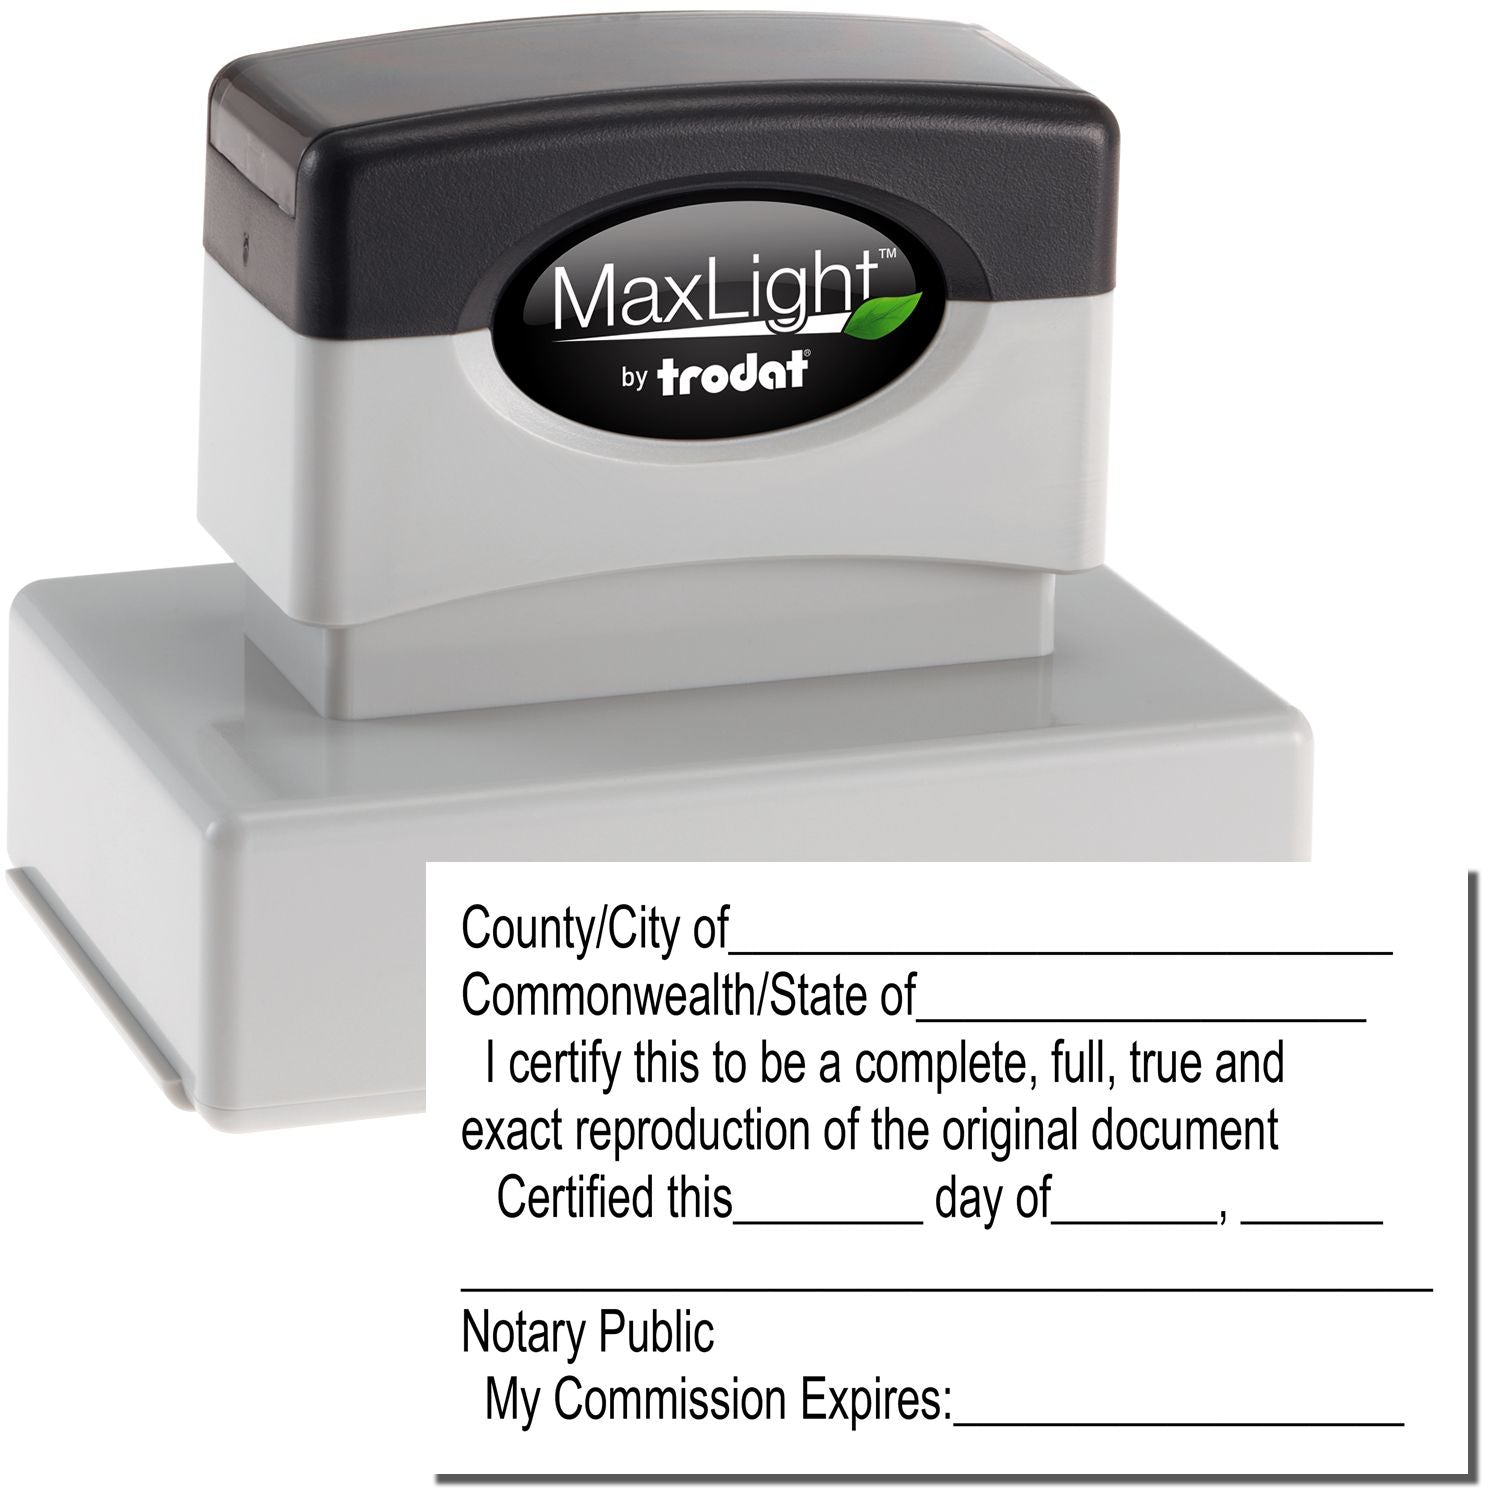
Stay Personable:
A warm hello can calm anxious folks who aren’t sure how notarization works. You’re not just stamping papers, you’re providing guidance. That friendly approach turns a mundane errand into a positive experience.


These best practices help you stand out as a notary who puts quality and service first. The more smoothly things go, the more likely people are to return the next time they need an official stamp.
FAQs Before You Get Started
Do I Need To Live In Washington, D.C.?
Yes and no. You can become a commissioned notary in the District if you live there or if your primary place of employment is located in Washington, D.C. The key is proving your direct connection to the region through valid eligibility documents.
How Long Does A D.C. Notary Commission Last?
Commission terms can vary, but they typically last several years. Your commission certificate states your expiration date, so mark it on your calendar. You’ll get the chance to renew before it lapses, often by repeating steps similar to your initial application.
What If I Move To Another State?
If you change your residency so that it no longer meets the District’s requirements, your D.C. commission might be affected. Some notaries relinquish their District commission when moving away. If you’re staying nearby and still working in the District, you might keep your commission. Always check the rules before making any assumptions.
How Much Should I Expect To Pay For A Stamp?
Costs can vary based on the type of stamp, customization, and provider. The good news is that stamps aren’t usually very expensive. With Engineer Seal Stamps, for instance, you can find budget-friendly options, enjoy quick service, and even snag a free digital stamp when you purchase your physical notary stamp or seal.
Once you feel confident with the basics, you’re basically ready to notarize. From verifying identities to placing your official seal, each step helps strengthen the legal integrity of crucial documents.
If you still have questions, check your local government’s website or talk to fellow notaries. Keep in mind that the District’s notary requirements may change, so staying informed will help you stay compliant.
Now that you’ve got this resources-filled roadmap, you’re all set to begin (or continue) your journey as a District of Columbia notary public. By following these steps, putting integrity first, and using high-quality supplies, you’ll offer top-notch notarial services that your community can rely on. Good luck with your new commission, and go ahead—make your notarial mark on D.C.’s legal landscape!