Need a unique, budget-friendly way to showcase your brand on product labels or gift packaging? A custom logo stamp for tags can work wonders. Whether you run a small jewelry store or you’re selling artisanal soaps, adding a personalized stamp to each tag helps tie your brand together in a simple, memorable way. Plus, you won’t need fancy equipment or an extensive design background to get started. All you need is some creativity, a bit of planning, and a reliable stamp you’ll love using for the long haul.
When customers pick up your product and see your logo stamped on the tag, it immediately sends a message about your brand’s personality. It might be playful, sleek, vintage, or edgy—whatever you choose to convey. But creating that distinct look doesn’t have to be complicated. Let’s explore how you can make the most of a custom logo stamp, from your initial design ideas to everyday usage and maintenance.
Embrace the custom logo stamp
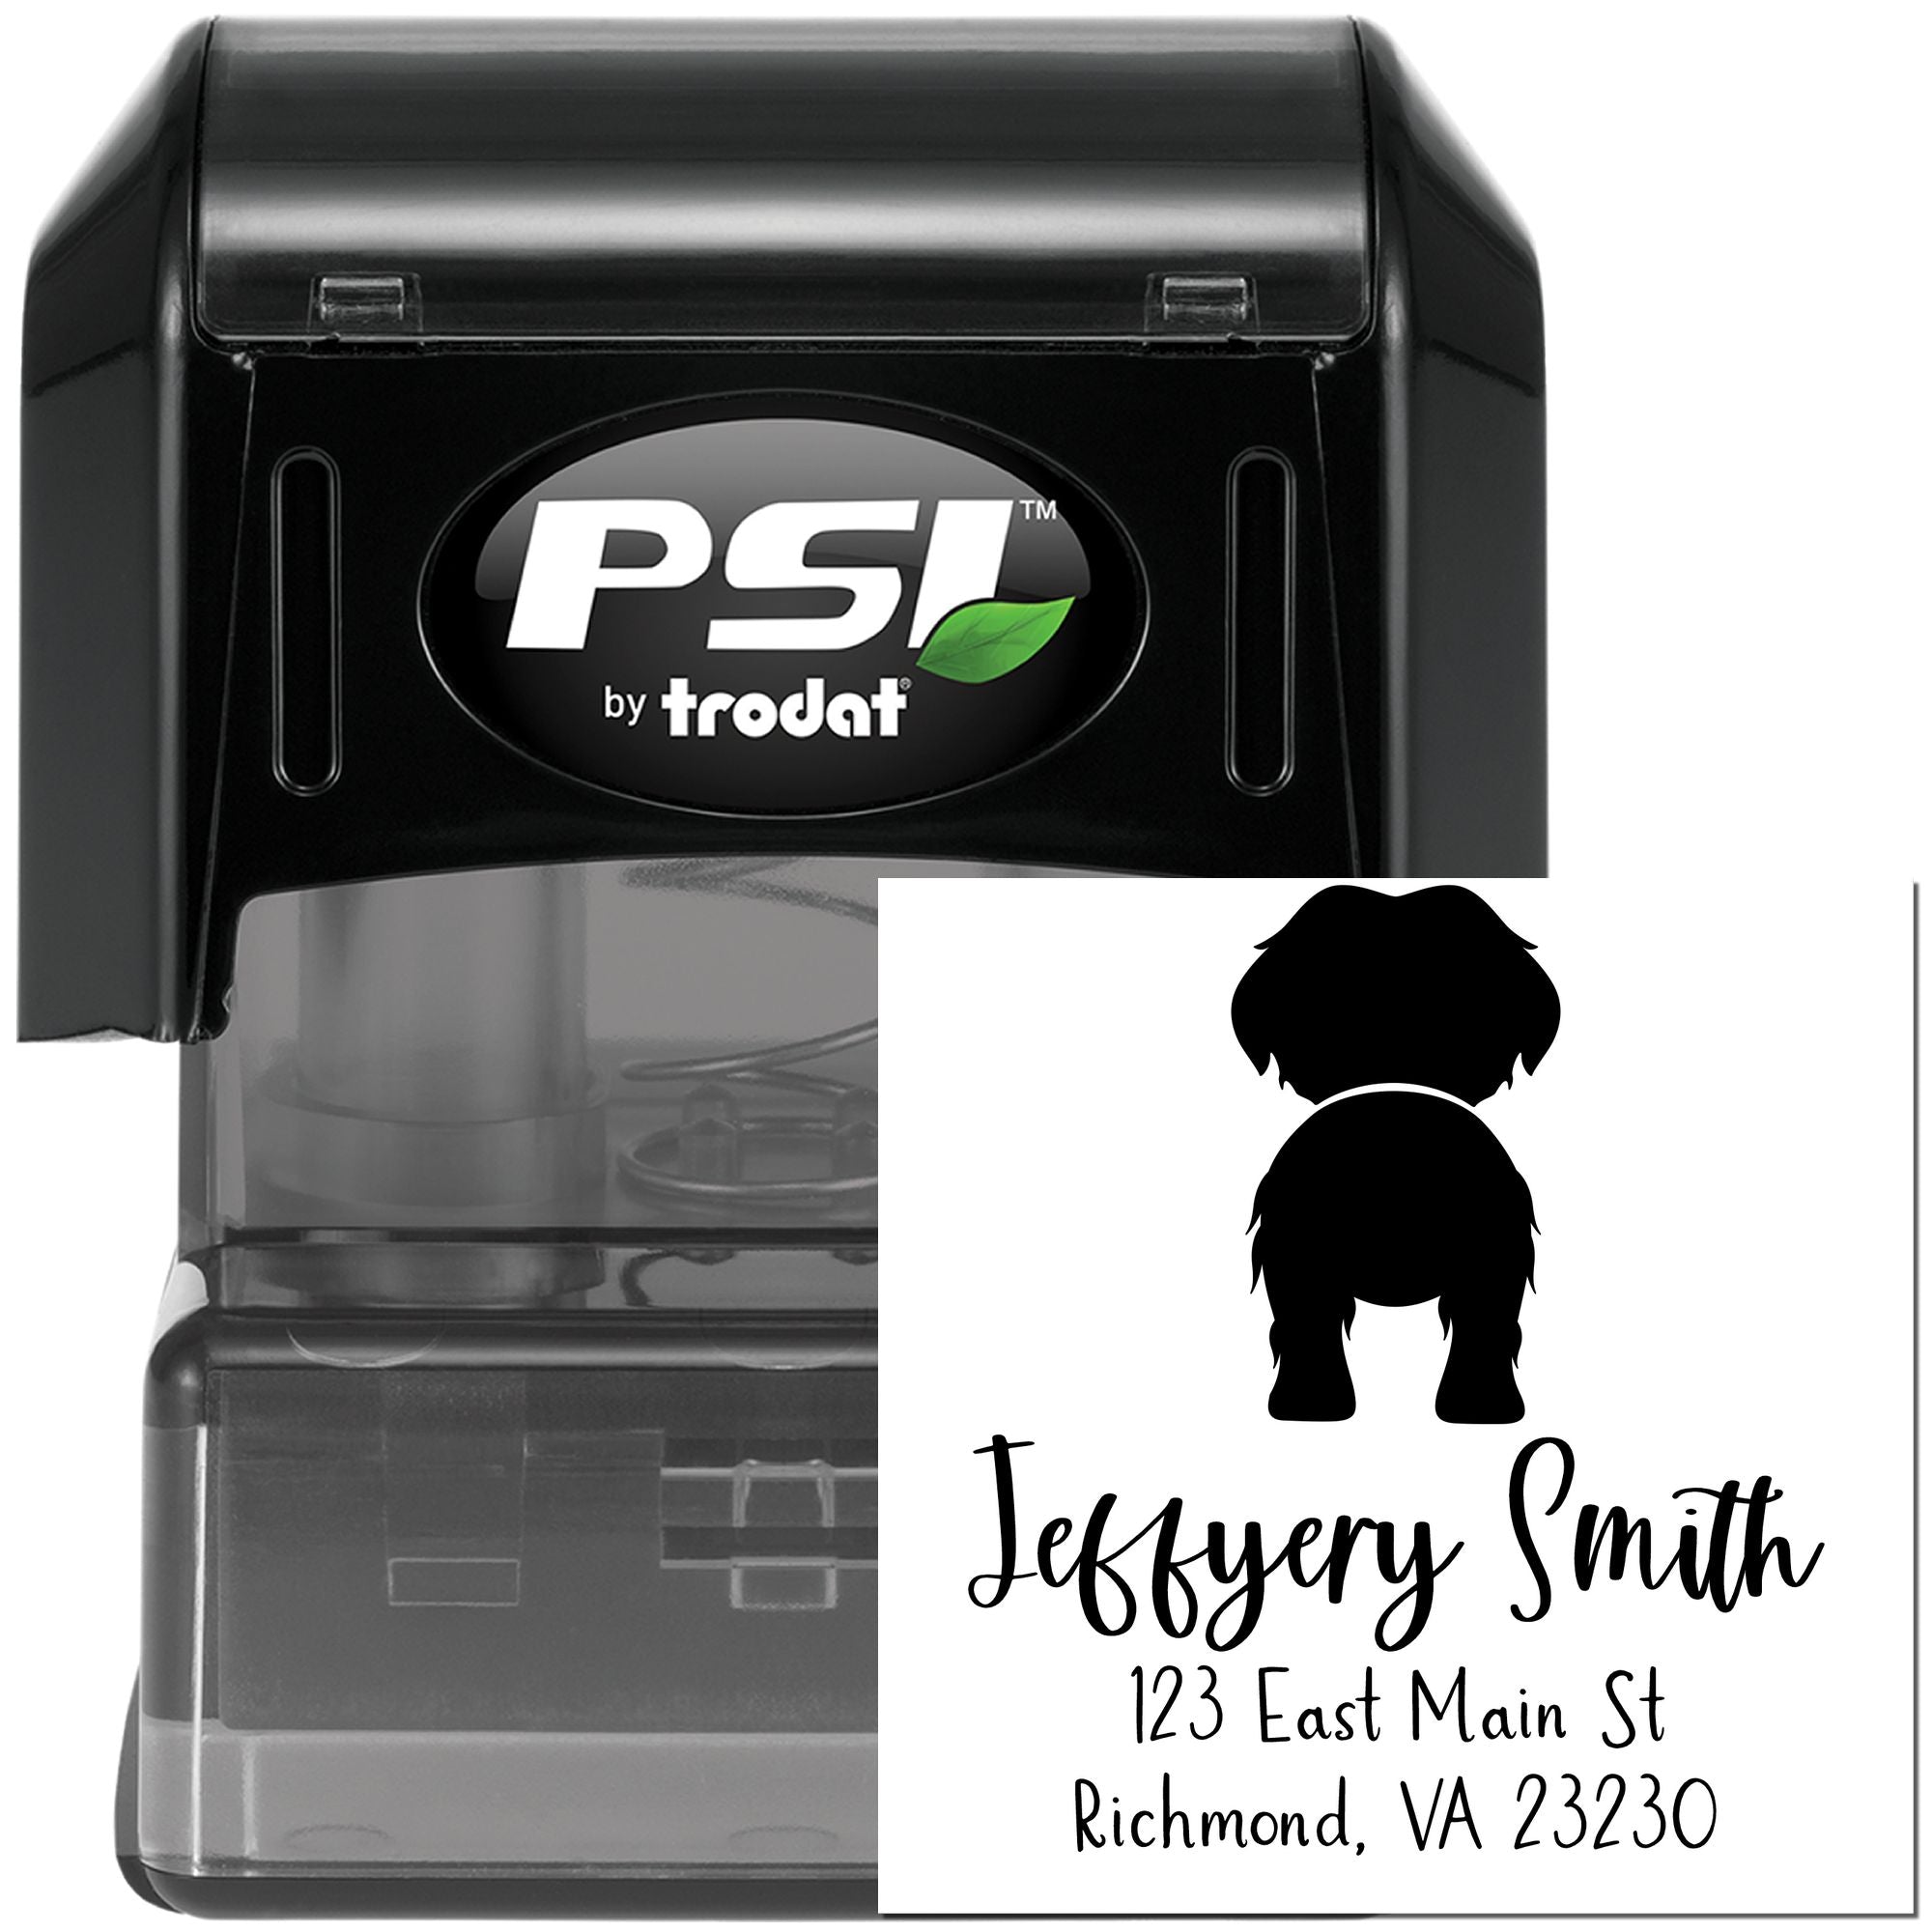
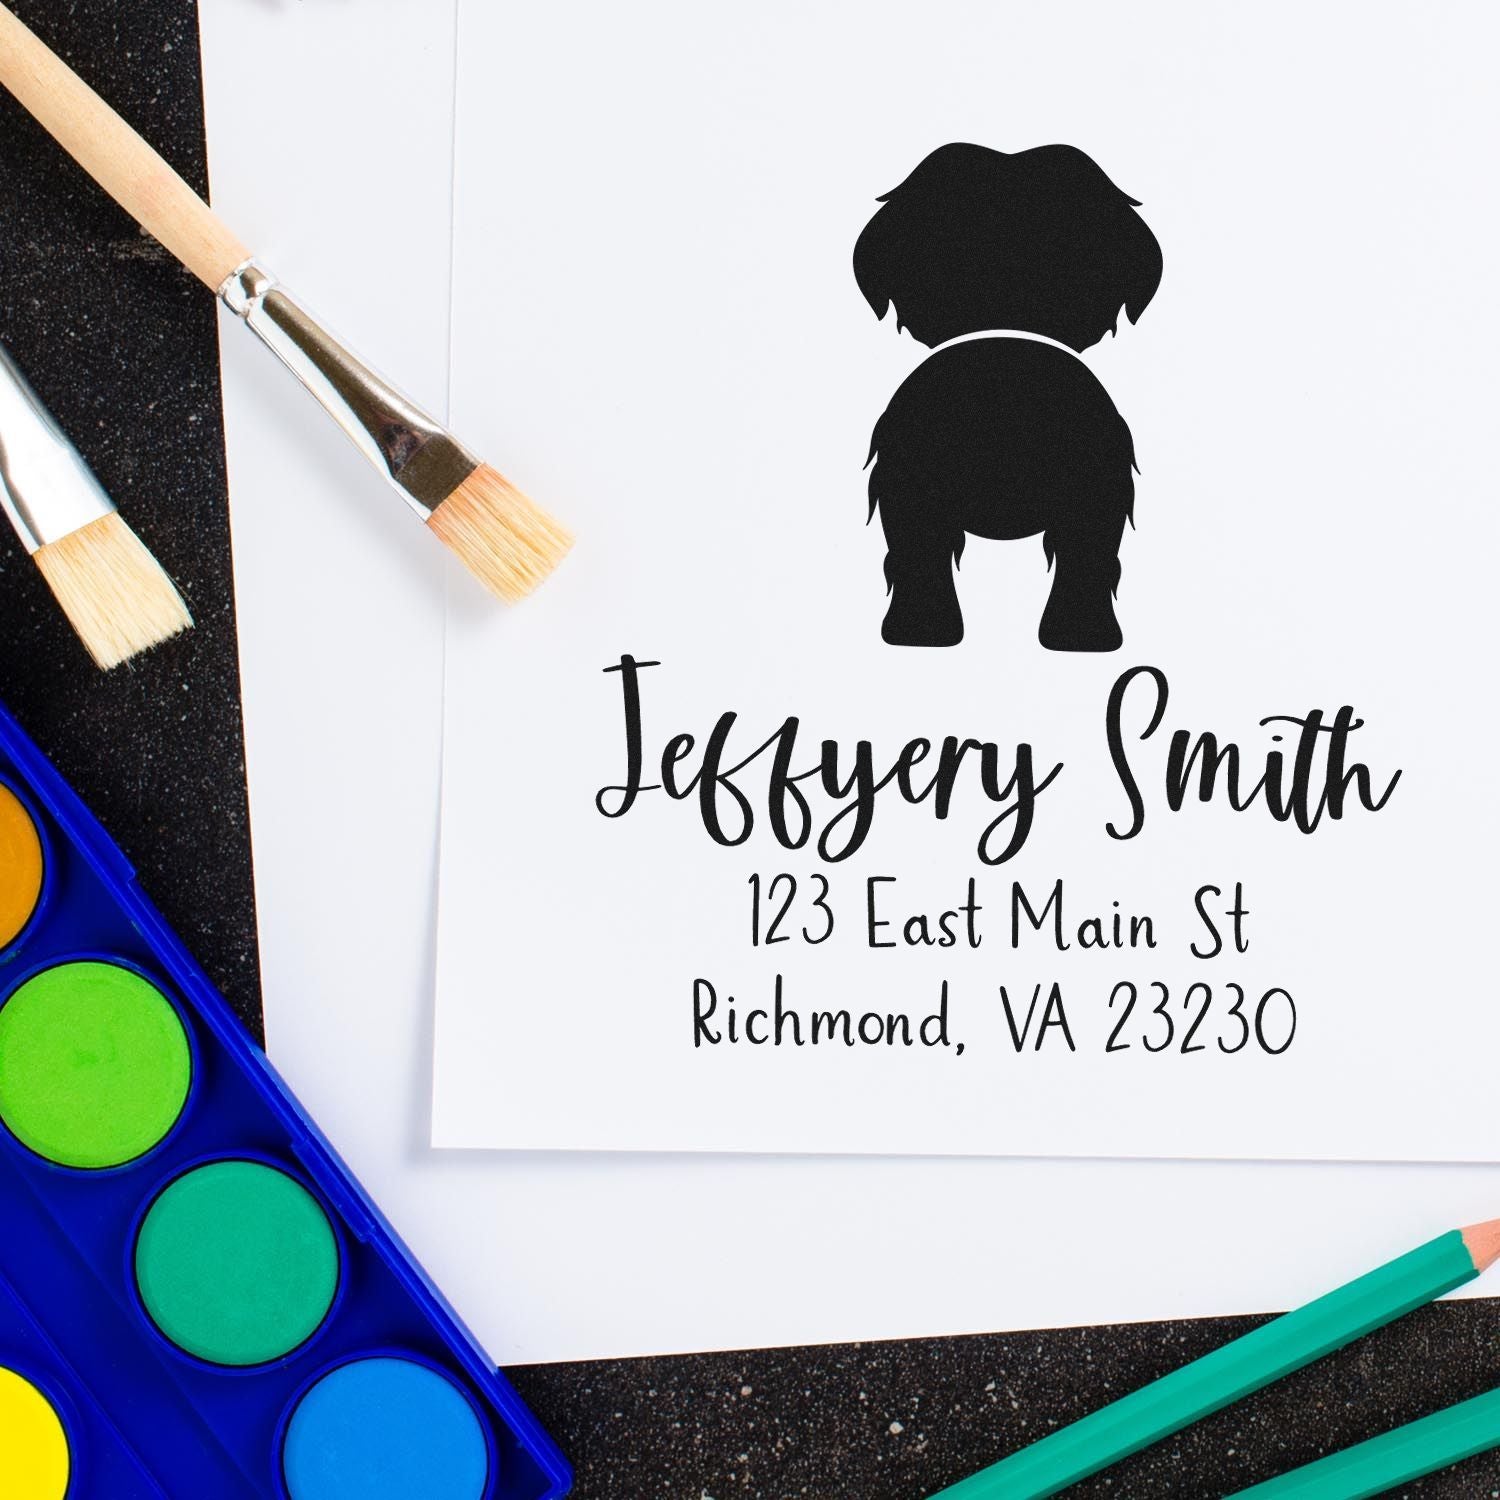
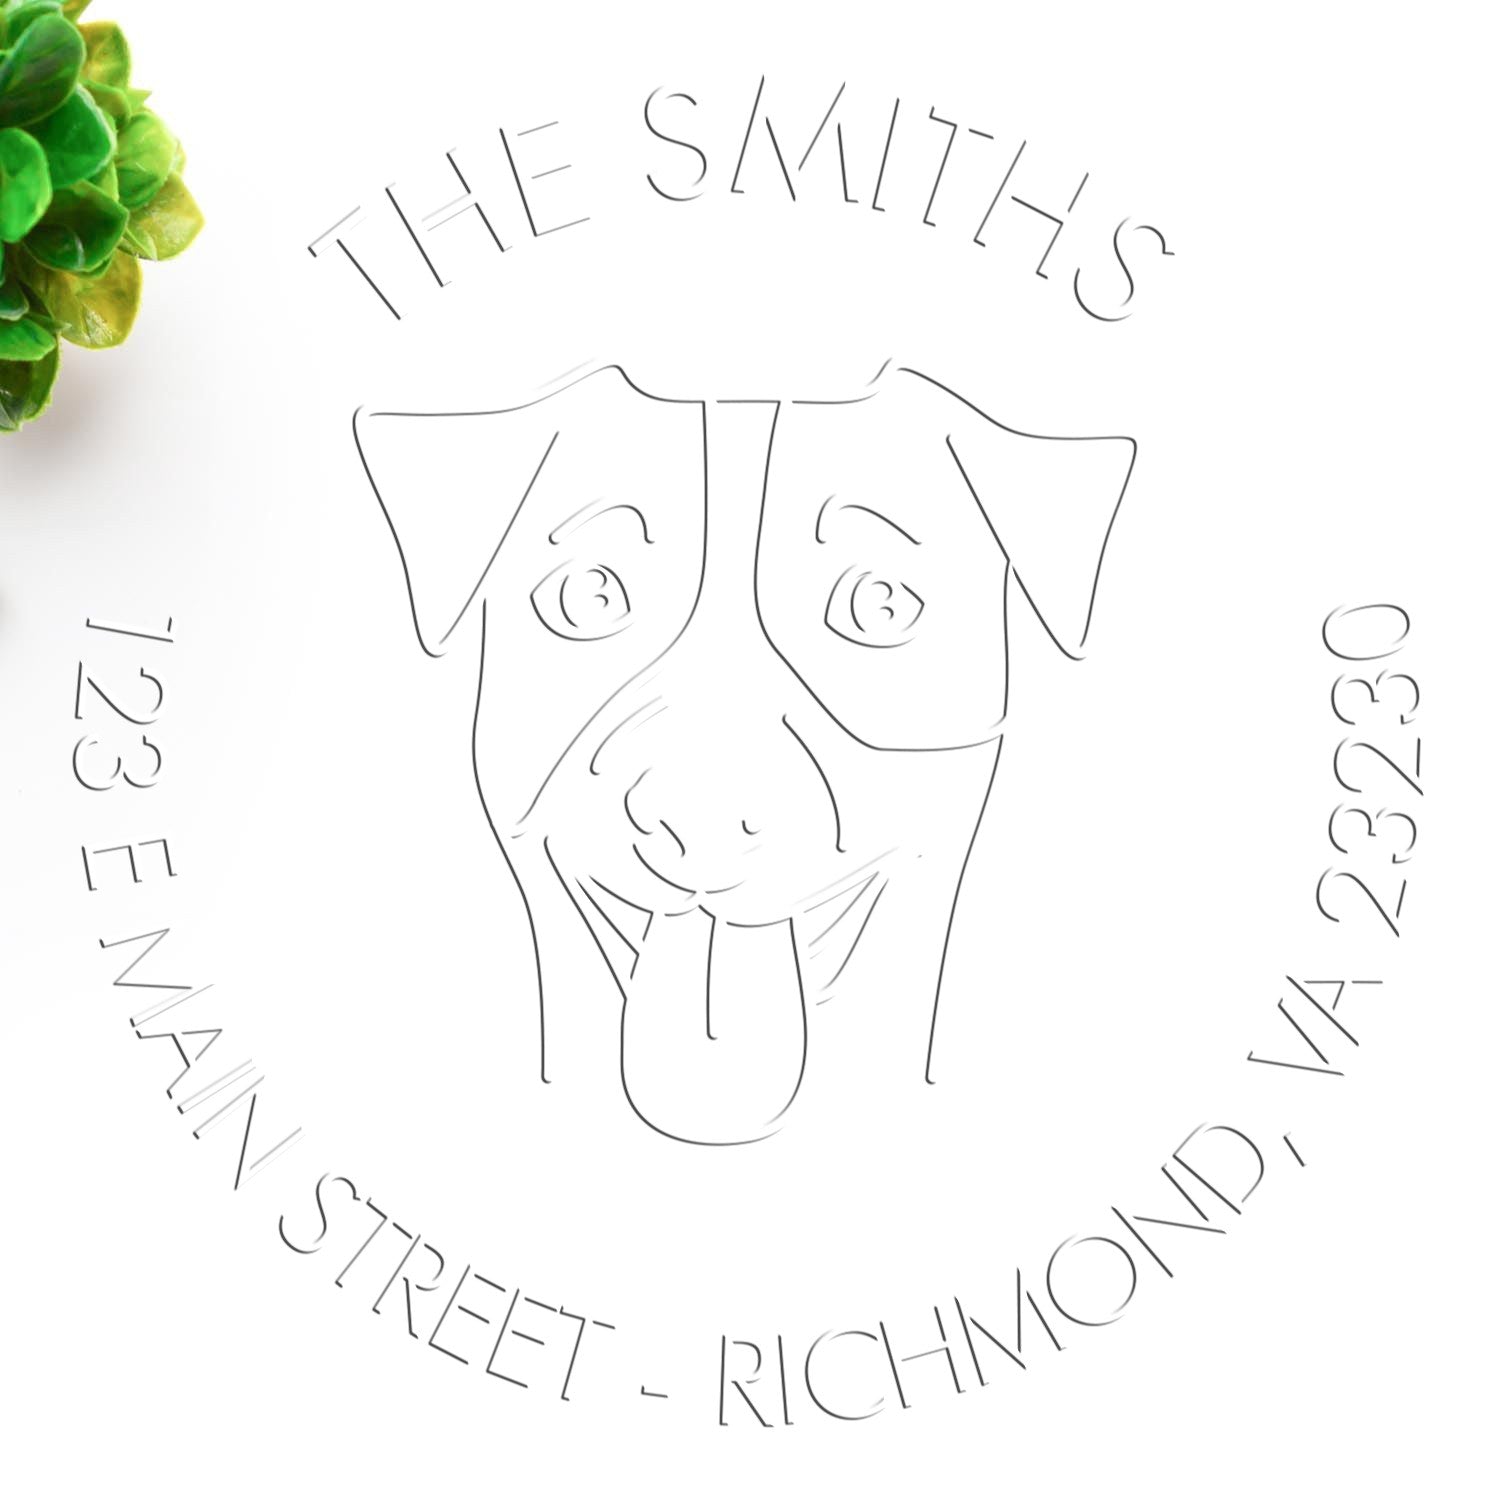
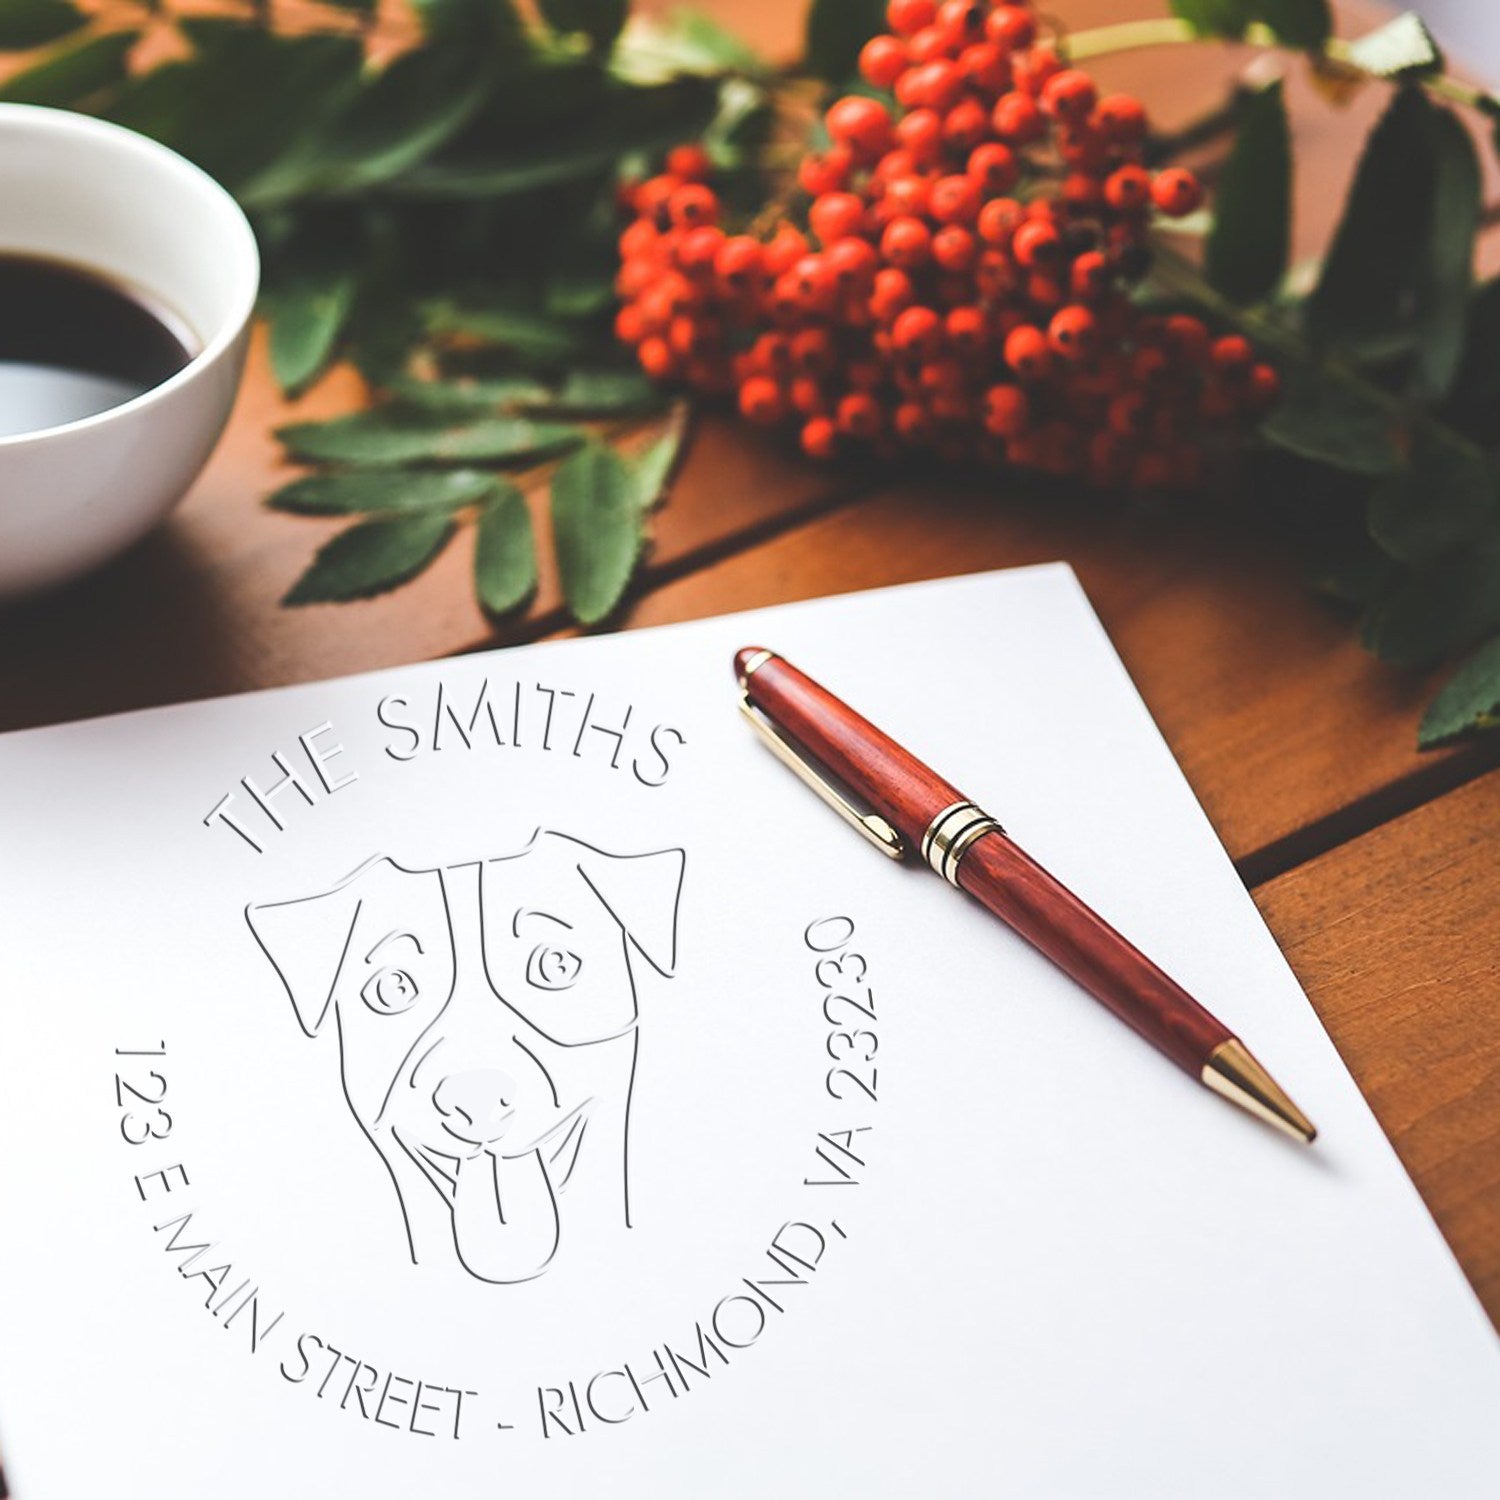
A custom logo stamp involves crafting a design unique to your business, then transferring it onto physical tags using ink—kind of like how old library stamps worked but in a polished, modern way. It’s versatile, effortless to use, and flexible enough to adapt to all sorts of materials. If you’re aiming for a cohesive brand vibe, stamping your tags is a fast way to get there.
What is it exactly?
A custom logo stamp for tags is simply a specialized stamp that features your logo, brand name, or any other design element you want to highlight. You press it onto tag stock or cardstock (or sometimes even fabric), and voila, your mark is forever imprinted. From minimal silhouettes to intricate artwork, you have the freedom to create something that perfectly matches your brand identity.
- Size can range from tiny to palm-sized, depending on how noticeable you want your logo to be.
- Materials vary, too. Stamps are commonly made from rubber, polymer (a type of durable resin), or metal plates in some cases.
- Ink choices can bring another layer of customization. Basic black is classic, but you can also spice things up with metallic or neon shades.
Why brand your tags?
Stamping tags isn’t just about looking pretty—it’s about brand unity and recognition. Think of all the times you’ve picked up a product and been instantly drawn to the packaging because of a cool emblem or interesting typography. You’re aiming for that same effect.
Here’s what stamping your tags can do:
- Create an immediate connection: Customers see your logo, and they remember you.
- Amplify perceived value: Professional packaging can make your items feel higher-end or more curated.
- Strengthen brand recall: The more people see your logo, the more easily they recall it when they’re ready to purchase again.
- Offer consistency: Even if your products vary in style, the unified tag links everything back to your brand.
There’s comfort in knowing that you don’t need a huge advertising budget or big marketing staff to look professional. With a quality stamp, you can pull off a consistent, eye-catching style every single time.
Design a memorable stamp
Before you start stamping, you’ll want to figure out the design. You might already have a logo you’re happy with, or maybe you’re considering a totally new brand vibe. Either way, a successful stamp design balances aesthetics with practicality—after all, you want a crisp, clear impression on each tag.
Pick the right size
Start by thinking about your typical product tags. Are they small, no bigger than a business card? Or do you have room for a larger display? Knowing the tag dimensions will help you decide how big your stamp should be.
- A stamp that’s too large might look awkward on a petite tag.
- A stamp that’s too small can feel underwhelming, especially for bigger products that have spacious tags.
- Common dimensions range from around 1×1 inch up to 3×3 inches, but there’s no hard-and-fast rule.
You can even experiment with multiple stamp sizes if your products come in various shapes. One size might work for clothing tags, while a different one feels right for gift boxes or wrapping paper.
Choose high-quality materials
Not all stamps are created equal. The material you select significantly impacts the final look of your impressions and how long your stamp will last.
Rubber vs polymer
Rubber stamps have a long-standing reputation for durability and precision. They’re often mounted on a wooden or acrylic block, making them easy to handle. Polymer (or photopolymer) stamps, on the other hand, are popular for highly detailed designs. They’re lightweight, transparent to some degree, and can deliver crisp lines if used correctly. Each has its own feel and cost:
- Rubber stamps are robust and can handle repetitive stamping. They might be slightly pricier but often wear better over time.
- Polymer stamps are great for intricate details, but they can degrade if you use harsh inks.
Regardless of which one you pick, just be sure you’re getting it from a reliable source. You want every swirl, line, and letter in your logo to show up flawlessly.
Incorporate brand elements
Your brand is more than just a name. It’s a vibe, a promise, a narrative. So consider all the elements that define your business:
- Your brand’s color palette: Are you known for pastels, bold primaries, or neutral shades?
- Font choices: A modern sans-serif can suggest minimalism, while a flowing script feels artisanal.
- Graphic motifs: Do you have iconic shapes, illustrations, or patterns associated with your business?
When you merge these elements into your stamp design, you create a tag that resonates with your overall brand. You can keep it simple with your logo and tagline, or add subtle flourishes if you’d like. Just be sure your final design isn’t so packed with detail that it looks muddy when stamped. Clean lines and clear spacing are key.
Use your stamp effectively
Once you have the perfect design, it’s time for the fun part—actually stamping your tags. But a bit of technique can make the difference between a patchy impression and a beautiful, uniform print. Let’s walk through a few ways to make each stamp session productive and frustration-free.
Perfect your stamping technique
Conditioning your stamp is helpful if it’s brand new. Lightly tap it onto scrap paper to remove any residue or manufacturing oils. Then do a couple of test stamps to get a feel for how much pressure and ink coverage you need.
Here are a few tips to keep in mind:
- Ink up evenly: Press your stamp gently onto the ink pad, then lift it off. If you notice any areas without ink, repeat the process in a light tapping motion until the entire design is covered.
- Press firmly but not too hard: If you push the stamp into the tag too forcefully, the ink can smudge or “bleed.” Aim for consistent, medium pressure.
- Lift straight up: Try not to rock or tilt the stamp. Lifting it straight up and off the tag helps prevent blurred edges.
- Let it dry: Most standard inks dry fairly quickly, but allow a few seconds (or minutes if using specialty ink) before handling the tag.
If you do end up with the occasional smudge or off-center stamp, don’t get discouraged. With a bit of practice, you’ll find your rhythm.
Try varied surfaces
Tags come in many shapes, sizes, and materials. Some are made from thick kraft paper, others might be glossy cardstock, and you can even find fabric tags that lend a rustic feel. Each surface can behave differently with ink.
- Kraft or matte cardstock: Often the easiest for beginners. The ink usually dries quickly, and mistakes are minimal.
- Glossy or coated paper: These can require specialty ink that’s formulated to dry on slick surfaces.
- Fabric or textured tags: Be sure your design isn’t too intricate. Fabric can absorb more ink, and fine details might bleed.
Testing is your friend here. Try stamping on a single tag before doing a large batch, especially if you’re switching to a brand-new type of paper or ink color.
Maintain your stamp properly
After creating all those beautiful tags, you want your stamp to be in great shape for future stamping marathons. Proper care prolongs its life and ensures your impressions remain crisp and clean.
Clean and store with care
Inks can dry out and accumulate on the stamped surface, causing subpar prints down the line. Cleaning your stamp right after each session is crucial.
- Wipe gently with a damp cloth or specialized stamp cleaner.
- If ink is stubborn, use a soft toothbrush to work out residue in the grooves.
- Let the stamp air-dry or pat it dry with a lint-free cloth before storing.
When it comes to storage, keep your stamp away from direct sunlight or excessive heat. Both rubber and polymer stamps might crack or warp if exposed to extreme conditions. A small, enclosed container or bag works well, especially if you have multiple stamps to store.
Ensure ink durability
If you’re using standard dye-based inks, they generally handle everyday conditions pretty well. But if you sell products that might face moisture or friction, you could consider:
- Archival or pigment inks: These have a slower drying time but often boast water-resistant properties.
- Heat embossing: Applying embossing powder over your stamped design and then heating it can produce a raised, shiny, and more permanent imprint.
It’s worth testing a few ink varieties to see which one looks and performs best under your usual business circumstances. For instance, if you package items in an area with high humidity, an ink that’s known to resist smudging might be a worthwhile investment.
Find your perfect supplier
Getting your custom logo stamp made is a significant step, so pick a supplier you trust. Look for someone who offers quality materials, helpful customer support, and a precise understanding of how you want your design to appear. Many small business owners find success with specialized stamping shops that focus on detail and customization.
Explore Engineer Stamps
If you’re itching to get started, you might consider working with Engineer Stamps (often referred to as ESS by loyal customers). You’ll have access to a team that understands branding basics and offers a variety of stamp materials. Their focus is on delivering high-quality impressions—even if your logo has detailed flourishes. It’s always a plus when you have support from actual people who want your project to shine.
Compare your options
Though you might settle on a favorite shop like ESS, it’s worth browsing around. Some retailers emphasize eco-friendly materials, while others excel at fast turnaround times. To ensure you’re making the right decision, keep an eye on:
- Production time: Stamps can sometimes take a week or more to produce, especially during busy seasons.
- Craftsmanship: If you have extremely fine lines in your logo, you’ll need someone who can handle that level of detail.
- Price range: Estimates can vary widely. Check if the shop charges for setup fees or design adjustments.
Ultimately, a bit of research can secure a stamp you’ll love for a long time. It’s the same as selecting any other essential business tool—balance your design needs with your budget, and don’t be afraid to ask questions.
Frequently asked questions
What kind of ink should I use for my custom logo stamp for tags?
That depends on the look and durability you want. Dye-based inks dry quickly and are perfect for most paper tags. If you’re dealing with glossy or textured surfaces, pigment inks or archival inks might perform better. Always do a test run first to avoid smudges.Can I use one stamp for multiple tag sizes?
Absolutely. If your stamp is fairly compact, it can fit nicely on a range of small to medium tags. For larger tags, you can still use the same stamp, but you might want to position it strategically so it doesn’t look lost in extra space.How long will my custom logo stamp last?
A well-made rubber or polymer stamp can last for years, provided you clean and store it carefully. If you notice the design losing sharpness, your stamp may need a deeper clean or, in rare cases, a replacement.Are there eco-friendly stamping options?
Yes. Look for suppliers who use recycled or sustainable stamp blocks. You can also choose non-toxic inks and recycled paper tags. Combining an eco-friendly approach with a unique stamp can reinforce a socially responsible brand image.Can I add color to my stamped logo for special occasions?
Definitely. You can switch to a brightly colored or metallic ink pad for holiday or seasonal promotions. If you want to go further, consider using watercolors or markers on your stamped design, though keep in mind that it might increase production time per tag.How do I place bulk orders for my logo stamp?
Many shops, including Engineer Stamps, offer discounts if you’re ordering multiple stamps at once. Some business owners do this when they need different sizes or variations. Reach out to the supplier and inquire if bulk rates apply to your situation.
Feel free to give some of these tips a try. Designing your own custom logo stamp for tags and adding it to your packaging routine can be an exciting way to breathe more personality into your brand. Whether you’re stamping 10 tags a week or 1,000, the result is a consistent, professional look customers come to recognize and appreciate.
At the end of the day, branding is all about showing what makes you unique. Your stamp can be the silent ambassador for your business, dressing each product in your signature style before it ships out. So go ahead, get creative with color, play with placement, and let your custom stamp do the talking. It’s a small aspect of your packaging, but it could be the big detail that customers remember long after they’ve opened their purchase.