If you’re looking for an easy way to make your personal stationery stand out, an embossing stamp for letters might be exactly what you need. It turns everyday correspondence into something classy, and it’s surprisingly simple once you get the hang of it. In this ultimate guide, we’ll walk through how to pick the right design, use it like a pro, and keep your embosser working smoothly.
Unleash creative embossing potential
An embossing stamp gives your letters texture and dimension that printed ink can’t match. That raised impression feels extra special for the person opening the envelope. Think of it like a personal seal of approval, except it’s physically “pressed” into the paper.
- Personal branding: Put your name or monogram on formal letters, invitations, or thank-you notes.
- Business flair: If you run a small shop, an embossed logo on receipts or packaging adds a polished touch.
- Gift-giving magic: Emboss your friend’s initials on stationery for a thoughtful, unique present.
Engineer Seal Stamps (ESS) has seen how a clear and crisp raised design can transform even the simplest letter. Curious? Keep reading to see how you can choose and use your new favorite stationery tool.
Select the right stamp design
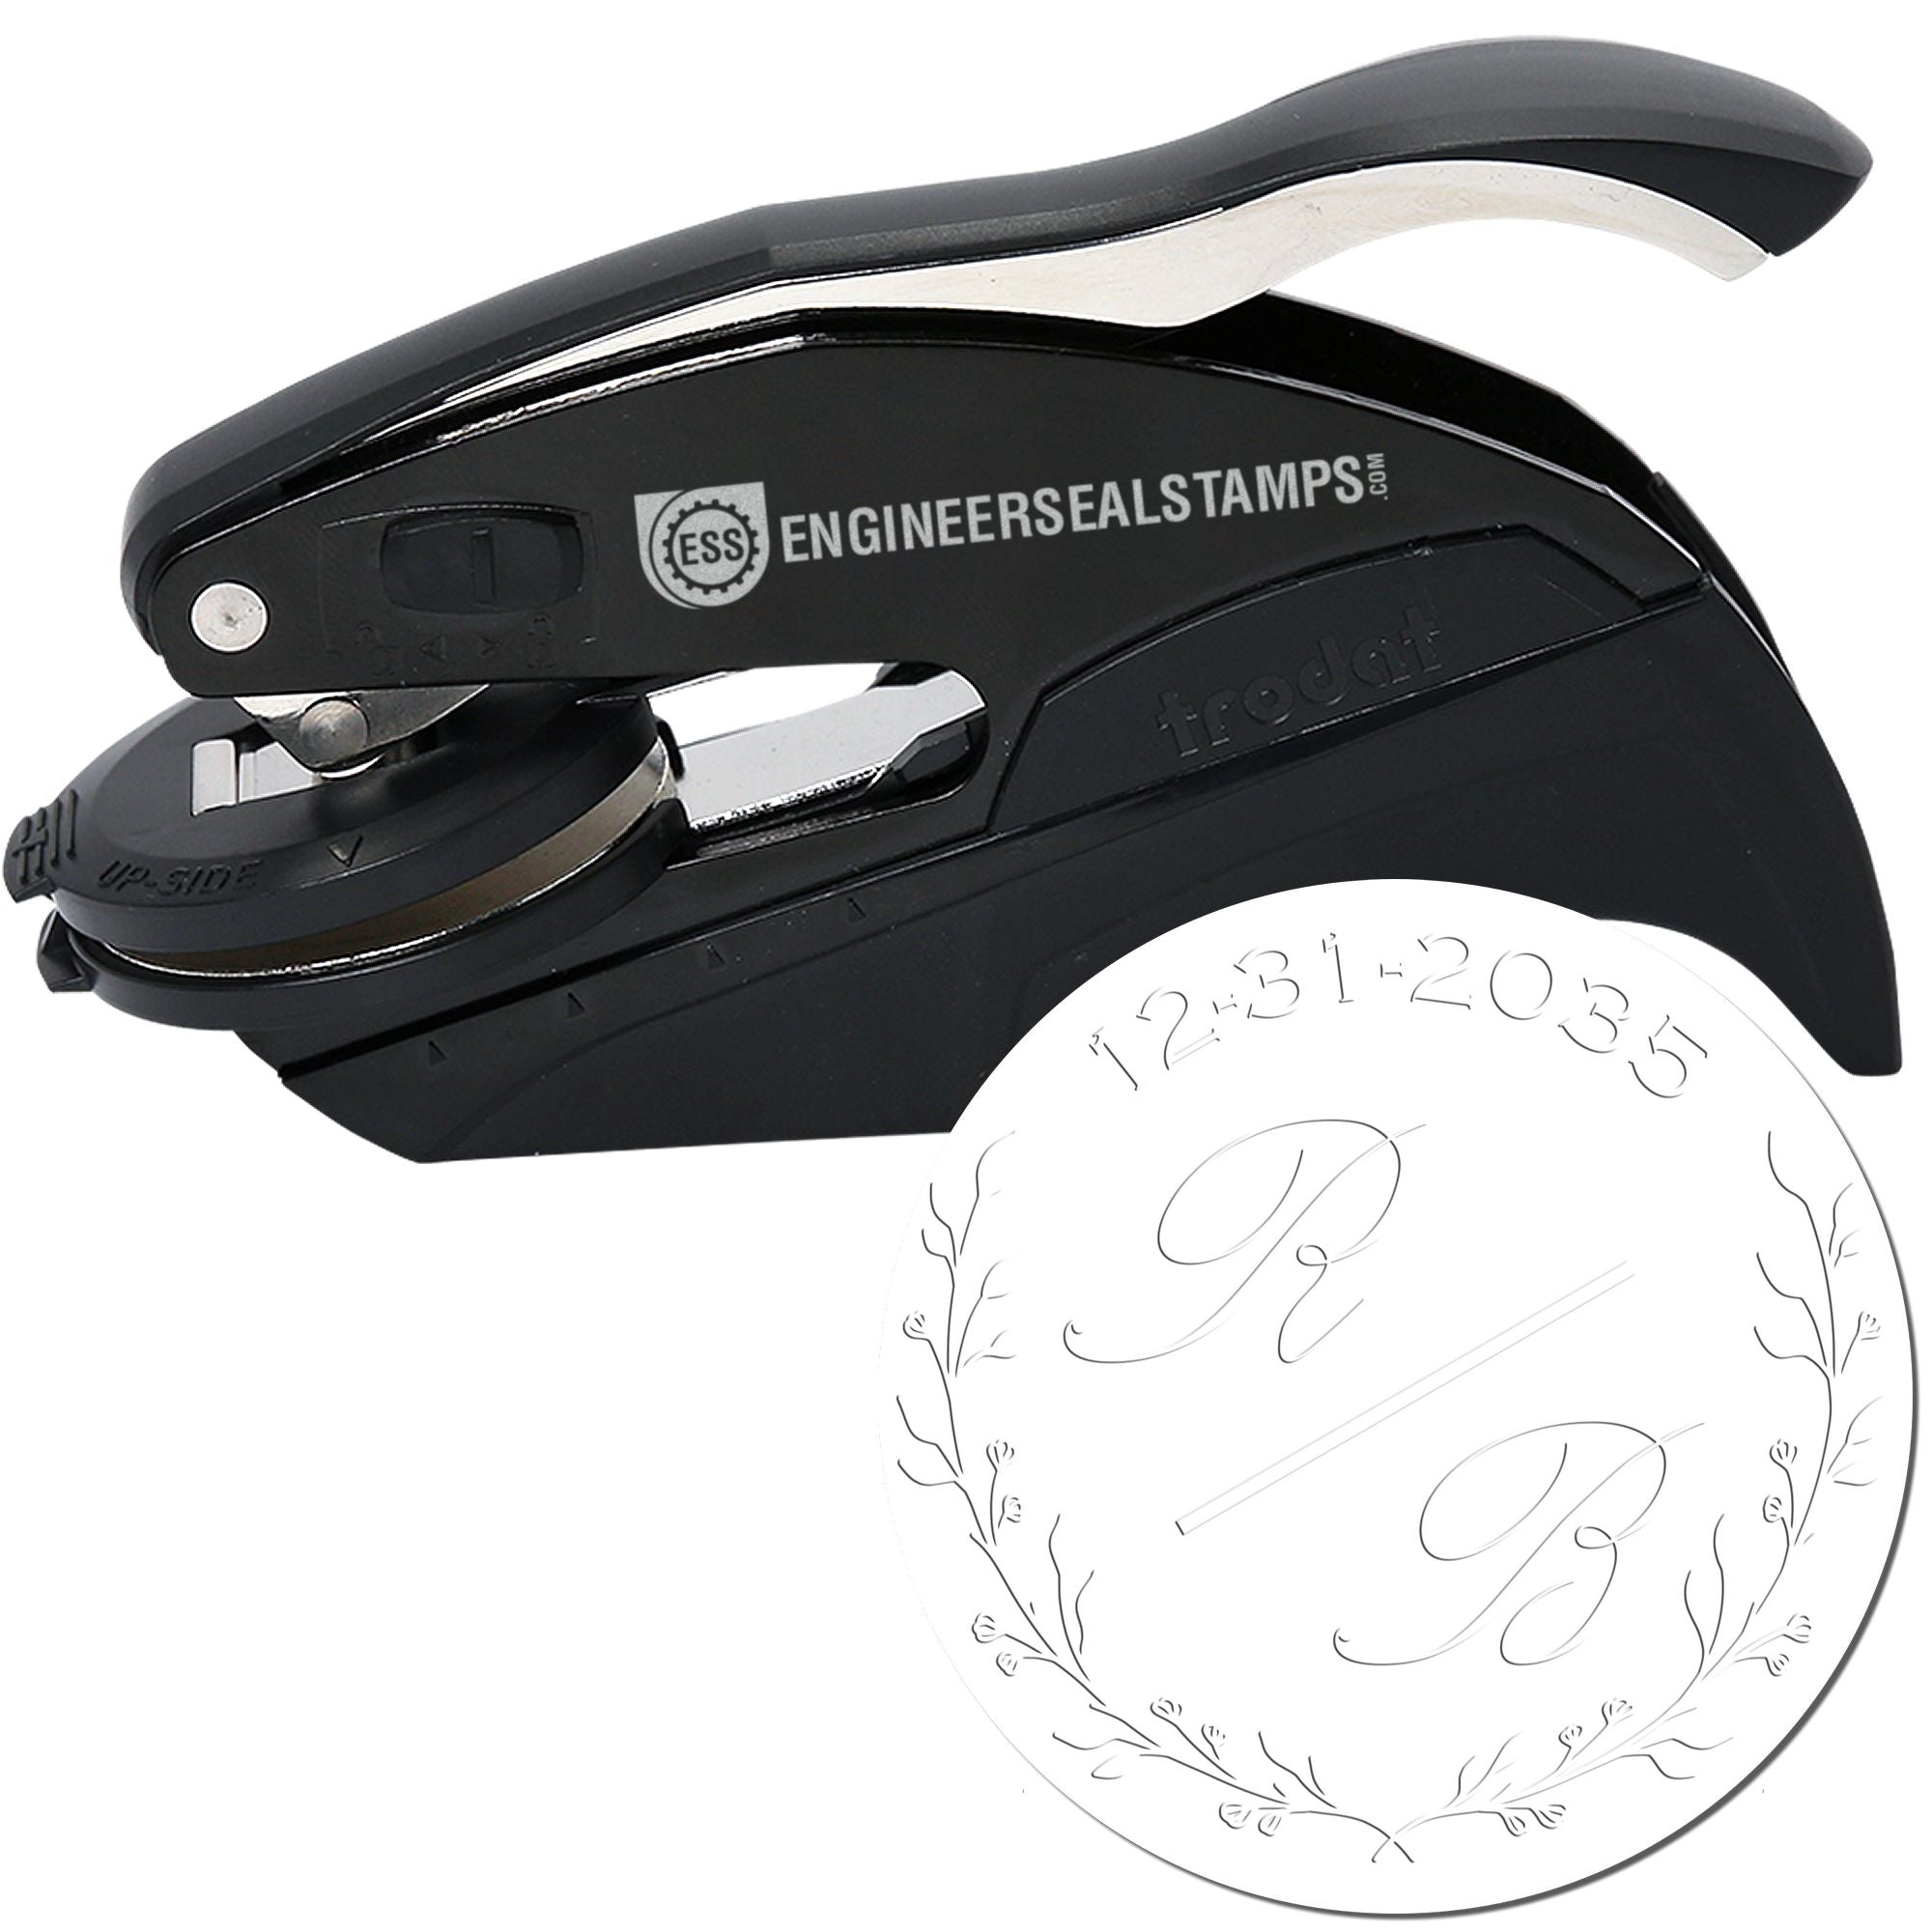
Not all embossers are the same, and picking one depends on your taste and the volume of letters you plan to emboss. You’ll want a design that reflects your style, from minimalist initials to a more ornate emblem. It also helps to think about where you’ll use your stamp most—home office, craft projects, or even wedding invitations.
If you’re looking for inspiration, check out our custom embossing stamps where you can explore different finishes or layouts. Below is a quick comparison of two popular embosser options:
| Feature | Handheld Embosser | Desk Embosser |
|---|---|---|
| Pressure | Requires moderate force by hand | More even pressure for deeper imprints |
| Portability | Slim, easy to carry around | Usually stays in one place |
| Best for | Quick personal projects | Higher-volume tasks or thicker papers |
Whether you choose a handheld or desk style, look for sturdy construction so your embossing stays crisp. Engineer Seal Stamps offers durable tools designed to create clean impressions, so you’ll enjoy using them for years.
Apply your best embossing technique
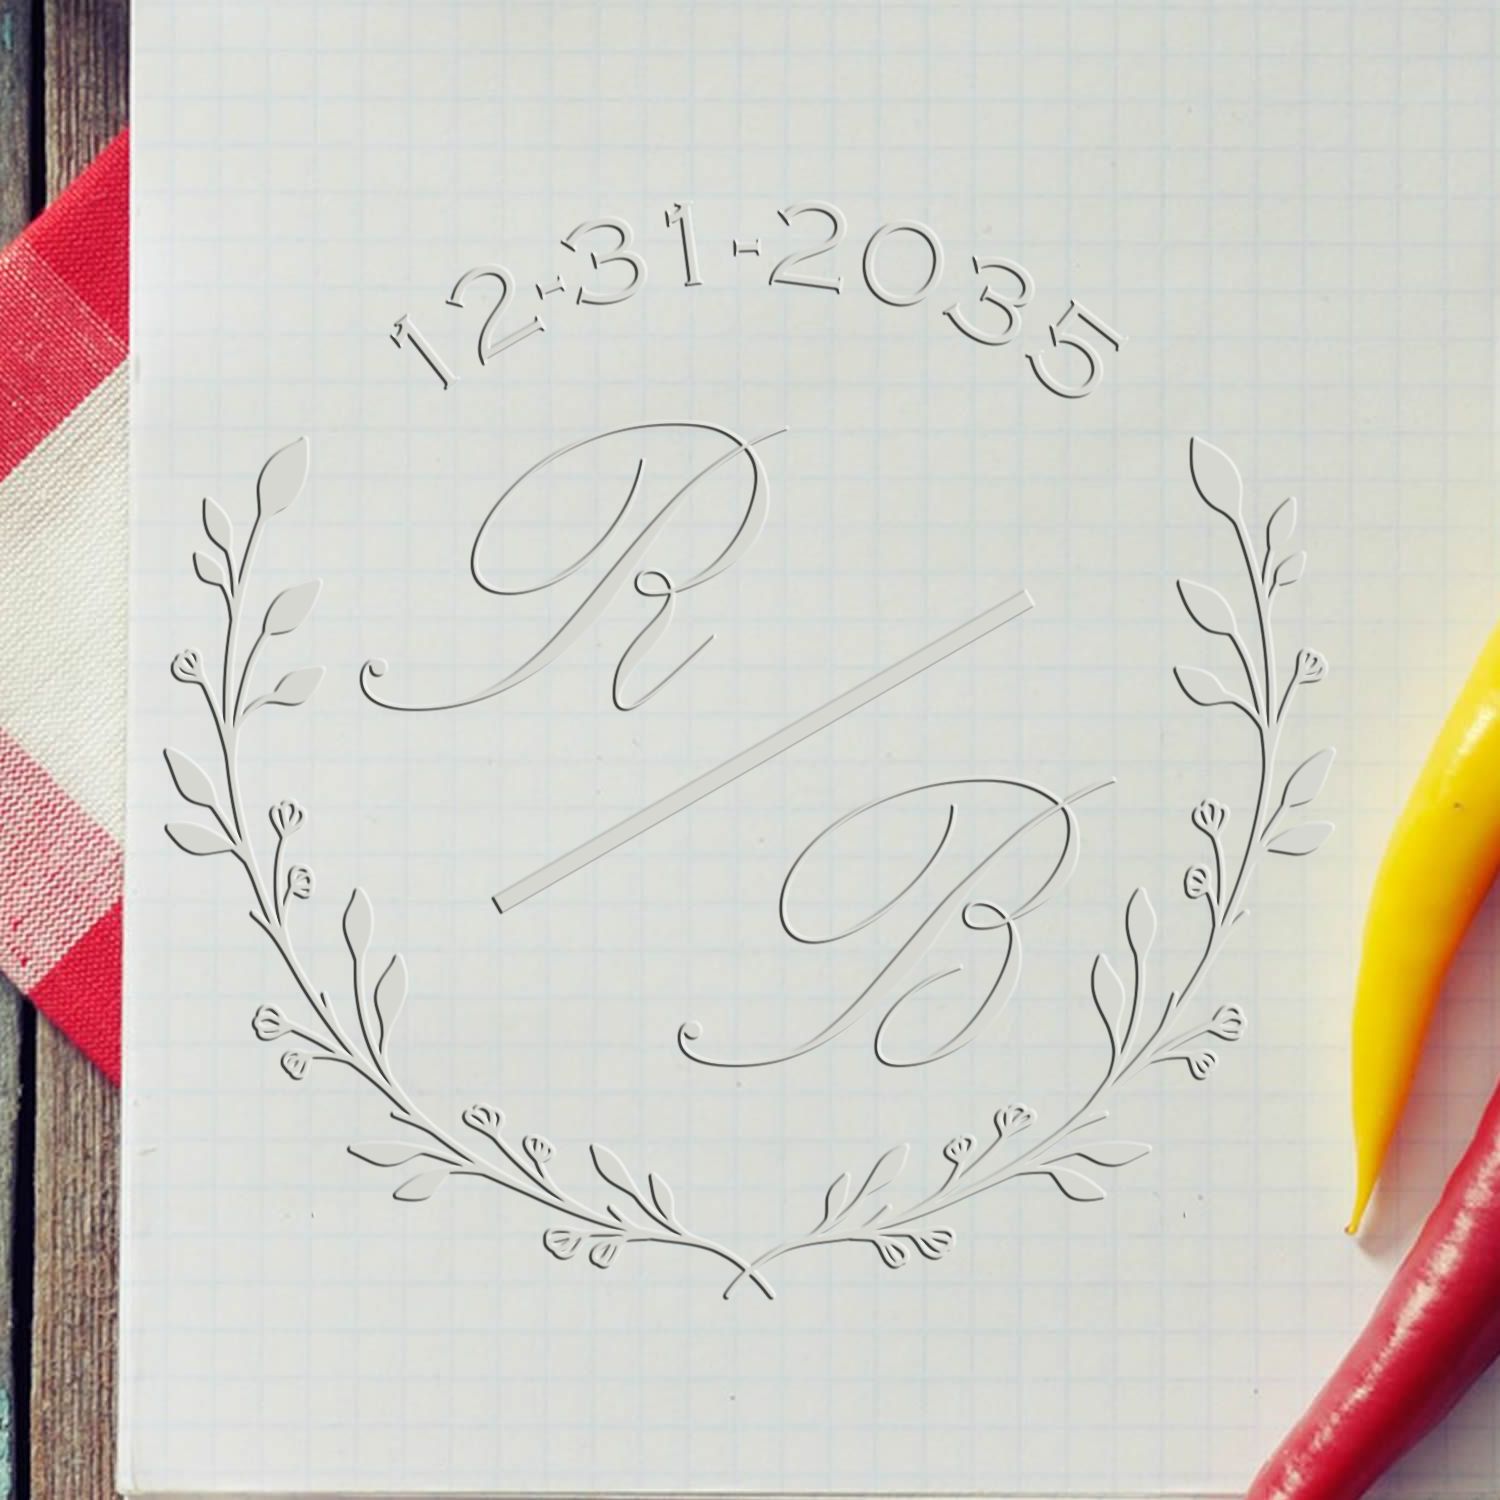
Once you have a design you love, the next step is learning how to create perfect embossed letters. Here’s a simple process to follow:
- Position your paper
- Place the corner or edge of your stationery firmly against the embosser’s guide. This helps ensure the impression aligns neatly.
- Press smoothly
- Squeeze or press the embosser with consistent pressure. A quick, gentle press usually does the trick, so there’s no need to force it.
- Check your result
- Carefully lift your stamp and admire the raised design. If it’s not deep enough, try adding slightly more pressure next time.
Ready for a quick tip? Try a practice run on scrap paper first. Once it looks spot on, emboss your actual letters with confidence.
Maintain your embosser for longevity
Your embosser requires very little upkeep. With the following tips, it’ll remain in top shape:
- Store it properly: Keep it in a dry area, away from direct sunlight or moisture.
- Clean gently: Use a soft, dry cloth to wipe off any dust or paper particles.
- Avoid overpressing: Excessive force can wear out the plates or internal mechanisms.
- Replace plates if needed: Over time, the design plates may lose crispness. Luckily, brands like ESS often offer replacements.
If you notice any squeaking or resistance while embossing, a tiny drop of machine oil on the hinge can help. Taking care of these details ensures your stamp stays smooth and reliable.
Bring style to every letter
Embossing is more than a fancy touch—it’s a personal statement. Every envelope or card you send becomes a little work of art, and people often keep these embossed details as keepsakes, especially for important occasions.
Engineer Seal Stamps is passionate about helping you turn ordinary letters into memorable ones. With the right design, solid technique, and a bit of routine care, you’ll have a personalized embosser that lasts for years. Why not emboss a birthday card or add flair to your holiday greetings? Once you start, you’ll never go back to plain, flat letters again.
Frequently asked questions
How do I align my stamp correctly?
It helps to use the guide on your embosser. Slide the paper in so the design lands exactly where you want it, then press evenly. Test on spare paper to verify alignment.
Can I emboss thicker materials like cardstock?
Most standard embossers can handle moderate cardstock. A desk embosser typically works better for thicker paper, as it provides more consistent pressure.
Does ink ever go on the embossed design?
Embossing itself doesn’t require ink—it’s purely pressure-based. If you want color-highlighted impressions, you can lightly brush over the raised design with ink or decorative chalk.
Will the embosser damage delicate paper?
When used correctly, it shouldn’t tear or harm your paper. Just press firmly, not aggressively. If you’re working with very thin paper, do a quick test first and adjust your force.
How often should I replace my embossing plates?
It depends on usage. If you notice your stamped design getting faint or losing detail, the plates may be wearing down. Many users go several years without needing replacements, but ESS offers easy reorders if you ever do.
Feel free to experiment with different paper textures and colors. After all, letters should be as unique as their sender. Enjoy the creative possibilities an embossing stamp provides, and have fun stamping your signature style onto every envelope you seal!