Discover a stamp pad for glossy surfaces
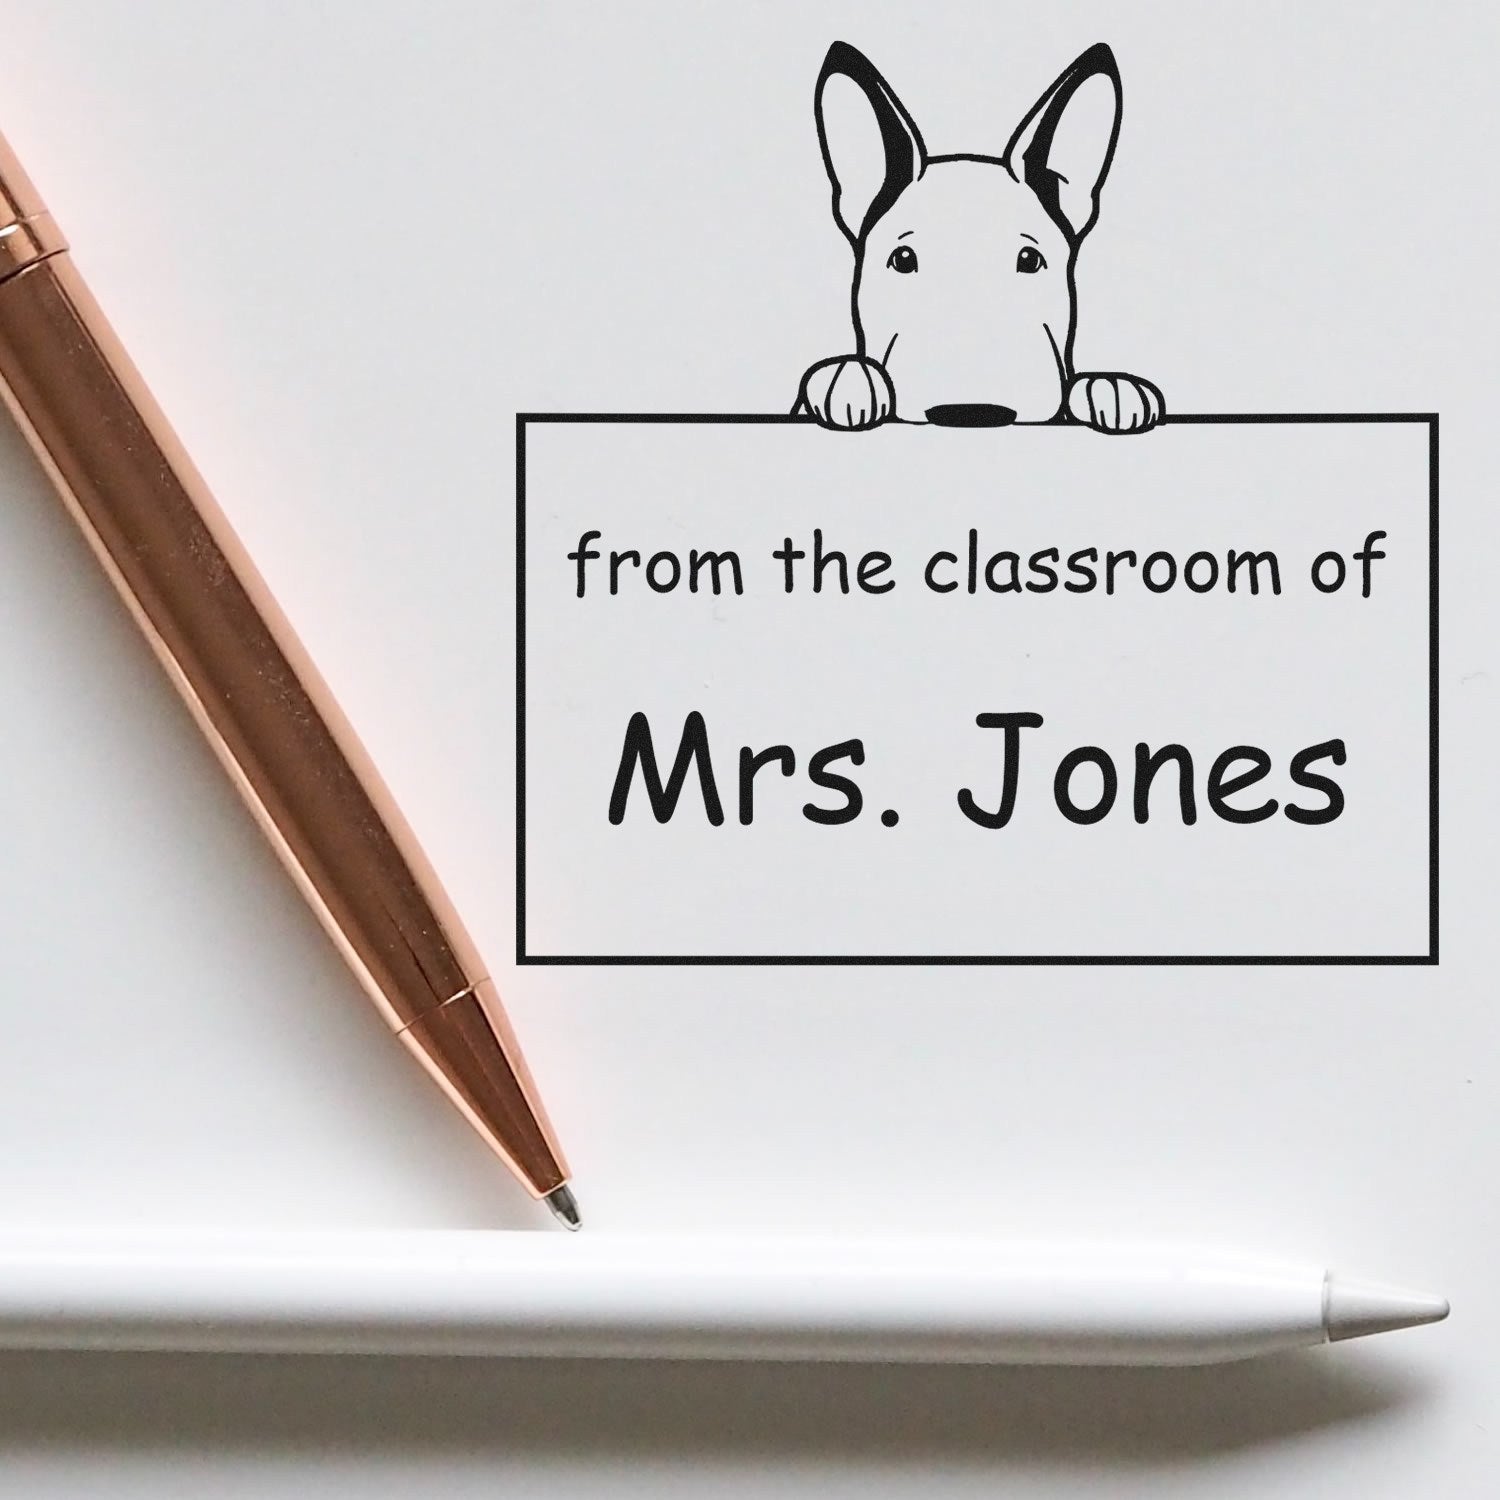
Are you ready to make your art, office documents, or mailing labels pop on shiny paper? A stamp pad for glossy surfaces can be your secret weapon. This specialized pad holds ink better on slick materials, so you’ll get crisp, smudge-free impressions every time. Think of it as the difference between scribbling with a dull pencil and writing with a smooth pen — once you try it, you’ll never go back.
Why regular pads won’t cut it
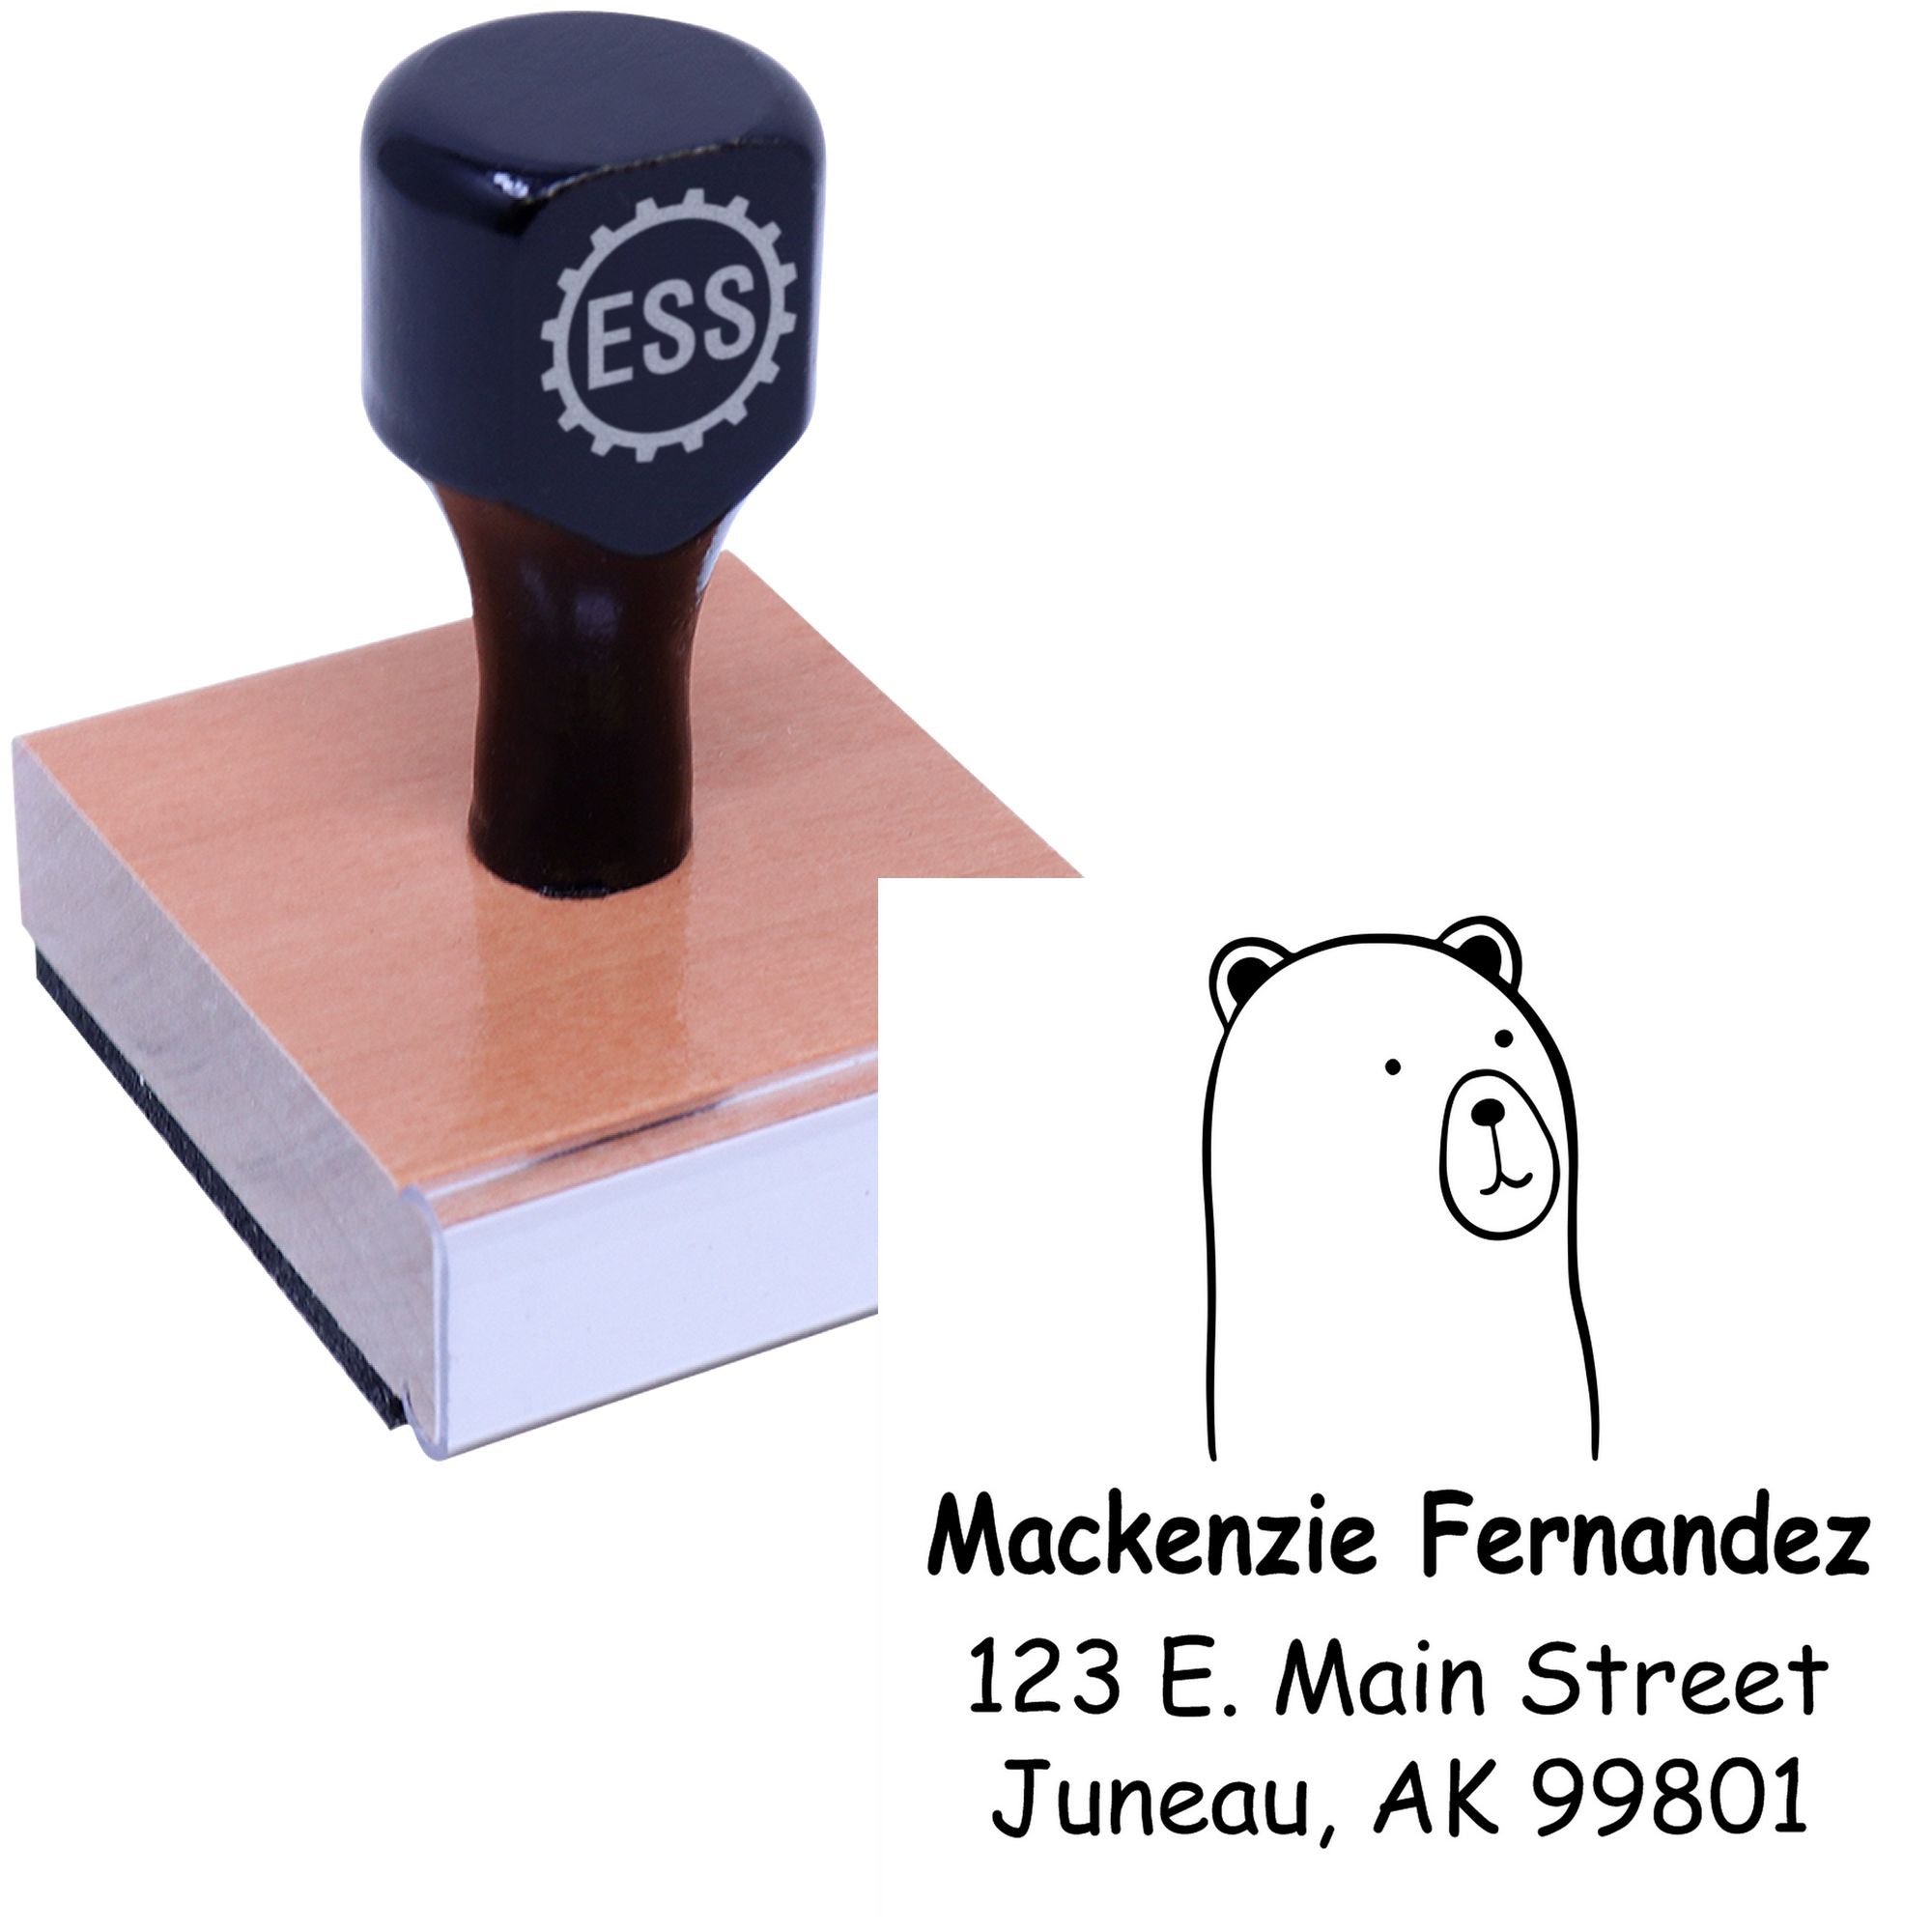
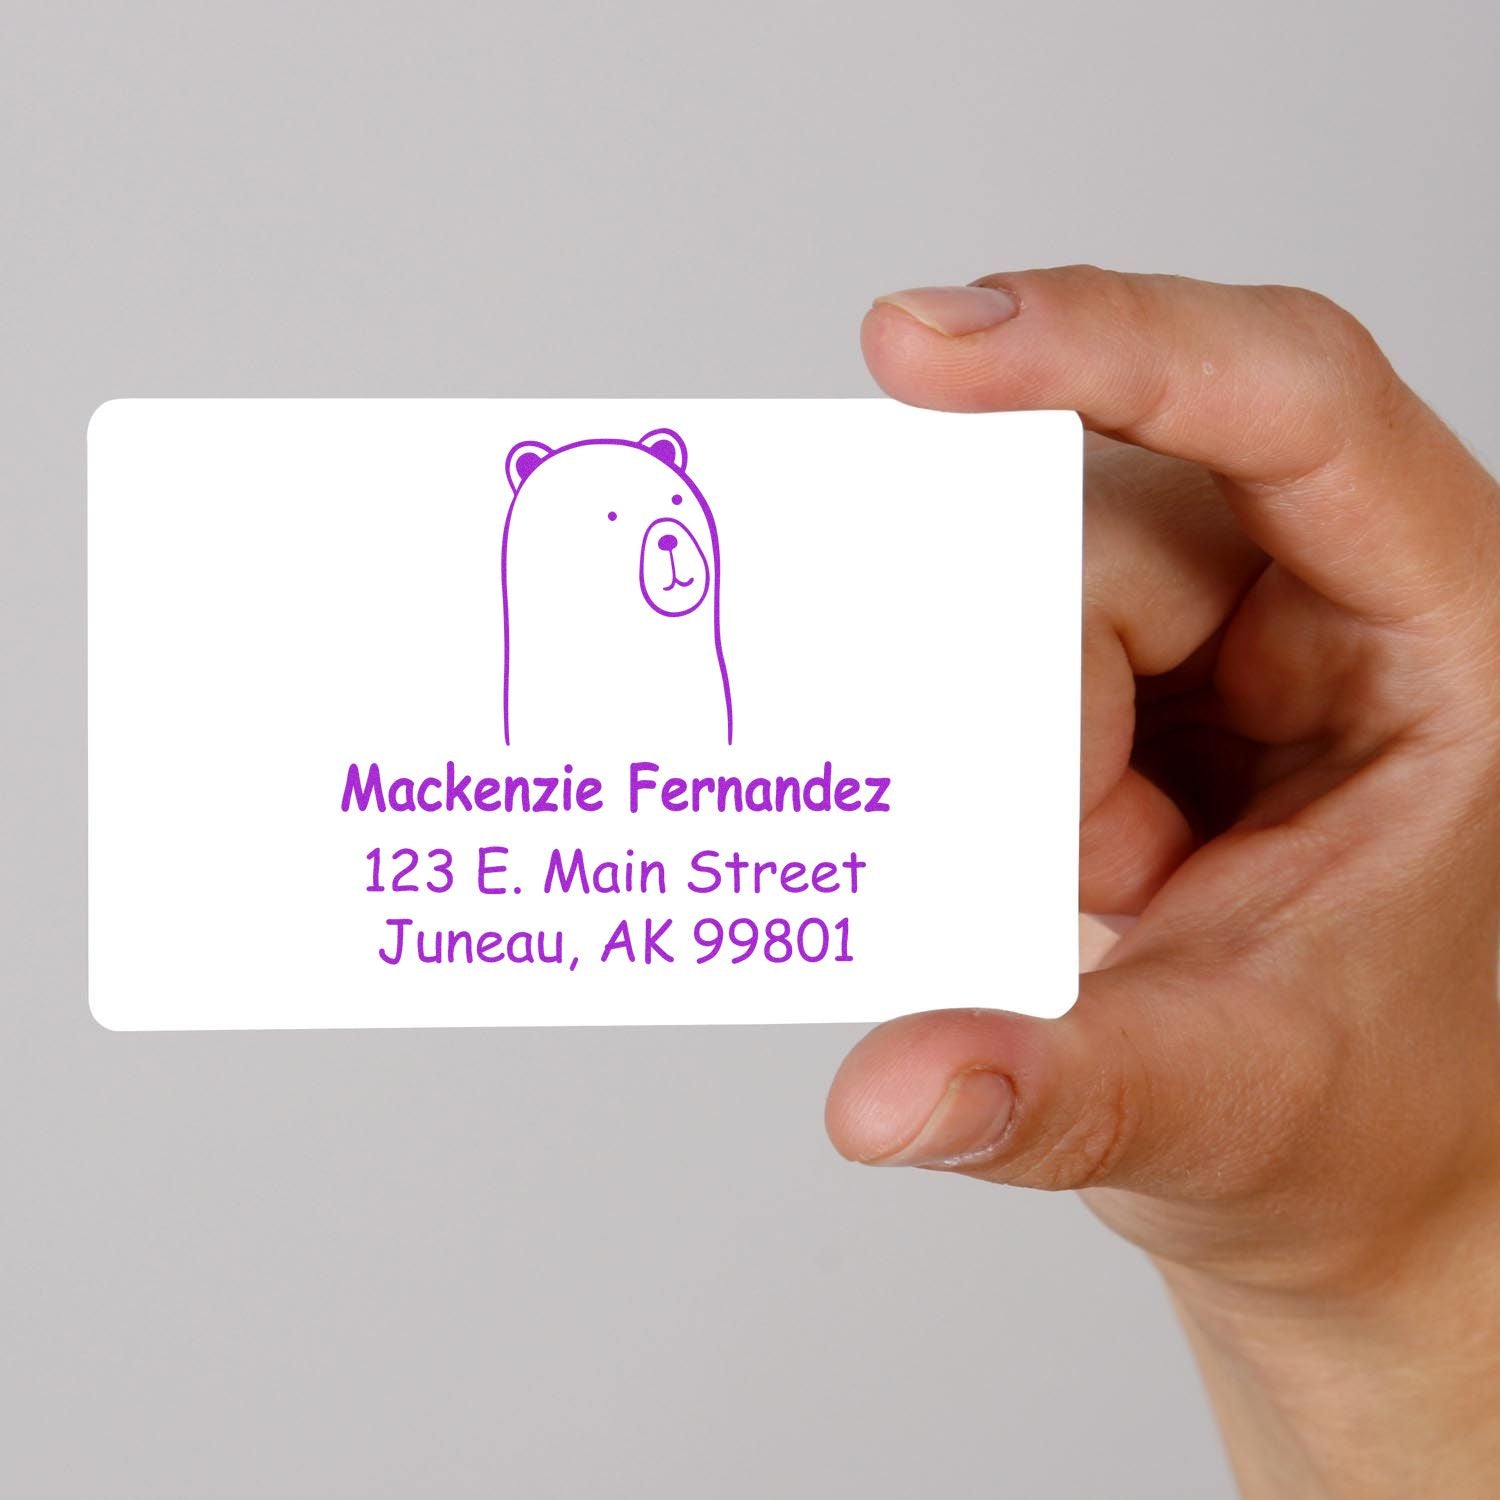
Standard stamp pads are great for typical paper, but glossy cardstock, stickers, or coated labels present a challenge. The ink can easily smear or slide right off if it’s not formulated to adhere to those sleek surfaces. A specialized pad prevents that problem, giving your designs or text a sharp, professional finish.
What to look for
- A fast-drying ink formula that resists smudging
- A firm pad surface to ensure even ink transfer
- An ink reservoir that won’t dry out quickly
- A size that fits your most-used stamp shapes
Master your stamping technique
Having the right pad is just the start. You also want to master the application, so your glossy surfaces look consistently polished.


Prep the surface
Before you ink up your stamp, double-check that your material is clean. Dust or fingerprints can interfere with how the ink sets, leaving patchy spots or streaks. Gently wipe the glossy surface with a lint-free cloth to remove any residue.
Stamp with confidence
- Lightly press your stamp into the pad.
- Tap off any excess ink by pressing once on scratch paper.
- Hold the stamp securely and press straight down onto the glossy material.
- Lift it up carefully to avoid shifting or dragging.
That’s it. Resist the urge to wiggle the stamp for extra coverage, because that often leads to blurring.
Let it dry
Even though these inks are fast-drying, an extra couple of seconds can make a difference. Set the piece aside, blow on it lightly, or wave it in the air for a moment. This patience can help avoid last-minute smears.
Troubleshoot common issues
Let’s face it, even with the right stamp pad, life happens. Here are a few hiccups you might encounter and quick fixes to keep in mind.
| Issue | Cause | Quick Fix |
|---|---|---|
| Faded impressions | Not enough ink on the stamp | Re-ink the pad or press more firmly |
| Smudging | Pressing too hard or sliding | Lift the stamp straight up |
| Ink pooling | Overly wet pad | Blot extra ink on scrap paper |
Maintain your glossy stamp pad
To keep this handy stamper in great shape, treat it like you would any other piece of equipment you rely on daily.


Cleaning 101
Wipe off any dried ink or debris from the pad’s surface after each use. If the ink is water-soluble, you can lightly dab it with a damp paper towel. For permanent or solvent-based inks, check the manufacturer’s cleaning instructions to avoid damaging the pad.
Storage matters
Store the stamp pad in a cool, dry spot. Keeping it sealed in its case between uses will help preserve the ink’s moisture levels. You’ll also prevent dust from settling on top of the pad, which can cause inconsistencies in your next stamp.
Final thoughts
When your stamping projects call for a smooth finish on shiny surfaces, a stamp pad for glossy surfaces can be a real game-changer. It’s all about investing in the right tool, mastering a simple stamping technique, and sticking to a basic maintenance routine. Whether you’re decorating party favors, labeling products, or just having fun with crafts, you’ll love how vibrant and precise your impressions look. Give it a try and see the difference for yourself. If you’ve already experimented with glossy stamping, feel free to share your tips with others. You might just inspire someone’s next brilliant idea!