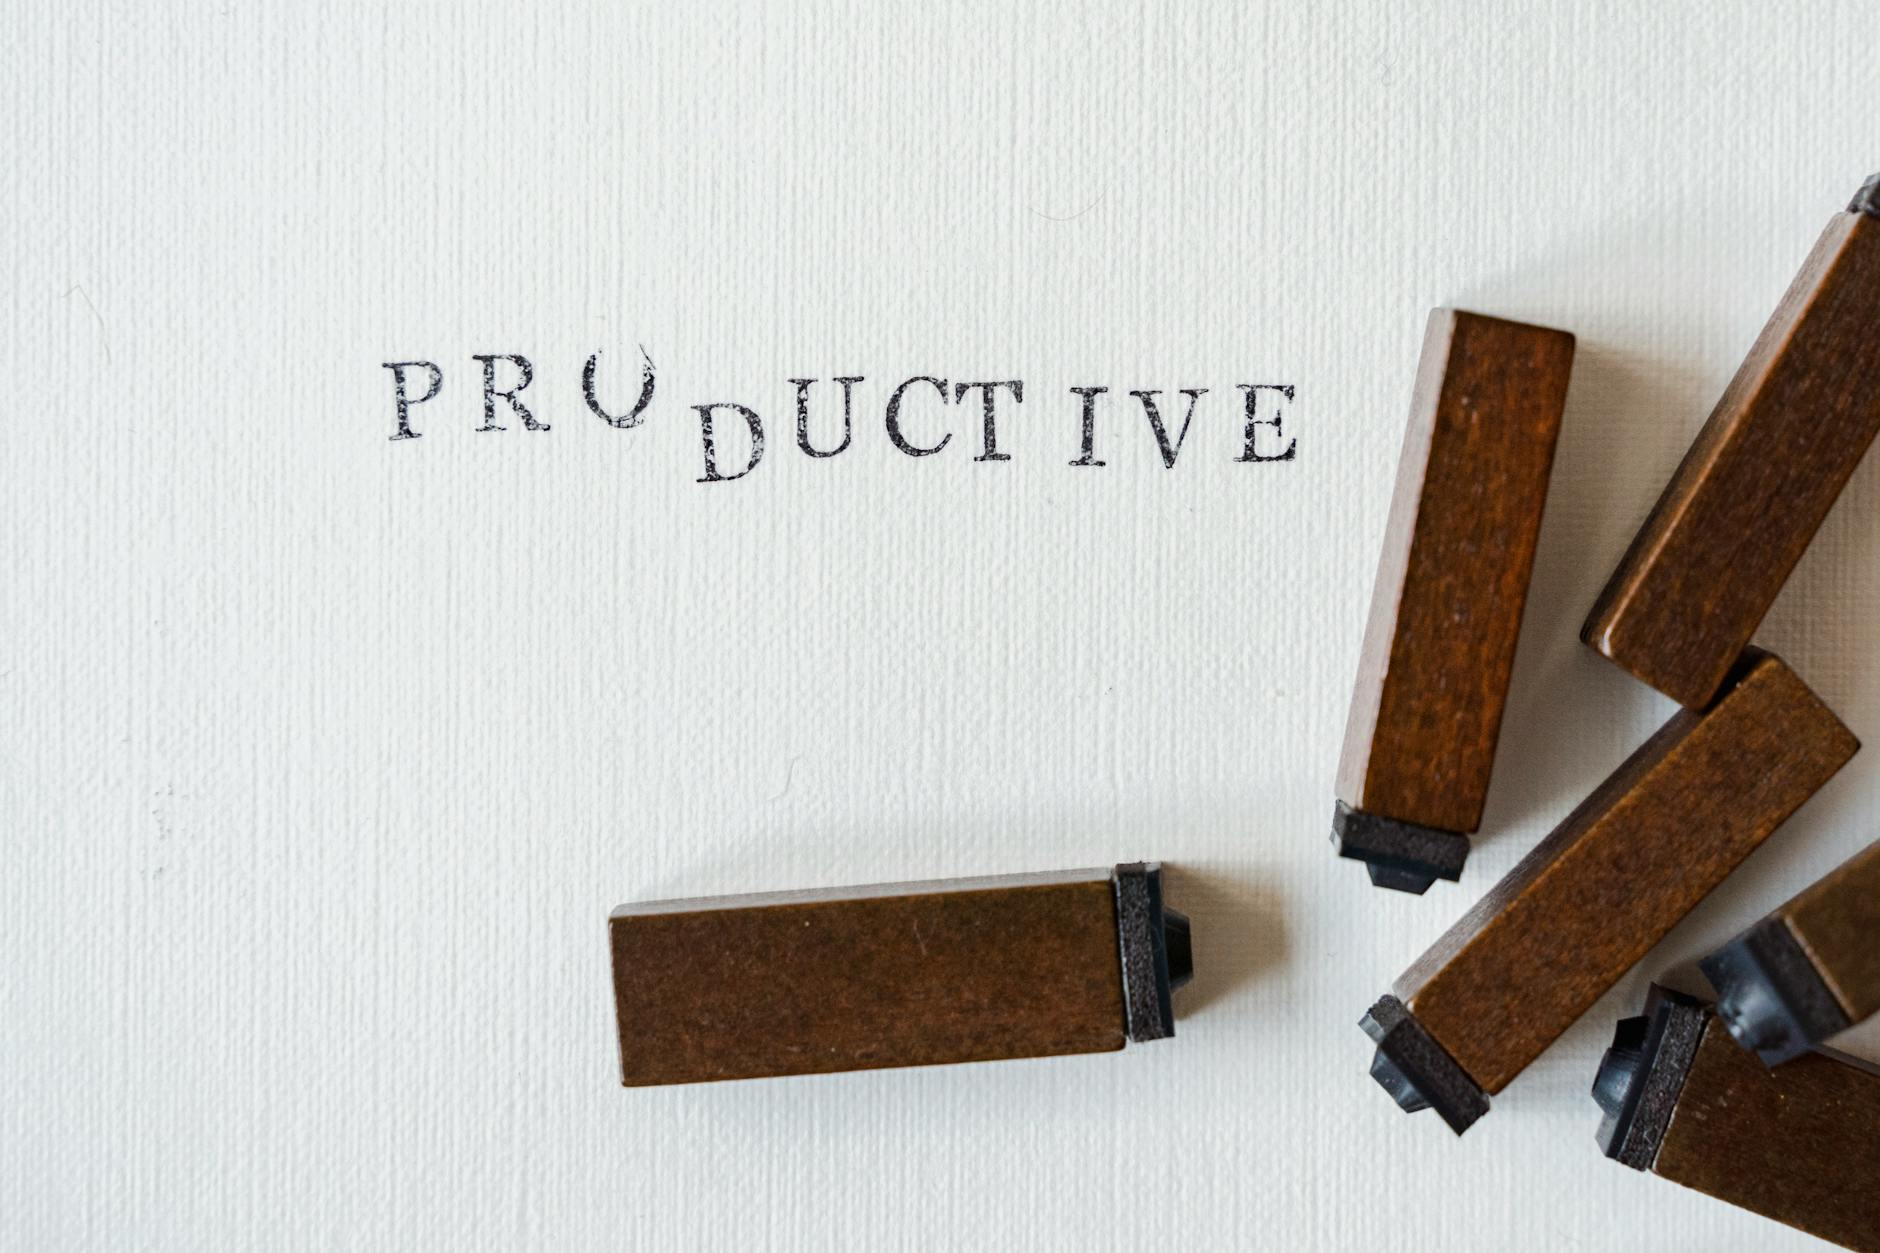
Picture your handmade greeting cards, artisan soaps, or knitted scarves right after you finish crafting them. They’re unique in style, color, and texture. But if you add a little personalized flourish—for instance, a logo stamp for handmade business packaging—the entire unboxing experience feels extra special. Setting your brand apart isn’t just about a pretty label, though. It’s also about weaving your personality into every detail so customers immediately recognize who made their new favorite item.
You’ve probably noticed other small businesses stamping their boxes, tissue paper, or even care instructions. These custom marks can elevate a so-so presentation into something truly memorable. Plus, it’s a friendly solution if you’re looking for a more cost-effective, personal, and eco-conscious label. With a single stamp, you can jazz up bags, tags, and receipts instead of needing hundreds of pre-printed stickers. It’s a warm, personal touch customers remember long after they’ve taken the item home.
Ready to learn more about how a logo stamp can help your handmade business stand out? In this guide, you’ll discover stamp design tips, usage ideas, and best practices for caring for your new creative tool. You’ll also get an inside look at working with a custom stamp provider, such as Engineer Stamps (sometimes called ESS!), to help you achieve a striking brand identity. Whether you sell pottery or sugar cookies, a practical stamp can breathe life into your packaging while showing off your personality. Let’s explore how you can make that happen.
Recognize the value of your brand
You might believe branding is only for massive corporations. After all, big companies pay impressive amounts to develop logos, slogans, and style guidelines. But as a handmade business owner, you have your own brand story to share. Imagine you’re chatting with a customer at a craft fair. You’d likely talk about your process, your inspiration, and the reason you love making each piece. A logo stamp helps you capture those same vibes on packaging and promotional materials without needing to be physically present.
Why consistent branding matters
- It helps customers remember you. When your tag, business card, and shipping box show the same logo, they know exactly who made that item.
- It fosters an emotional connection. People want to feel good about supporting local crafts, so a logo that feels personal encourages them to follow your journey.
- It gives you a professional edge. Even if you’re running a micro business from your living room, cohesive branding makes you look established and trustworthy.
Think about your “brand personality”
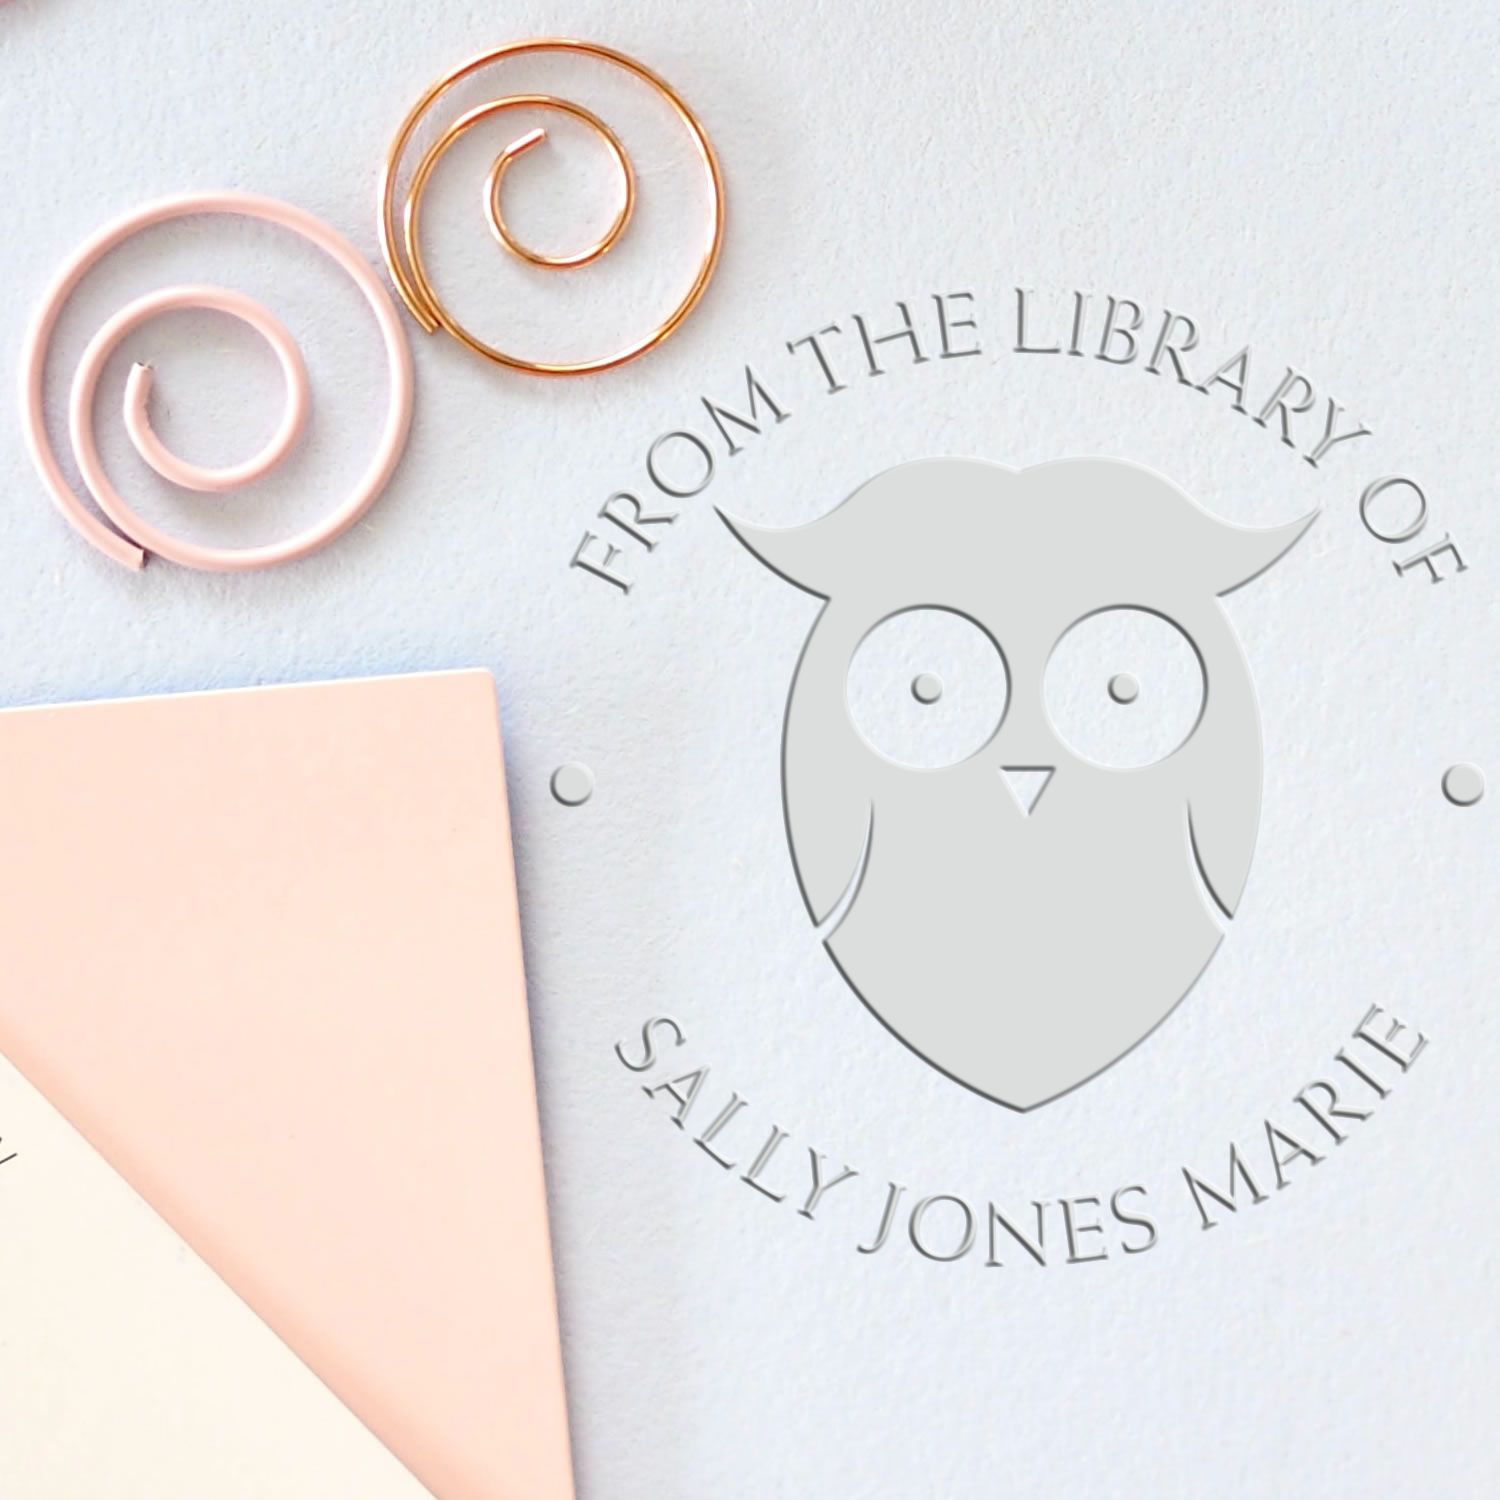
Branding is a form of storytelling. When people buy a handmade candle or crocheted slipper from you, they’re also buying your story. Are you quirky? Minimalist? Vintage-inspired? Nailing down your style helps guide the look and feel of your logo stamp. If your brand is whimsical, you might have swirling, playful fonts. If it’s down-to-earth, you could use clean lines and simple typography. This personality is what customers connect with, so keep it consistent, from product tags to online shops.
Branding doesn’t need to be complicated. But it does need to reflect who you are as a maker. Plus, it’s fun! You get to explore color palettes, fonts, and shapes that match your mission. Once you figure that out, you have the perfect foundation for your stamp design.
Create a memorable stamp design
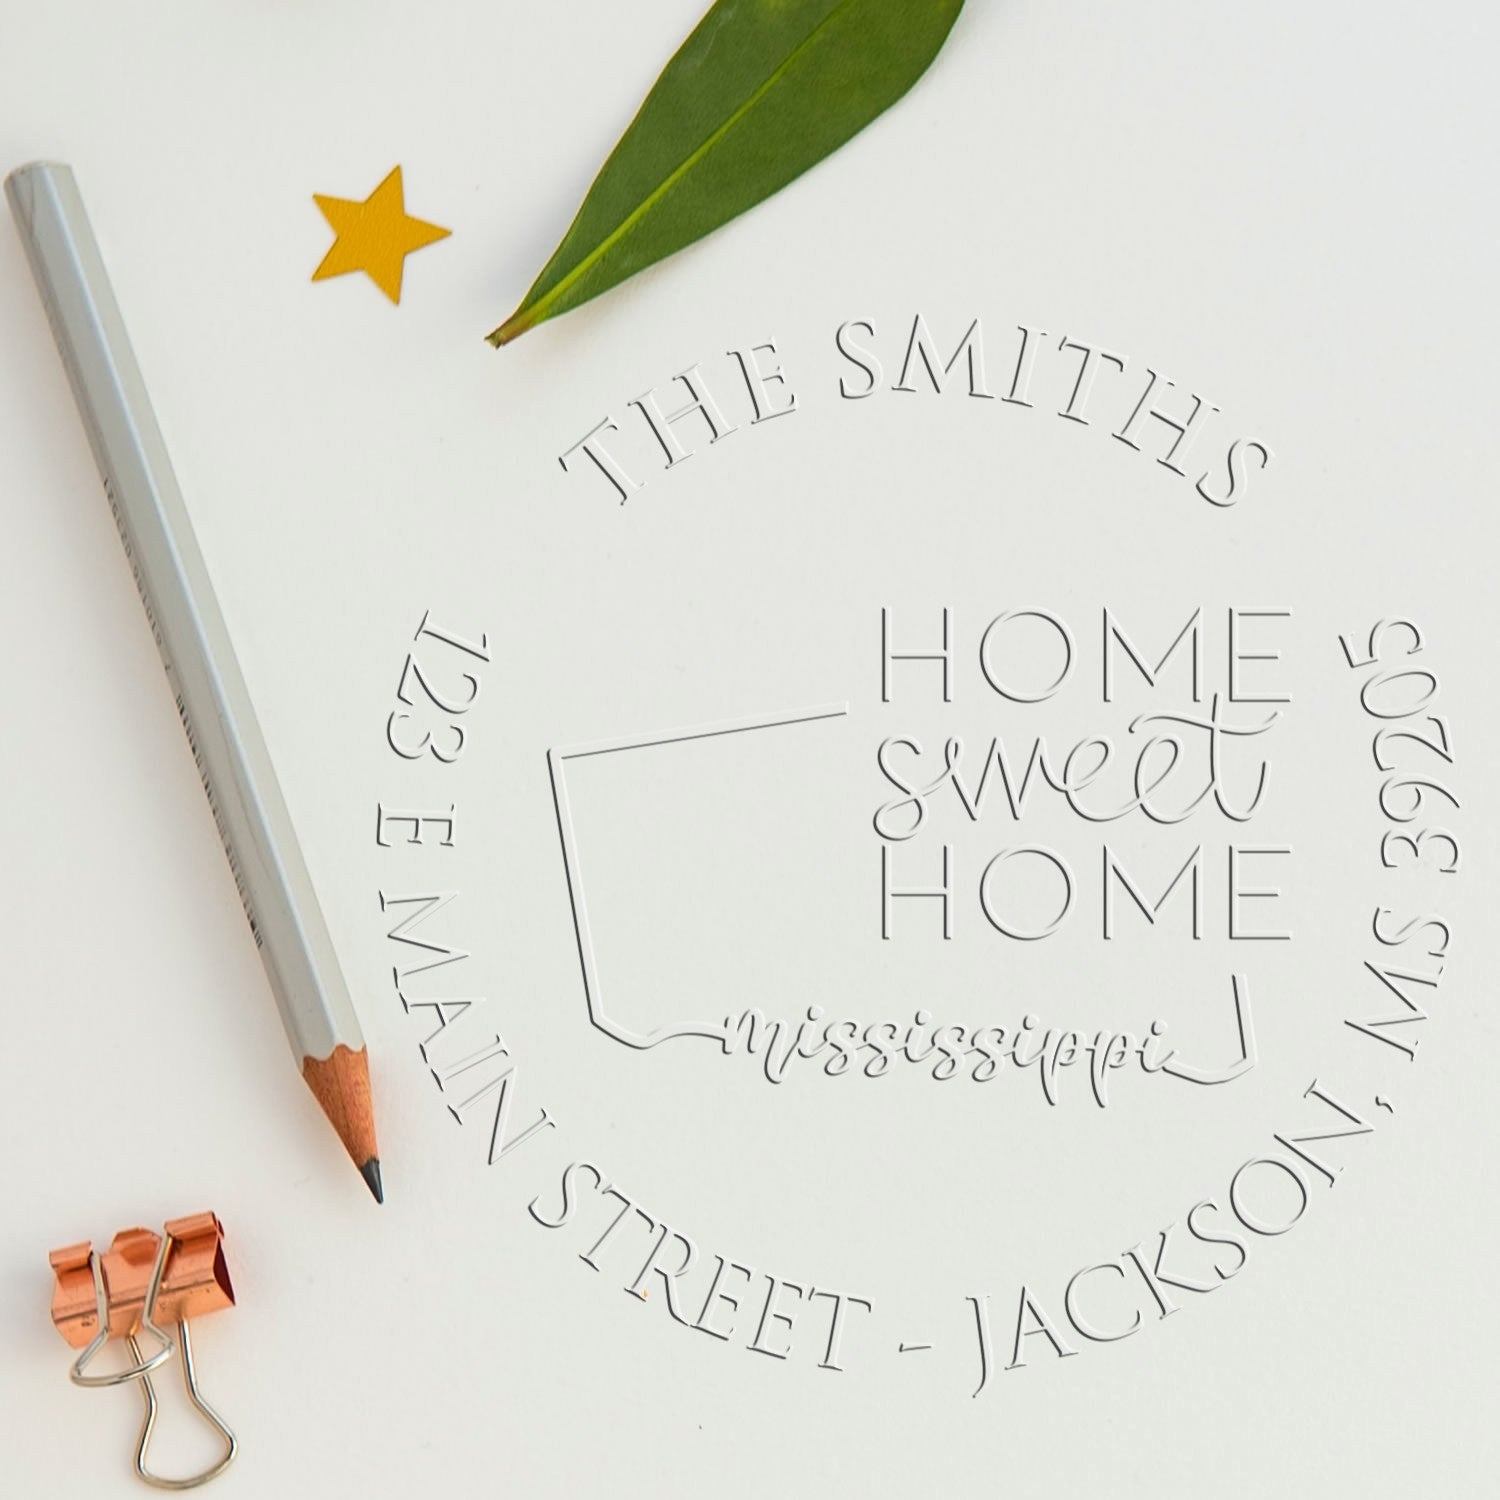
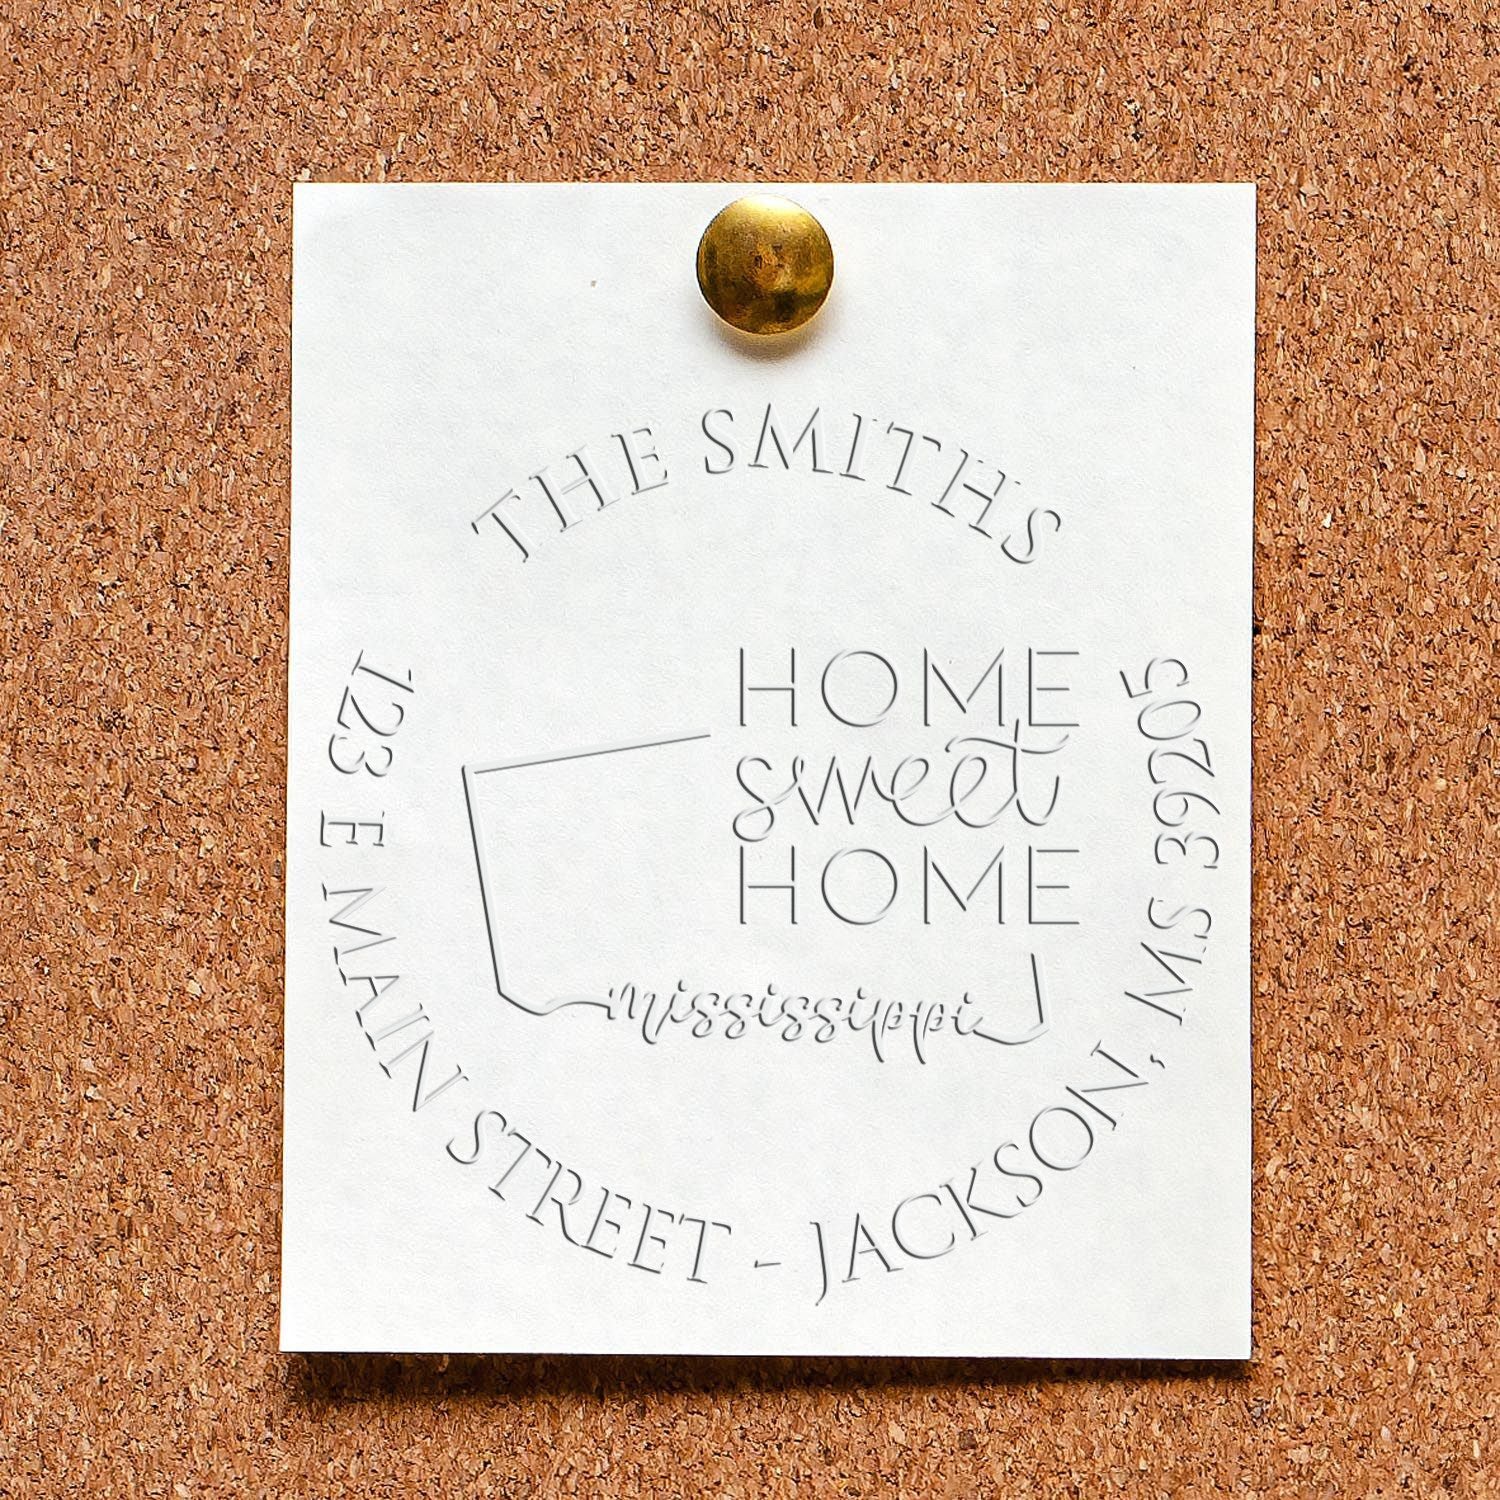
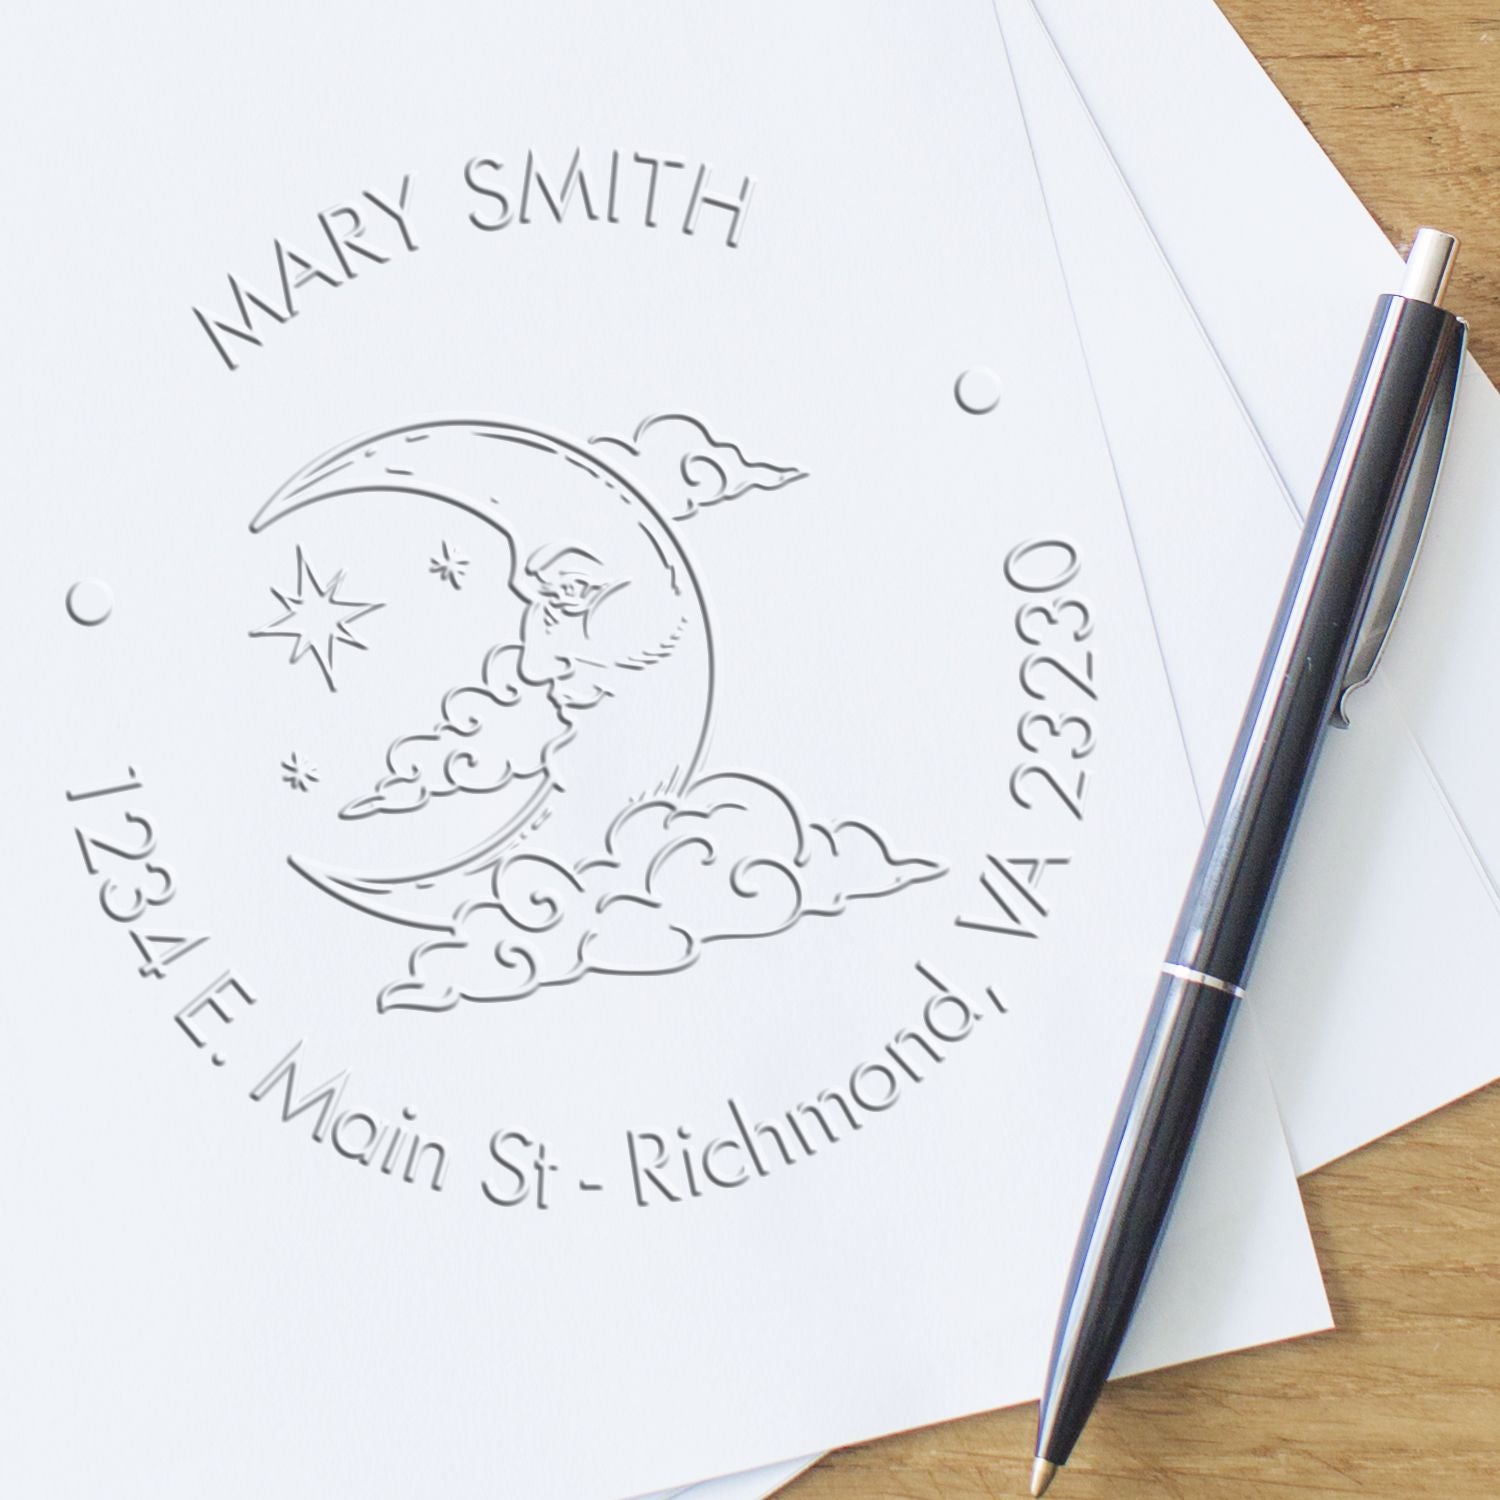
Once you settle on your brand personality—earthy minimalism, vintage charm, or chic modernism—you can translate that style into a practical, eye-catching logo stamp. Your logo is often the first impression people get of your shop identity. If you sew crocheted baby blankets, you might choose softer shapes and pastel color references. If you craft bold statement jewelry, consider sharper lines or more dramatic lettering.
Sketch out what you want
Before going digital, it might help to doodle a bit on paper. Don’t worry about making perfect drawings. These sketches let you explore layouts, shapes, and your overall vibe. If you love illustrating by hand, a rough draft can be scanned later. If you prefer going digital from the start, you can use programs like Canva or Adobe Illustrator. But the key is to let yourself play without worrying about perfection.
Keep the design stamp-friendly
Not every artwork detail will look great on a rubber stamp. Super-fine lines or tiny text can get lost or blur when you apply ink. If you’re unsure how your design will print, try a test run by shrinking your logo on your computer screen to about one or two inches wide. Zoom out and see if the lettering is still readable. If it looks cluttered, consider simplifying the layout or using bolder lines.
- Choose a simple shape. Round or oval stamps look classic on packaging. Squares or rectangles give you a neat, modern look.
- Use legible fonts. Script is pretty, but make sure it won’t become a smudge.
- Leave some white space. If your design is too busy, it might muddle once ink meets paper or fabric.
Consider your color palette
When you think of a stamp, you might picture plain black ink applied to brown kraft paper. That’s a timeless look, and it’s budget-friendly. However, if you want extra flair, you can experiment with colored inks. Your brand might pop with teal, lavender, gold, or pastel pink. Choose an ink color that complements your packaging or brand color scheme, but still offers enough contrast to stand out. For instance, if your boxes are dark cardboard, white ink could make a striking statement.
Use your stamp in unique ways
Once you have your final design, you’re ready to stamp away. But where? The possibilities are endless. Think of your stamp as an all-purpose branding tool. It’s perfect on the usual suspects—shipping boxes, product tags, and thank-you notes—but there are also creative ways to show it off.
Packaging and labels
- Boxes and mailers. Stamp the outside so recipients know right away that their handmade treasure has arrived.
- Tissue paper. Generate a patterned effect by randomly stamping the tissue in diagonal designs. It looks artisanal and fun.
- Paper tags. Attach these to clothing or gift items with a bit of twine. You can even add a quick personalized note on the backside.
- Receipt or invoice corners. Turn a simple slip of paper into a brand statement.
Marketing materials
- Flyers or brochures. Stamp the top corner to brand them instantly.
- Event banners. If you frequent local craft fairs, create a large banner from plain kraft paper with repeated impressions of your stamp.
- Business cards. Sometimes a custom stamp can help you make each card feel special, especially if you don’t order pre-printed cards in bulk.
Enhancing product presentation
- Gift wrapping. Whether you’re using baggies or small boxes, a neatly placed logo ties it all up with a bow (literally and figuratively).
- Fabric or ribbon. Some stamps and inks are fabric-friendly, letting you brand drawstring pouches or decorative ribbons.
- Thank-you notes. Write a short message by hand, then top it off with your logo stamp so customers know who took the time to appreciate their order.
In all these instances, consistency is key. If you’re stamping your packaging, try to stamp every piece that leaves your workspace. This approach helps create a cohesive image, which, in turn, builds recognition.
Choose the right stamp type and materials
Picking a high-quality stamp is crucial if you want crisp logos every time. Otherwise, you might end up with inconsistent prints or smudged text. There are several stamp styles, each suited for different needs.
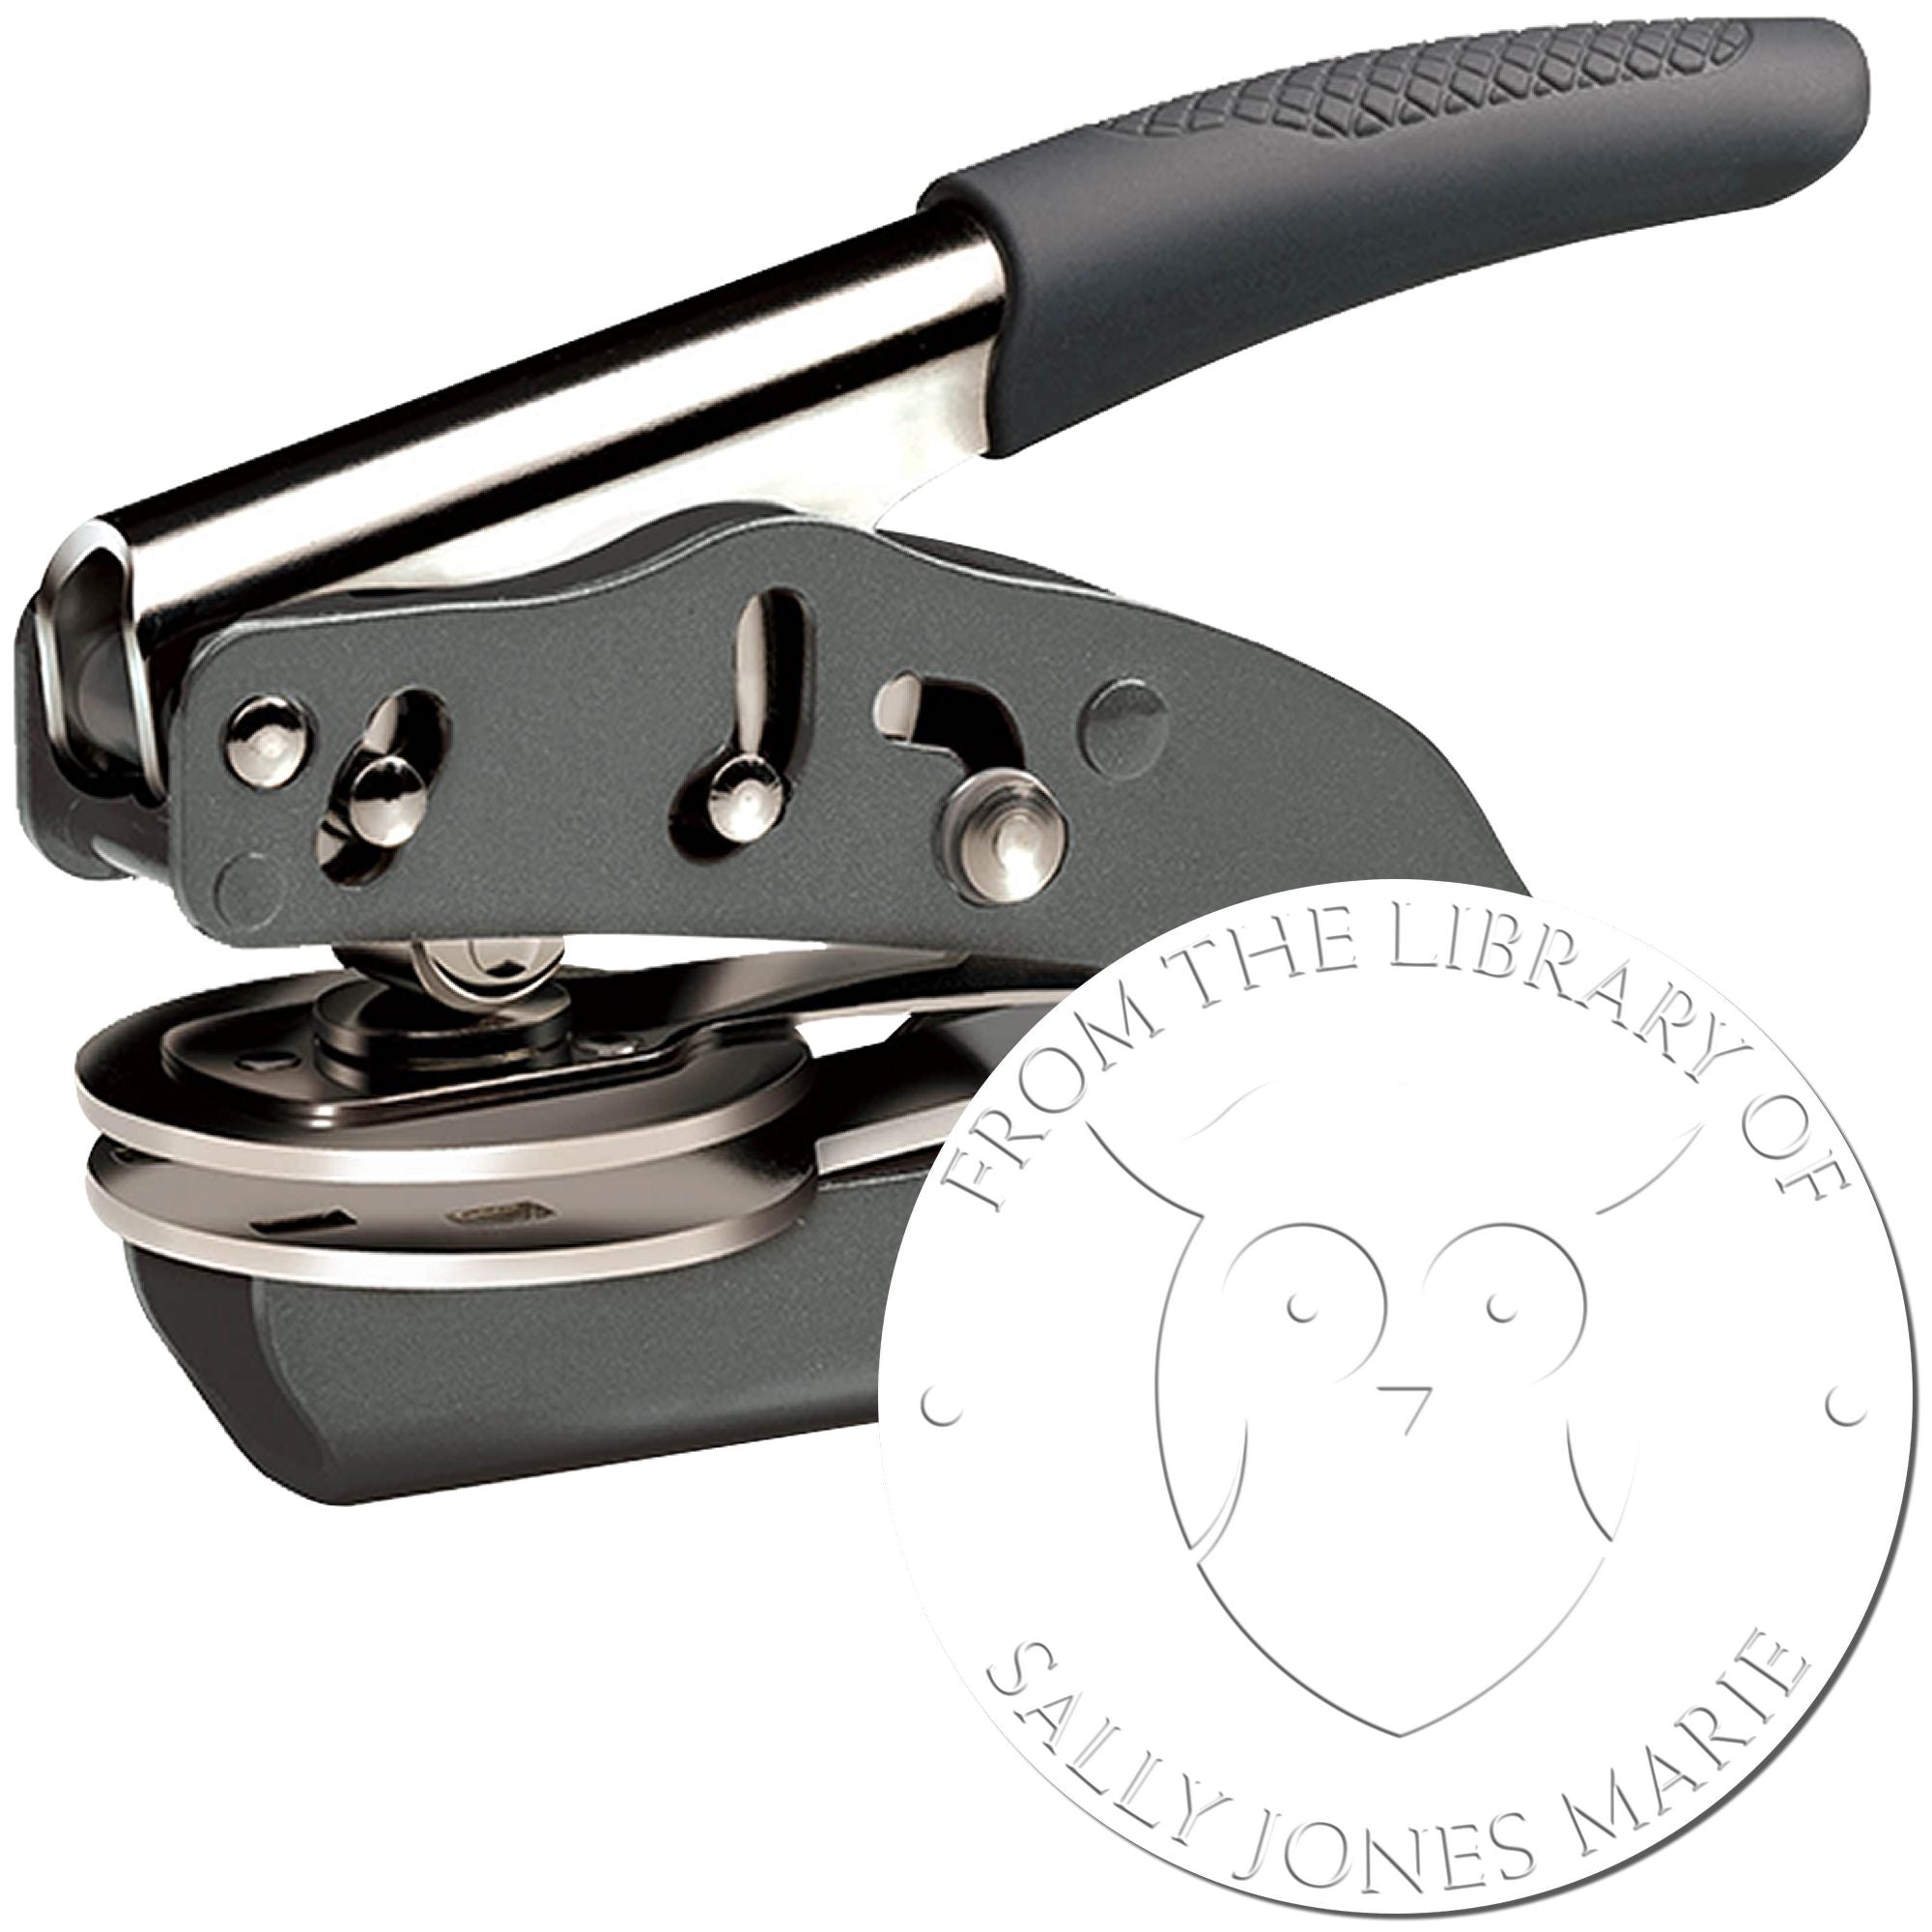
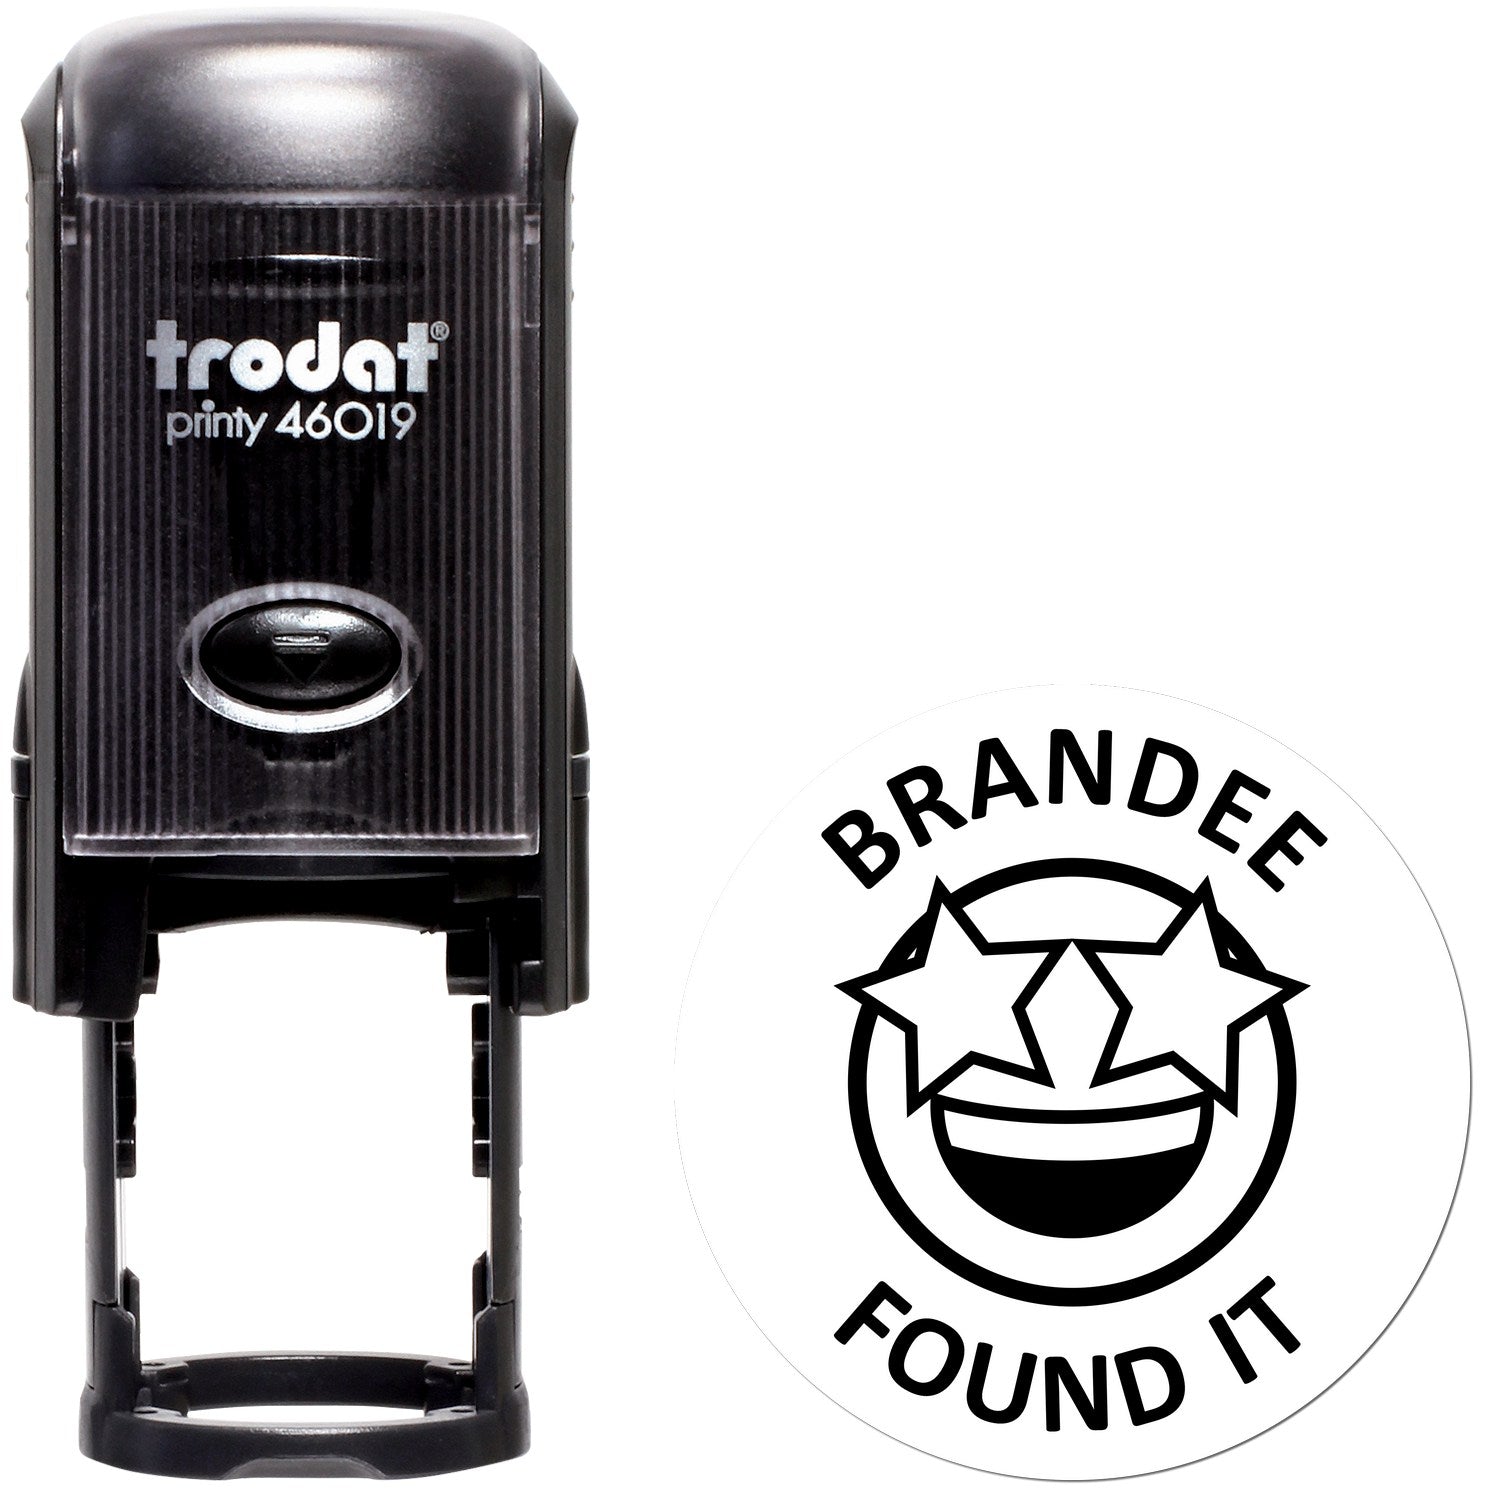
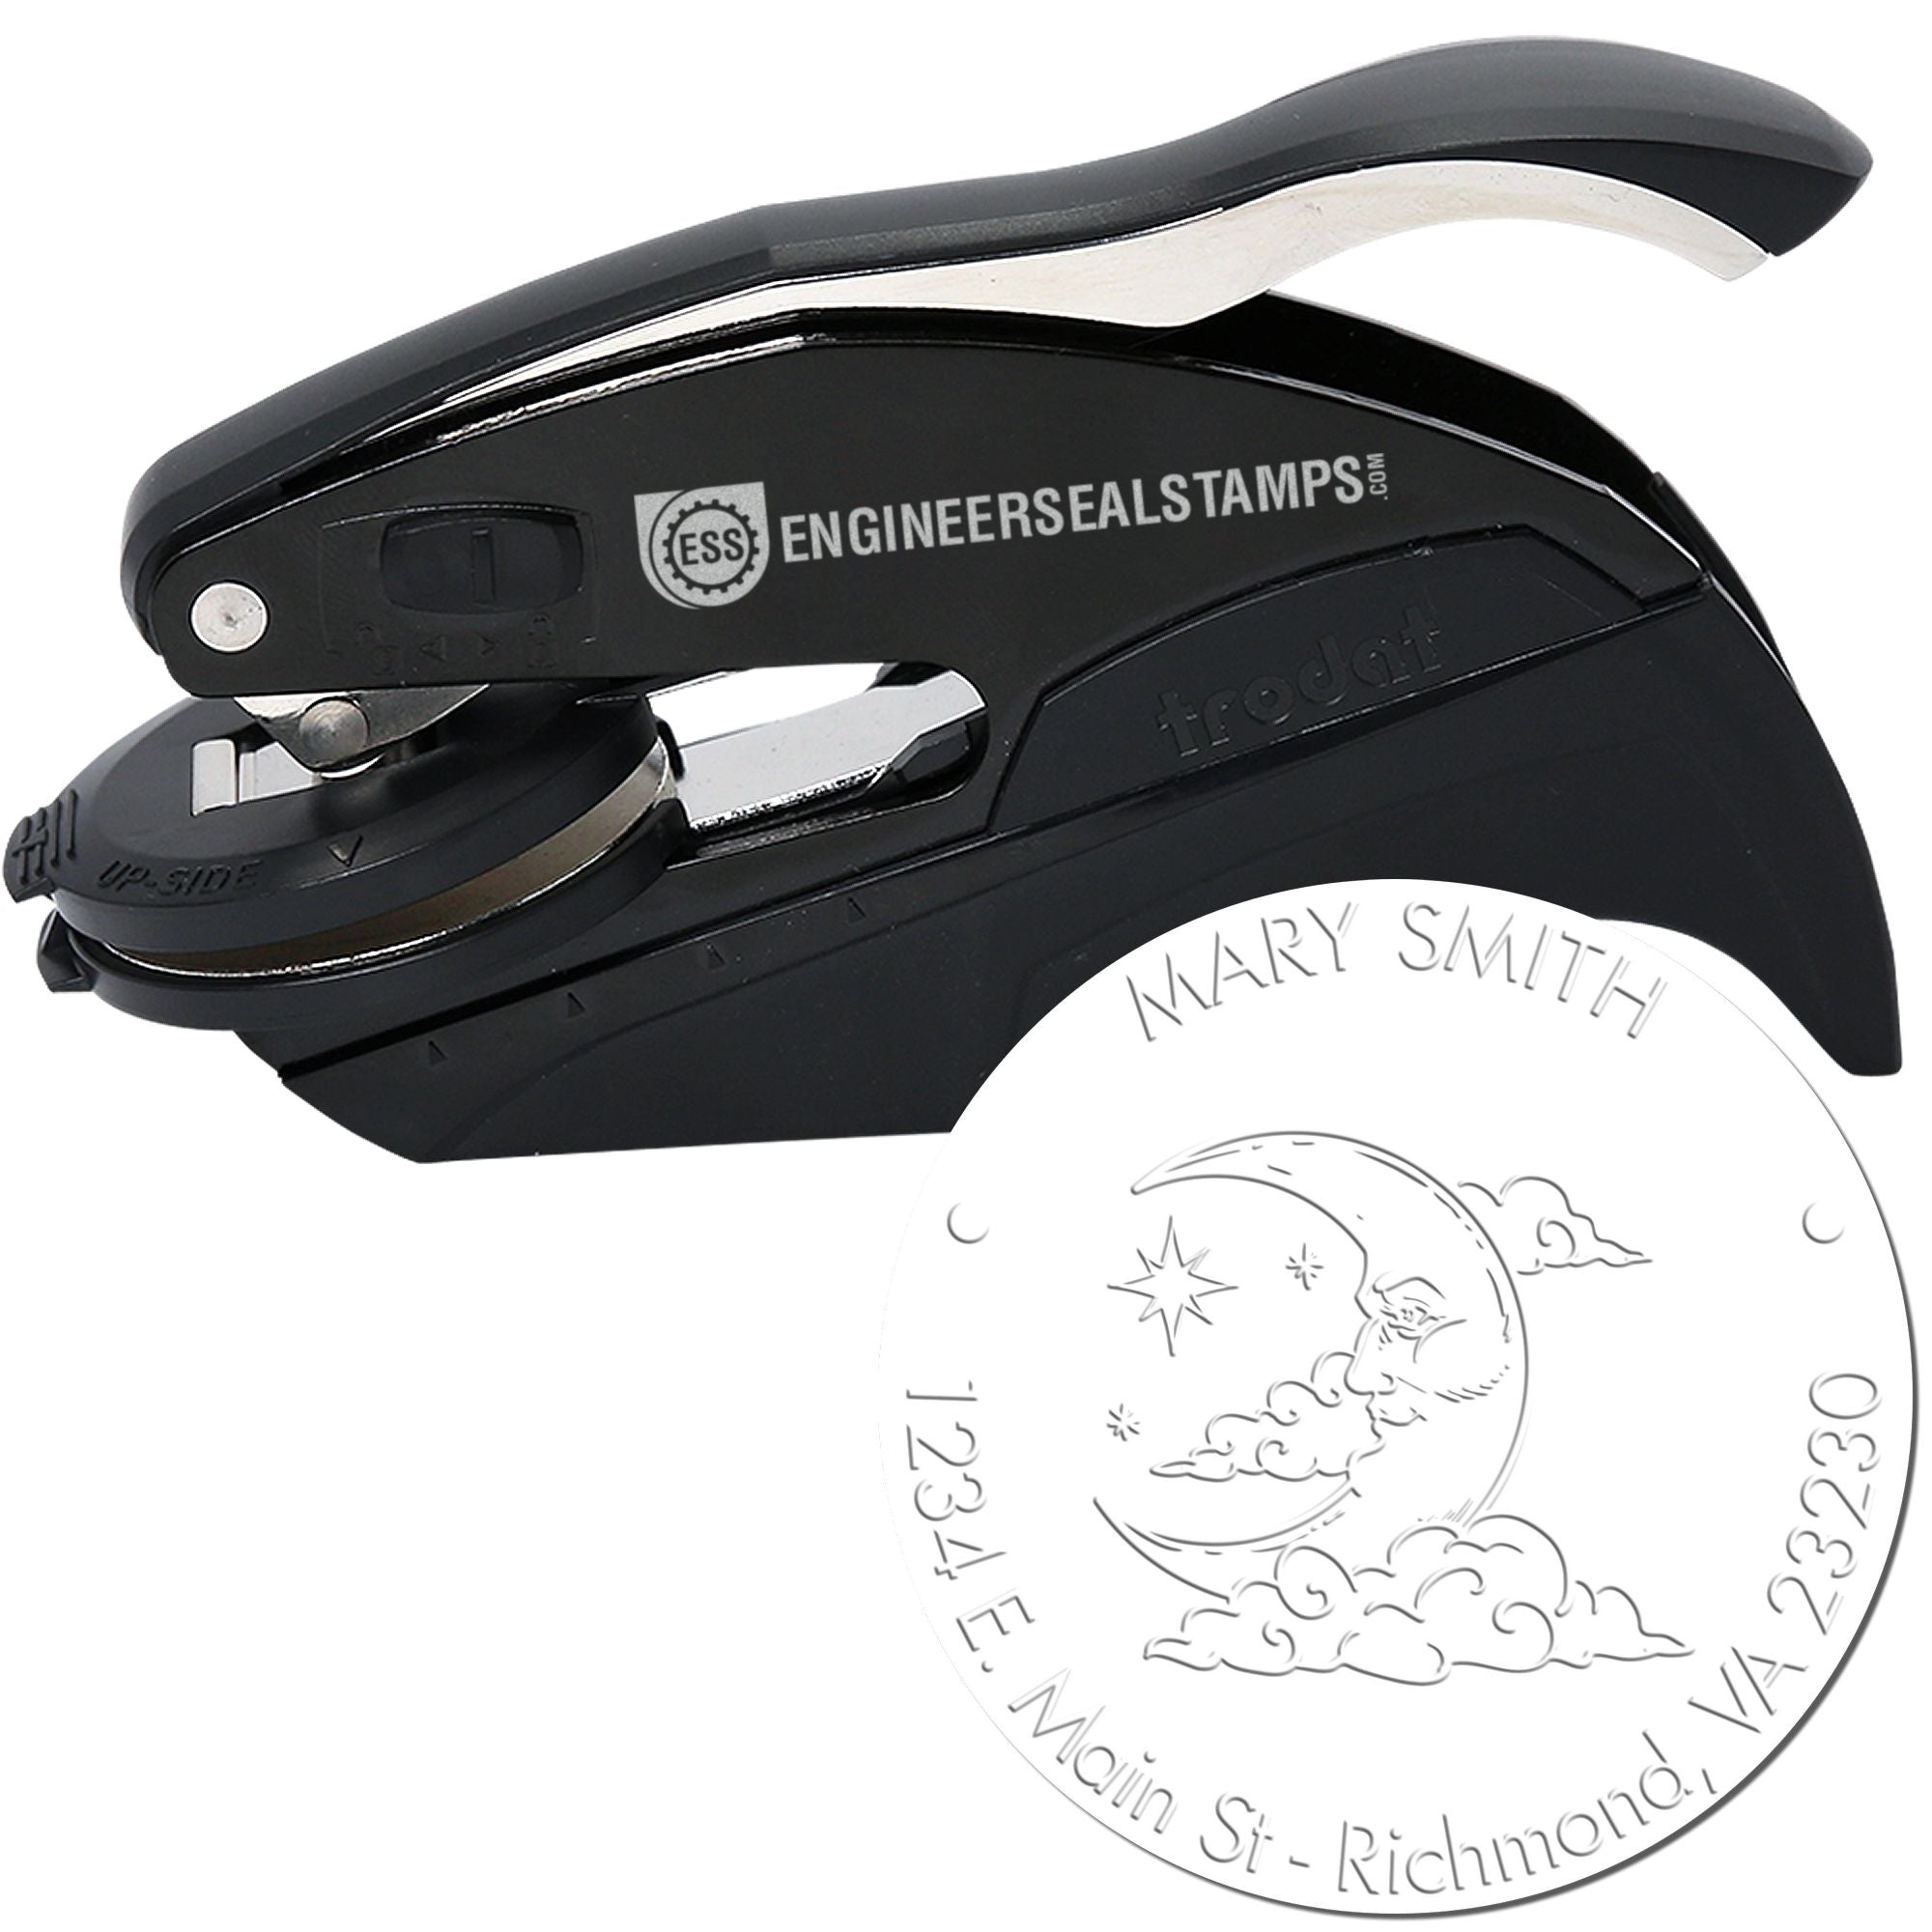
Rubber stamps
Rubber stamps are the classic choice. They’re durable, affordable, and easy to customize. Most rubber stamps require you to use a separate ink pad, so you can swap colors quickly. You can find smaller rubber stamps with a simple wood mount or opt for larger ones with a more ergonomic handle.
Self-inking stamps
These come with the ink reservoir pre-loaded. Every time you press down, the stamp’s internal mechanism re-inks the surface. It’s a speedy solution if you’ll be stamping a high volume of items (think event freebies or big shipping days). The downside is you’re typically locked into a single color unless you buy multiple self-inking devices or carefully replace the internal pad.
Pre-inked stamps
Pre-inked stamps are different from self-inking in that the rubber surface is infused with ink, so there’s no separate pad or mechanism. They’re known for sharper impressions but often cost more. The surface can dry out if you don’t use it for long periods, so proper storage matters.
Ink pads and colors
When choosing an ink pad, factor in the surfaces you’ll be stamping. Standard dye ink pads work well on paper, but if you plan to stamp on glossy surfaces or fabric, you may need solvent-based or pigment inks. Always check the label. Some ink pads are quick-drying, while others might need time to set. Test your surface thoroughly before mass-stamping any product labels.
Factor in comfort and volume
If you’re only stamping a handful of orders each week, you can probably get by with a simple wooden rubber stamp. But if you’re shipping dozens of packages daily, you might prefer a self-inking stamp for speed, or a comfortable handle that doesn’t strain your wrist. Pay attention to the handle design and consider the longevity of your chosen method. If you stamp a lot, investing in a quality tool will save you frustration in the long run.
Follow design best practices
You’ve pinpointed your style, sketched your idea, and chosen a stamp type. But how do you ensure it delivers a clean impression every time? Here are some tried-and-true best practices to keep your stamp looking professional.
Test on scrap materials
Before stamping a batch of envelopes or tags, run a few tests on identical or similar material. This habit will reveal any adjustments you need for ink coverage, pressure, or alignment. You might discover that your new ink pad is extra juicy and needs a lighter press, or that certain surfaces need a bit more pressure.
Apply even pressure
When stamping, push down evenly across the entire surface. A wobbly press can leave parts of your logo light or unprinted. If you’re stamping a large design, you may need to shift your hand slightly to distribute pressure more consistently.
Guard against smudges
After you stamp, avoid touching the surface for a few seconds, especially if you’re working with slow-drying ink. If you’re producing a lot of stamped items at once, lay them out in a single layer to let the ink dry fully. Smudges can dampen the professional look you worked so hard to create.
Keep your work area clean
Have a scrap cloth or a couple of paper towels handy for blotting. If ink gets on your finger and you accidentally press it onto your packaging, you’ll leave behind a stray fingerprint. It’s a small detail, but these mishaps can knock your final presentation down a notch.
Refresh your pad
Over time, your ink pad may dry out or get dirty. You’ll notice it when you don’t get a crisp impression or the color starts looking faded. Clean your stamp, then replace or re-ink your pad as needed. Handy tip—always follow the recommended brand of re-inker to prevent mismatched shades.
Care for and store your stamp
A stamp is like your brand’s best friend, so treat it well. The better you care for it, the longer it will keep delivering perfect impressions. Neglecting a stamp can lead to dried ink clogging those tiny design details, eventually causing uneven prints.
Clean after each use
Excess ink or debris can build up in the stamp grooves. After each stamping session, gently dab the surface with a damp cloth or use specialized stamp-cleaning wipes. Make sure to clean it before the ink fully dries, especially if you’re switching from one color to another.
Avoid extreme temperatures
Stamps don’t like scorching heat or freezing cold. If you’re working in a garage or workshop, find a moderate spot to store them. High heat can warp the rubber or acrylic, while cold can make the ink behave oddly.
Store in a safe location
Keep your stamp facing up or store it in a protective case. If you have a wood-mounted stamp, try not to store it resting on the rubber side. Over time, being pressed against a hard surface can distort the design. Also, consider labeling your case, so you don’t accidentally mix up your brand stamp with your personal crafting stamps.
Replace or redo when needed
Even the best stamps can wear out after repeated use. If your lines start looking fuzzy and cleaning doesn’t help, it may be time for a refresh. Thankfully, reordering from a custom stamp maker is usually a straightforward process. You already have the design, so it’s all about processing the order again.
Partner with a custom stamp provider
Now that you know what your stamp design should look like and how you’ll use it, the next step is finding the right maker. While you could buy a generic online kit, you’ll get better results by partnering with a dedicated shop that knows how to bring custom logos to life.
Why choose a specialized service
A specialized provider, like Engineer Stamps (ESS), offers expertise in converting your high-resolution design into a stamp that prints cleanly. They typically use durable rubber or polymer, ensuring your lines won’t degrade quickly. If you have unusual requests—like larger stamps or unique shapes—a custom shop can often accommodate you better than an automated online retailer.
What to ask before ordering
- “Can you handle my design complexity?”
If your logo includes shading or intricate lettering, confirm they can recreate it accurately. - “Do you offer multiple sizes?”
If you want big stamps for packaging and smaller ones for labels, a range of sizes keeps your branding cohesive. - “Which materials do you use?”
High-grade rubber typically yields sharper, longer-lasting impressions than cheaper alternatives. - “What’s your turnaround time?”
Make sure you have enough lead time if you’re prepping for a big craft fair. - “Is there a reorder or reprint discount?”
Ordering multiple stamps at once can sometimes save money. It’s also convenient to have a backup.
Provide a clear design file
When you’re ready to order, send the highest-quality version of your logo. Vector files (.ai, .eps, .svg) are ideal because they’re infinitely scalable. If you only have a .jpg or .png, use the highest resolution possible. This step helps your custom stamp provider achieve the crispest detail. They might also give you a digital proof to confirm sizing and layout before they start production.
Don’t be shy about feedback
Working with a custom stamp maker is a collaborative process. They might recommend thickening the lines or removing some tiny elements that won’t stamp well. You can request adjustments to ensure everything looks just the way you envisioned. Good communication helps you avoid any unpleasant surprises later on.
FAQs about logo stamps
Here are a few common questions people ask once they decide to incorporate stamps into their handmade business setup.
“How do I choose between a rubber stamp and a self-inking stamp?”
The choice depends on your needs and stamping patterns. Rubber stamps require separate ink pads but allow you to swap colors easily. Self-inking stamps are faster for high-volume tasks because the ink mechanism is built in. If you frequently switch colors or stamp on unusual surfaces, a classic rubber stamp might be more flexible. If speed and consistency matter most—say, for shipping dozens of packages a day—a self-inking option cuts down on repetitive motions.“What size should my logo stamp be?”
There’s no one-size-fits-all answer because it depends on where you plan to stamp and how detailed your logo is. For small product tags, a compact stamp (about one to two inches in width) might be enough. For shipping boxes or large envelopes, you could go bigger, maybe three inches or more, to showcase your design clearly. Remember also to consider whether you want multiple sizes for different uses. If you do, find a provider who can create matching sets with your same design.“Can I use colored ink on non-paper surfaces?”
Absolutely, but it’s essential to choose the right kind of ink. Dye-based inks generally work best on porous sheets of paper. If you’re stamping on fabric, wood, or glossy packaging, look for pigment or solvent-based inks that are specifically made to adhere to those surfaces. You’ll likely need to allow more time for drying or even heat-set the ink with an iron if you’re stamping on fabric. When in doubt, do a quick test run on a scrap piece to ensure the color stays vibrant and doesn’t smudge.-
“How do I make sure my stamp design isn’t too detailed?”
If you have a super intricate design, shrink it down on your computer screen until it’s about the size you intend to stamp. Check readability. If you see lines merging or text turning fuzzy, simplify your artwork by removing or thickening certain elements. Another trick is to add a small outline or buffer space around delicate text. This approach keeps the entire logo from becoming a blur on your final product. “How often should I refill or re-ink my stamp pad?”
That depends on how heavily and frequently you stamp. If you notice your impressions becoming lighter or patchy, it might be time for fresh ink. Some stamps, like self-inking models, will need a refill after a few thousand prints, though this can vary. Regular rubber stamps rely on separate ink pads, which you can replace or refill as needed. Storing your pad in a sealed container can help maintain moisture levels, extending the time between re-inks.“Where can I buy a custom logo stamp?”
Many online platforms offer custom stamps, but you might prefer working with a dedicated shop like Engineer Stamps (ESS) that understands small business branding. They often have better quality control and more personalized service. Before you commit, ask for samples or check out reviews from other handmade business owners. Look for a company that’s transparent about pricing, shipping, and proofing, so you know exactly what to expect. In many cases, it’s worth investing a little more upfront for a reliable, high-quality stamp you’ll use for years.
Wrap-up
A custom logo stamp gives you the power to brand every package, tag, and note in a consistent, personal way. Even if you’re selling from your home studio or a tiny table at the local farmers market, that small detail can transform your products into something more memorable. Think of it like signing your name, but with an extra splash of design that resonates with your unique brand identity.
By taking the time to develop a well-thought-out design, picking the right stamp type, and caring for it properly, you set yourself apart. Customers love feeling like they’ve found a hidden gem, and your stamp is a big part of that discovery. So go ahead—pick a design that speaks to your story, test out some ink colors, and watch how that little seal of authenticity lingers in your buyer’s memory. In the handmade world, the smallest touches often have the biggest impact. Enjoy creating your mark, and happy stamping!