Scrapbooking is all about capturing memories, and there’s no better way to mark those special moments than by using custom date stamps for scrapbooking. From birthdays to anniversary celebrations, each of your pages deserves a clear, stylish timestamp that instantly reminds you when those memories were made. If you’ve ever found yourself rummaging for the exact date an old photo was taken, you’ll love how a personalized date stamp keeps you organized, saves you time, and helps your scrapbook truly shine.
Below, we’ll explore the many ways you can incorporate custom date stamps, so your craft projects look coordinated and professional. We’ll also cover how to design a stamp that reflects your unique taste. Plus, you’ll discover helpful tips for picking the best stamping tools, creating eye-catching layouts, and sourcing high-quality products from Engineer Seal Stamps (ESS) with speedy delivery you can rely on.
Embrace date stamping
Date stamping might seem like a small detail in the grand scheme of your scrapbook, but it does more than just mark time. Adding dates consistently tells a story in chronological order, making it a breeze for you and others to follow the journey of your life events. It also ensures each page feels like a part of an ongoing narrative. If you look back years from now, you’ll see precisely when a photo was captured or a memory was penned, and you’ll be grateful for your thoroughness.
Why it matters
- It preserves timelines. Each stamped date transforms your pages from random photos to a cohesive story.
- It personalizes your craft. By choosing custom fonts or adding special icons, you make your stamp reflect your style.
- It saves time (no more handwriting the date on every photo).
A sense of nostalgia
There’s something comforting about turning the pages of a scrapbook and spotting a date that immediately sparks memories. It almost feels like opening a time capsule. Each date can remind you of the sights, sounds, and feelings from that day. So, whether it’s a big family reunion or a quiet Sunday brunch, a simple date stamp marks the moment and preserves it for you and future generations.
Explore your stamp options
These days, you’ve got more choices than ever when it comes to custom date stamps. You can opt for personalized date stamps with a particular font, go for a large imprint that stands out on the page, or pick a round stamp for a creative edge. Selecting the right style depends on your personal preference, your scrapbook’s theme, and how much space you can spare on the page.
Self-inking vs. manual
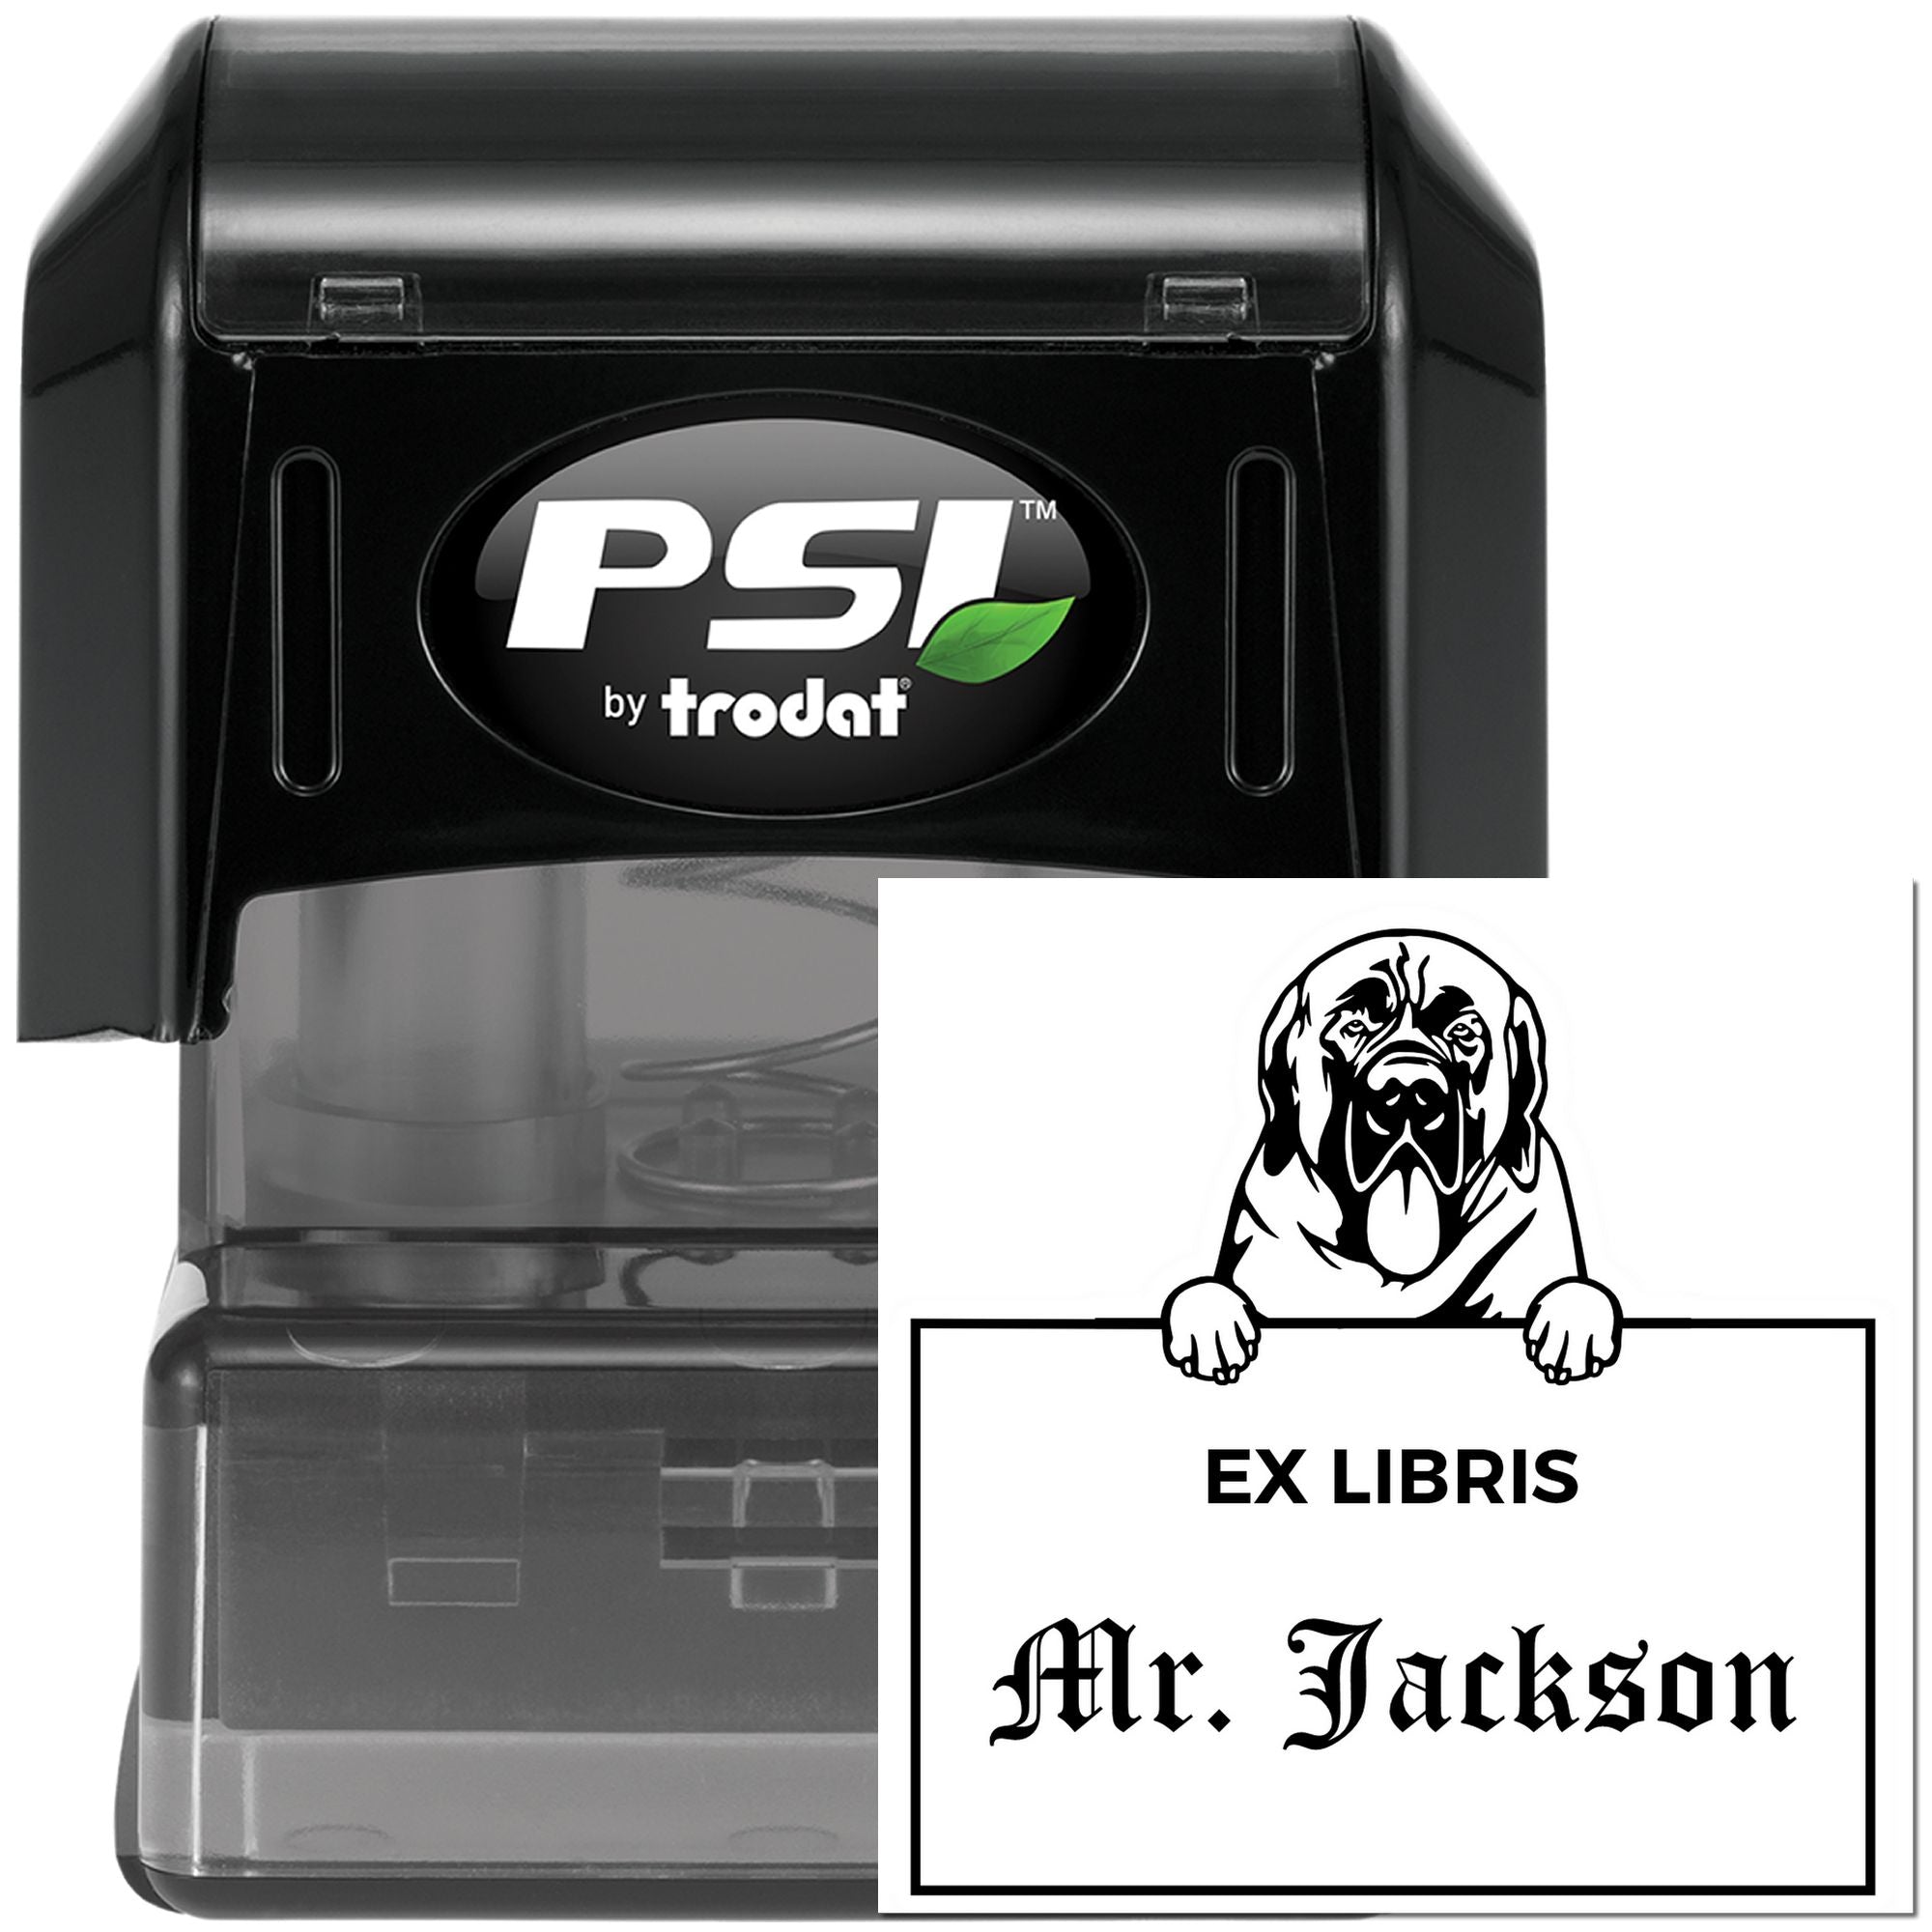
- Self-inking stamps: These come loaded with their own ink pad, which retracts and re-inks the stamp every time you press down. They’re a time-saver if you do a lot of stamping. You’ll also enjoy a cleaner process because you don’t have to handle separate ink pads. If you want to simplify your workflow, consider exploring self-inking date stamps.
- Manual stamps: These require a separate ink pad. On the plus side, you can swap ink colors easily. If you craft with multiple color themes, you might find manual stamps more flexible, since each color change is just a matter of using a different ink pad.
Large date stamps
If you’re someone who wants the date to pop off the page, large date stamps are your best friend. These stamps often feature bigger numerals and text. They can anchor a page visually, especially if your layout includes lots of blank space or minimalist embellishments. Large stamps are also super handy if you want date details to double as a design element in your scrapbooks.
Round date stamps
Round date stamps add a playful look, breaking away from traditional rectangular layouts. You might choose a bold font and place it in a cute ring shape around the date. You can also add fun icons like stars or a heart near the bottom. This circular flair works particularly well if you’ve got whimsical or colorful themes in your scrapbook.
Customize your design
You’ll make your scrapbooking experience even more personal when you craft a stamp design that’s unique to you. Brands like Engineer Seal Stamps (ESS) specialize in bringing your creative ideas to life, while also guaranteeing top quality and rapid delivery. Whether you’re looking for a sleek, minimal style or a curly, whimsical font, customization ensures your date stamp suits your exact vision.
Fonts and styles
- Serif vs. sans-serif: Serif fonts (those with small decorative strokes at the ends of each letter) add a classic, vintage touch to your pages. Sans-serif fonts have a cleaner, modern feel.
- Script fonts: Perfect for those with a romantic or whimsical scrapbooking style. They add an artistic flourish, but make sure the date still reads clearly.
- Bold prints: If legibility is your main concern, choose a bold font that’s easy to see at a glance.
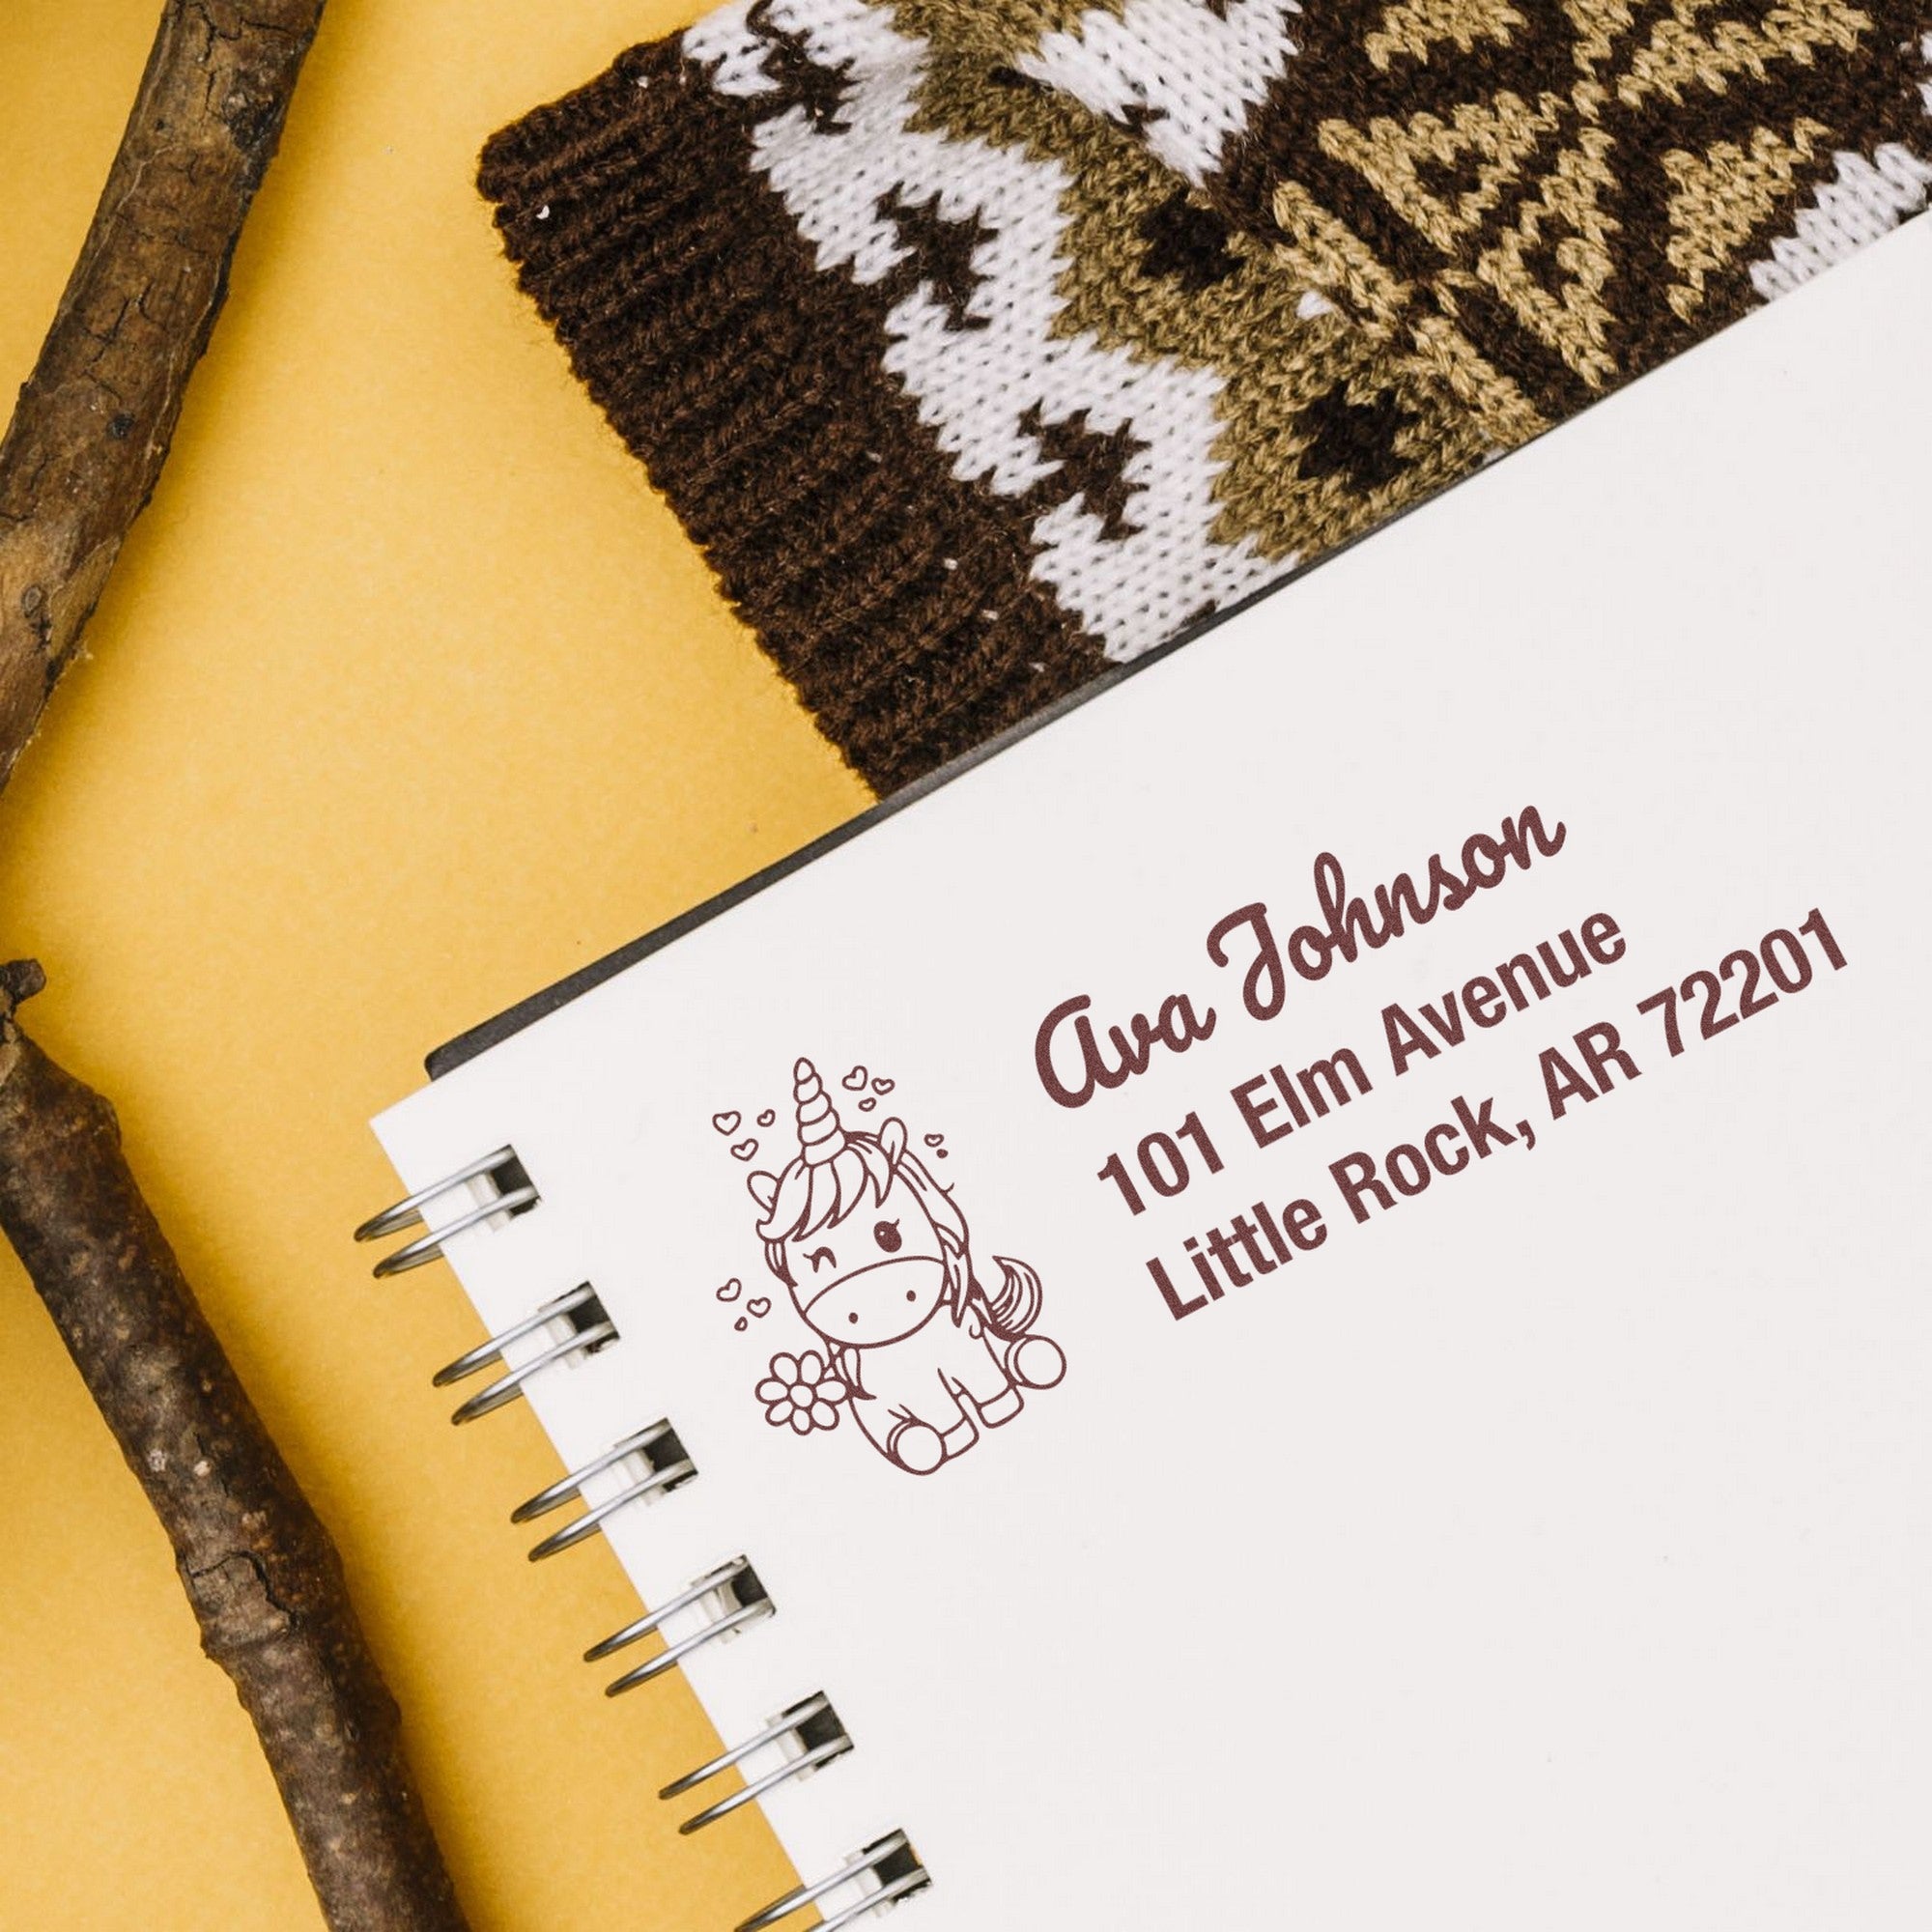
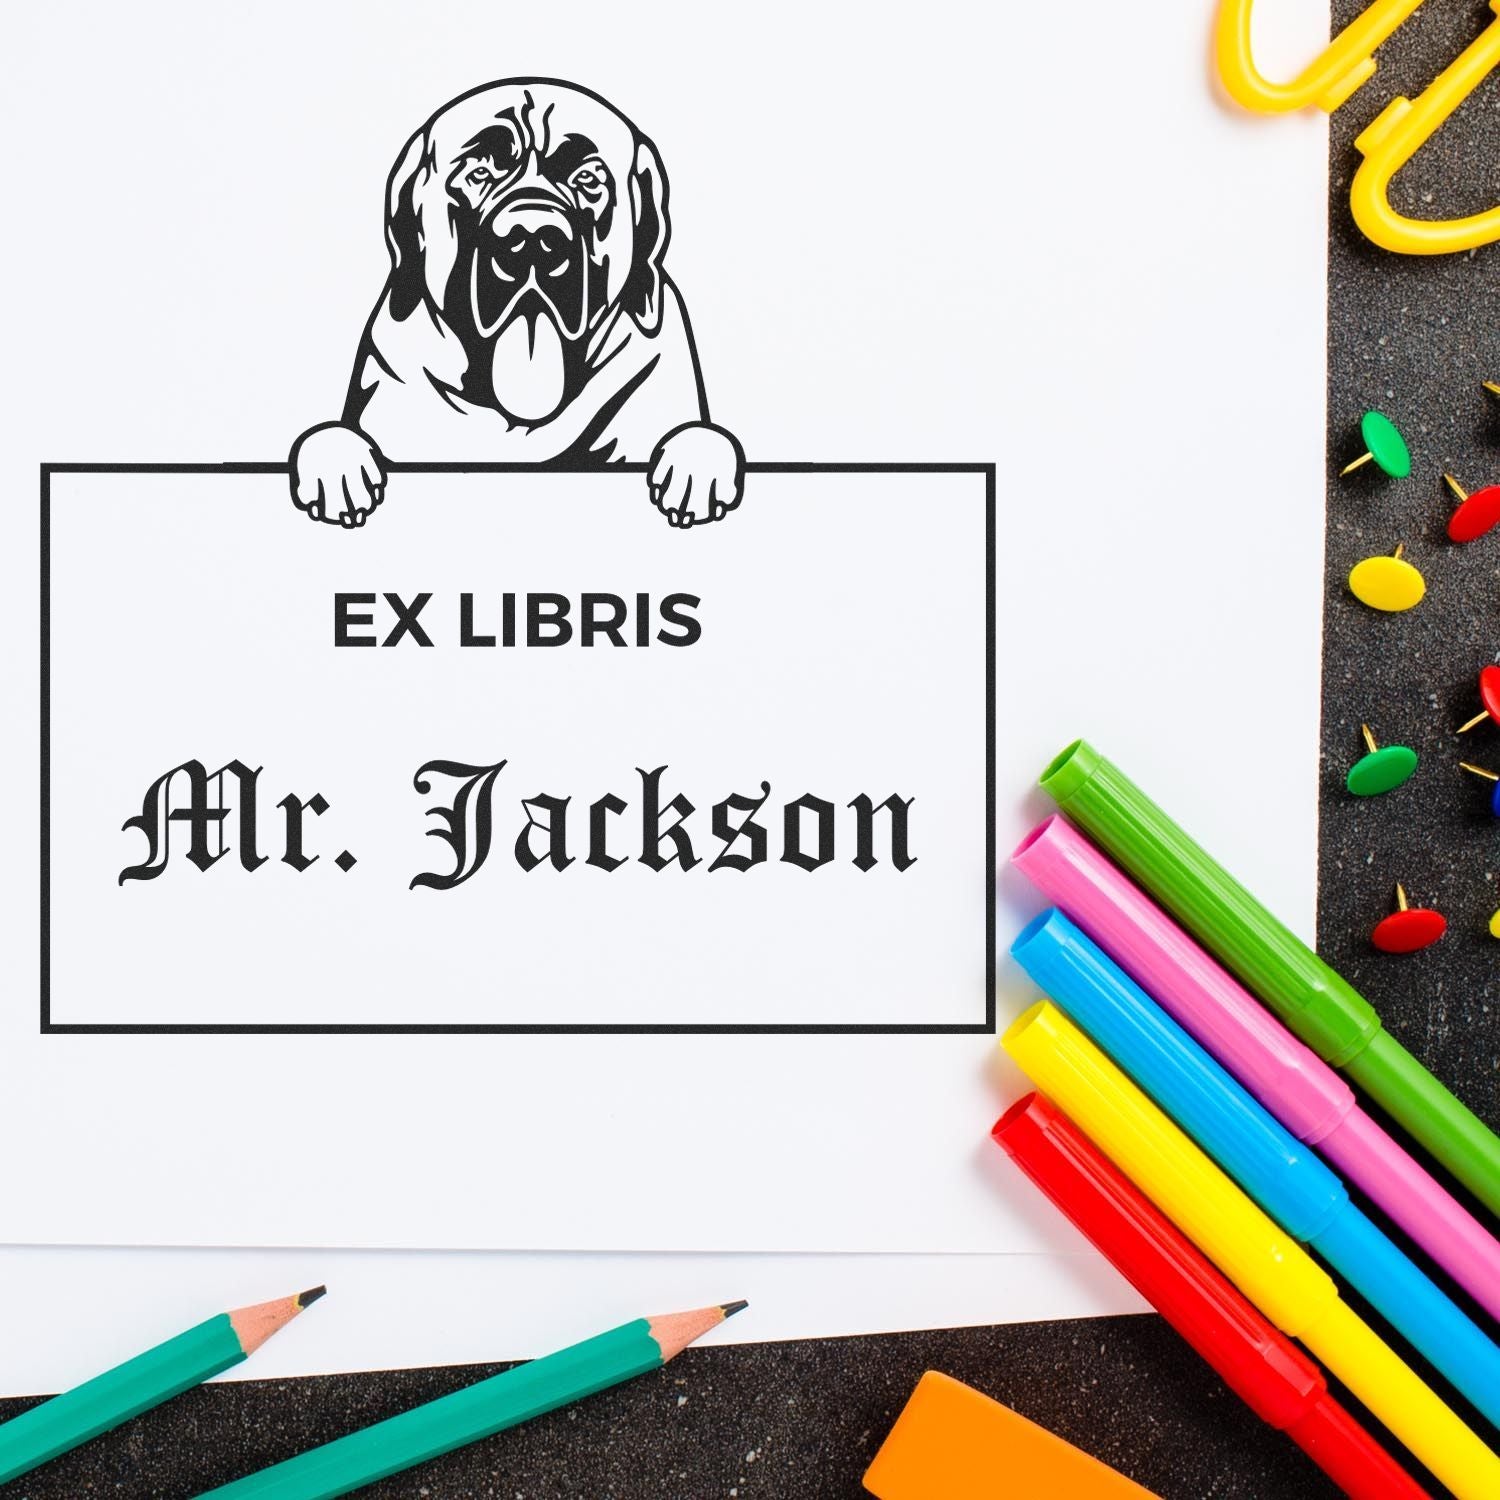
Additional text or symbols
Maybe you want more than just the date. You can add a short phrase like “Family Vacation,” “Best Day Ever,” or even a small icon that matches the theme of your scrapbook (flowers, airplanes, birthday cakes… you name it). This extra customization can highlight the significance of each event. If you’re ordering from a reputable company such as ESS, just ask if they can incorporate extra elements into your design.
Prepare your supplies
Before you start adding custom date stamps for scrapbooking, make sure you’ve got all the essentials within arm’s reach. Scrambling around midway can disrupt your creative flow, so it helps to keep everything neat and organized.
Materials you need
- The date stamp itself: Whether it’s manual or self-inking, large or round, keep it close by.
- Ink pads (for manual stamps): Have different colors if you plan to switch up your palette.
- Scrapbook pages or cardstock: Make sure they are acid-free and ready to hold ink without bleeding.
- Photo-safe glue or double-sided tape: You’ll need these for attaching photos or other decor items.
- Spare paper scraps: Use them for test stamping or to experiment with different colors.
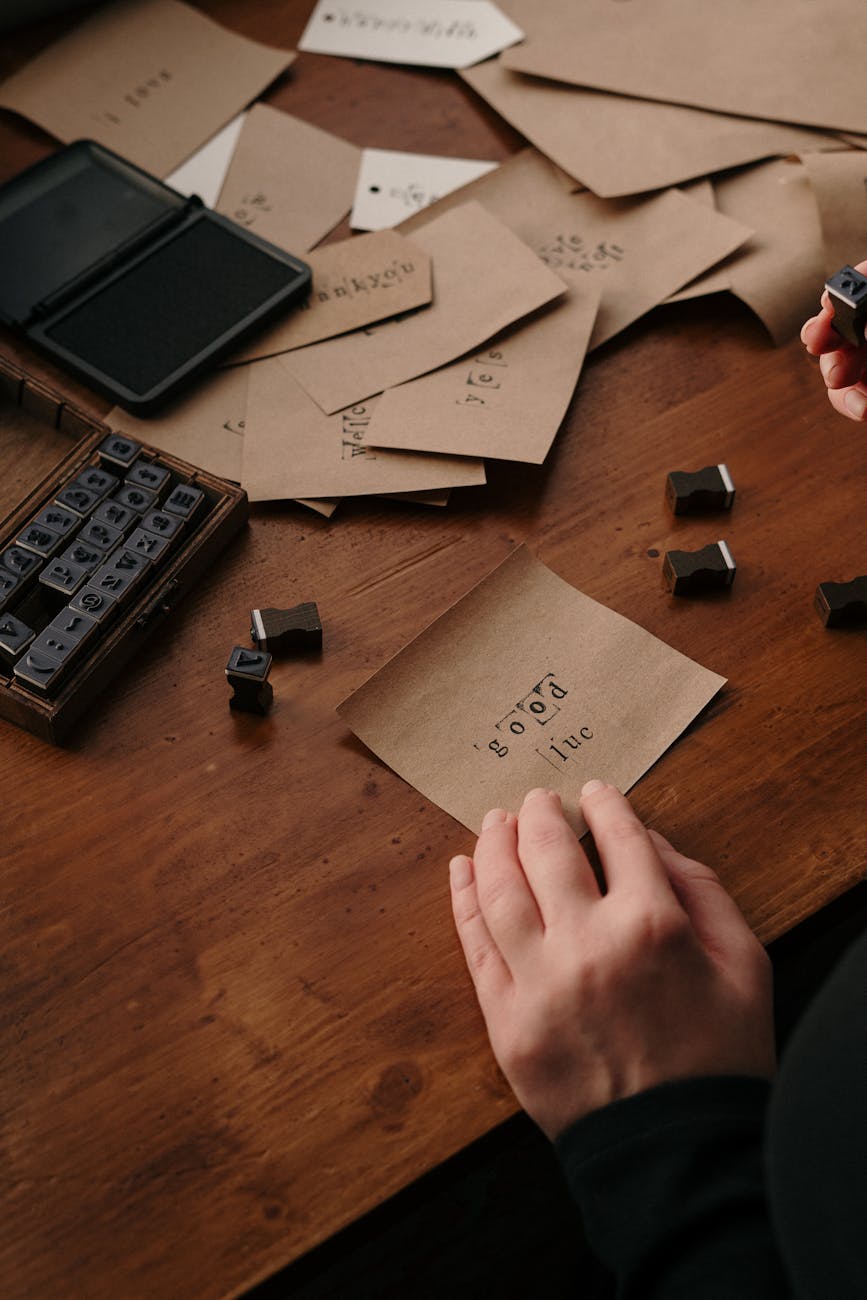
Practice stamping
Practice makes perfect, especially if you want crisp, smudge-free dates. Before pressing your stamp onto the final page, test it a few times on scrap paper. Check that the ink covers every numeral or letter. Adjust your pressure accordingly—a gentle but firm press usually does the trick. Also, be mindful of alignment. Nothing’s more frustrating than a date that’s crooked or partially cut off on an otherwise flawless layout.
Apply date stamps
Now comes the fun part: actually stamping your pages with these newly designed or carefully selected stamps. If you’re new to stamping, start with one corner or a small area. Once you’re comfortable, you can move on to more elaborate layouts.
- Identify the perfect spot: Usually, stamp the date in a consistent location on each page, like the top-right corner or just below a photo.
- Mind your layout style: For a minimalist approach, keep the date small and subtle. If you crave bold design, go for a larger stamp with bright ink.
- Double-check your date: It’s easy to accidentally stamp the wrong month or year when you’re working on multiple pages, so give that date wheel one last look.
Using custom date stamps for crafting can also give your pages a more polished, unified look. If you happen to enjoy journaling alongside your photos, you can combine a date stamp with bullet points of text, recapping the event in your own words.
Personalize your pages
Scrapbooking is all about showcasing your style and experiences. A custom date stamp is a powerful tool, but it’s not the only piece of the puzzle. Think about color schemes, embellishments, and all those extras that help set the mood of your pages.
Colors and layering
- Match your ink color with the theme: If you’re documenting a beach vacation, use blues or sandy neutrals; if it’s a birthday party, maybe pop a bright pink or gold.
- Experiment with layered designs: Layer washi tape or bits of patterned paper, then stamp the date on top for a playful, dimensional effect.
- Choose coordinating embellishments: Sparkly stickers, ribbons, and small wooden cutouts can frame your stamped date and draw the eye.
Coordinating with themes
Let’s say you’re working on a travel scrapbook. You could add small passport stamp icons, airplane images, or phrases like “Away We Go.” If you’re capturing a wedding, maybe you’ll go for soft pastels or refined metallic foils to match the romance. Your date stamp can echo these themes by including small relevant symbols or color variations that tie the page together.
Choose the right provider
With so many date stamp options out there, how do you make sure you’re getting the best? To start, look for durability and clarity. You don’t want a stamp that fades after a few months, especially if you plan to revisit this scrapbook for years to come. Engineer Seal Stamps (ESS) is known for top-notch craftsmanship and the ability to accommodate custom requests. They’ll create stamps that meet your needs, and you’ll also appreciate their quick turnaround times.
Quality and quick delivery
- High-quality materials: Acrylic or sturdy rubber ensures crisp, repeated impressions without the design wearing down.
- Fast shipping: When inspiration strikes, you don’t want to wait forever. ESS prides itself on getting your order out promptly so you can dive into your creative process.
- Personal support: If you’re unsure about your designs or how certain fonts will look, a reliable provider will guide you through the process.
If you’re also considering stamping for office or business tasks, you might explore custom office date stamps or even date stamps for business. Working with a dependable supplier that offers a broad range of products can ensure you find solutions for both creative and professional needs under one roof.
Answers to top questions
Below are six common questions about using custom date stamps. They’ll help you make the most of your scrapbooking adventures.
- Can I use the same date stamp for multiple scrapbooks?
- Absolutely. Most custom date stamps are adjustable, so you can switch out the numbers as you move on to new events, new days, or new scrapbooks. If you’re worried about wearing down the stamp, choose a durable material like high-grade rubber.
- How do I avoid ink smudges on my scrapbook pages?
- Practice is key. Always test your stamp on spare paper first to gauge the pressure and ink coverage. Also, let the ink dry for a few seconds before touching or decorating the stamped area. Some quick-drying inks can further reduce smudging.
- Are large date stamps harder to use?
- Not necessarily. They simply require you to place them with a bit more care so you don’t accidentally tilt or shift mid-stamp. If you like a bold look, custom rubber date stamps in larger sizes might be perfect for your style.
- Which inks work best for scrapbooking?
- Look for acid-free, archival-quality inks that won’t fade or damage your scrapbook pages. Pigment-based inks often provide vivid, long-lasting colors, though dye-based inks dry faster. Testing different ink types on spare cardstock can help you find the ideal match.
- Can I add text or an icon around the date on my stamp?
- Yes. With true personalization, you can include a short phrase, an illustration, or even a monogram on your date stamp. Just be sure it doesn’t overcrowd the design. If you’re ordering from a trusted retailer like Engineer Seal Stamps (ESS), they’ll guide you on how best to fit each element in.
- How do I store my date stamps so they last longer?
- Keep them away from direct sunlight, and store them in a cool, dry area. Avoid tossing them into a cluttered drawer—too much friction can wear down the surfaces. Some crafters use small boxes or labeled compartments to separate and protect their stamps.
Conclusion
Custom date stamps for scrapbooking might seem like a small finishing touch at first glance, but they can make a world of difference. By labeling each memory with a fast, clean, and stylish imprint, you guide yourself, and everyone who flips through your pages, on a meaningful trip down memory lane. Whether you choose a self-inking or a manual stamp, large or round, you’ll find plenty of ways to adapt it to your crafting style. The key is to take a little time to explore the designs, pick the right color inks, and practice your stamping technique so each date looks clear and intentional.
When you’re ready to bring your vision to life, don’t settle for anything less than top quality. Engineer Seal Stamps (ESS) delivers high-grade materials, custom designs, and quick shipping that keeps your inspiration momentum going. By investing in a reliable date stamp that suits your scrapbook aesthetic, you’re making sure every memory is marked just right.
So gather your photos, colorful papers, adhesive embellishments, and of course, your perfect date stamp. Each time you tuck a new page into your scrapbook, you’ll have the satisfaction of seeing a clear, polished date that stands as a record of life’s wonderful moments. Happy stamping!