Ever find yourself juggling messy stamp impressions when all you really want is a neat, vibrant mark? If so, you’re not alone. Whether you’re sending out official documents or adding a personal touch to handmade cards, the right stamp pad for blue ink can save you time, frustration, and maybe even a few do-overs. In this post, you’ll discover how to choose the best pad, maintain it properly, and get crisp, uniform results every time. Let’s dive in.
Understand the basics
Stamp pads may seem like simple office supplies, but let’s be honest, there’s more going on under that lid than meets the eye. Essentially, a stamp pad holds ink in a porous material (like felt or foam) and keeps it evenly distributed so you can get consistent coverage on your stamp. When you press down, the ink transfers to the rubber or polymer surface, then onto your paper.
That even coverage is key. If the pad is too dry, you won’t get an even impression. If it’s overly wet, you’ll end up with accidental smudges. Before you pick out a specific product, take a moment to understand the general types of stamp pads you’ll encounter:
- Felt pads: Often used for traditional office work and come pre-inked with water-based or oil-based solutions. They’re durable, but you’ll need to refresh them with ink eventually.
- Foam pads: Typically used for arts and crafts. They deliver crisp, detailed results but can dry out faster if not properly stored.
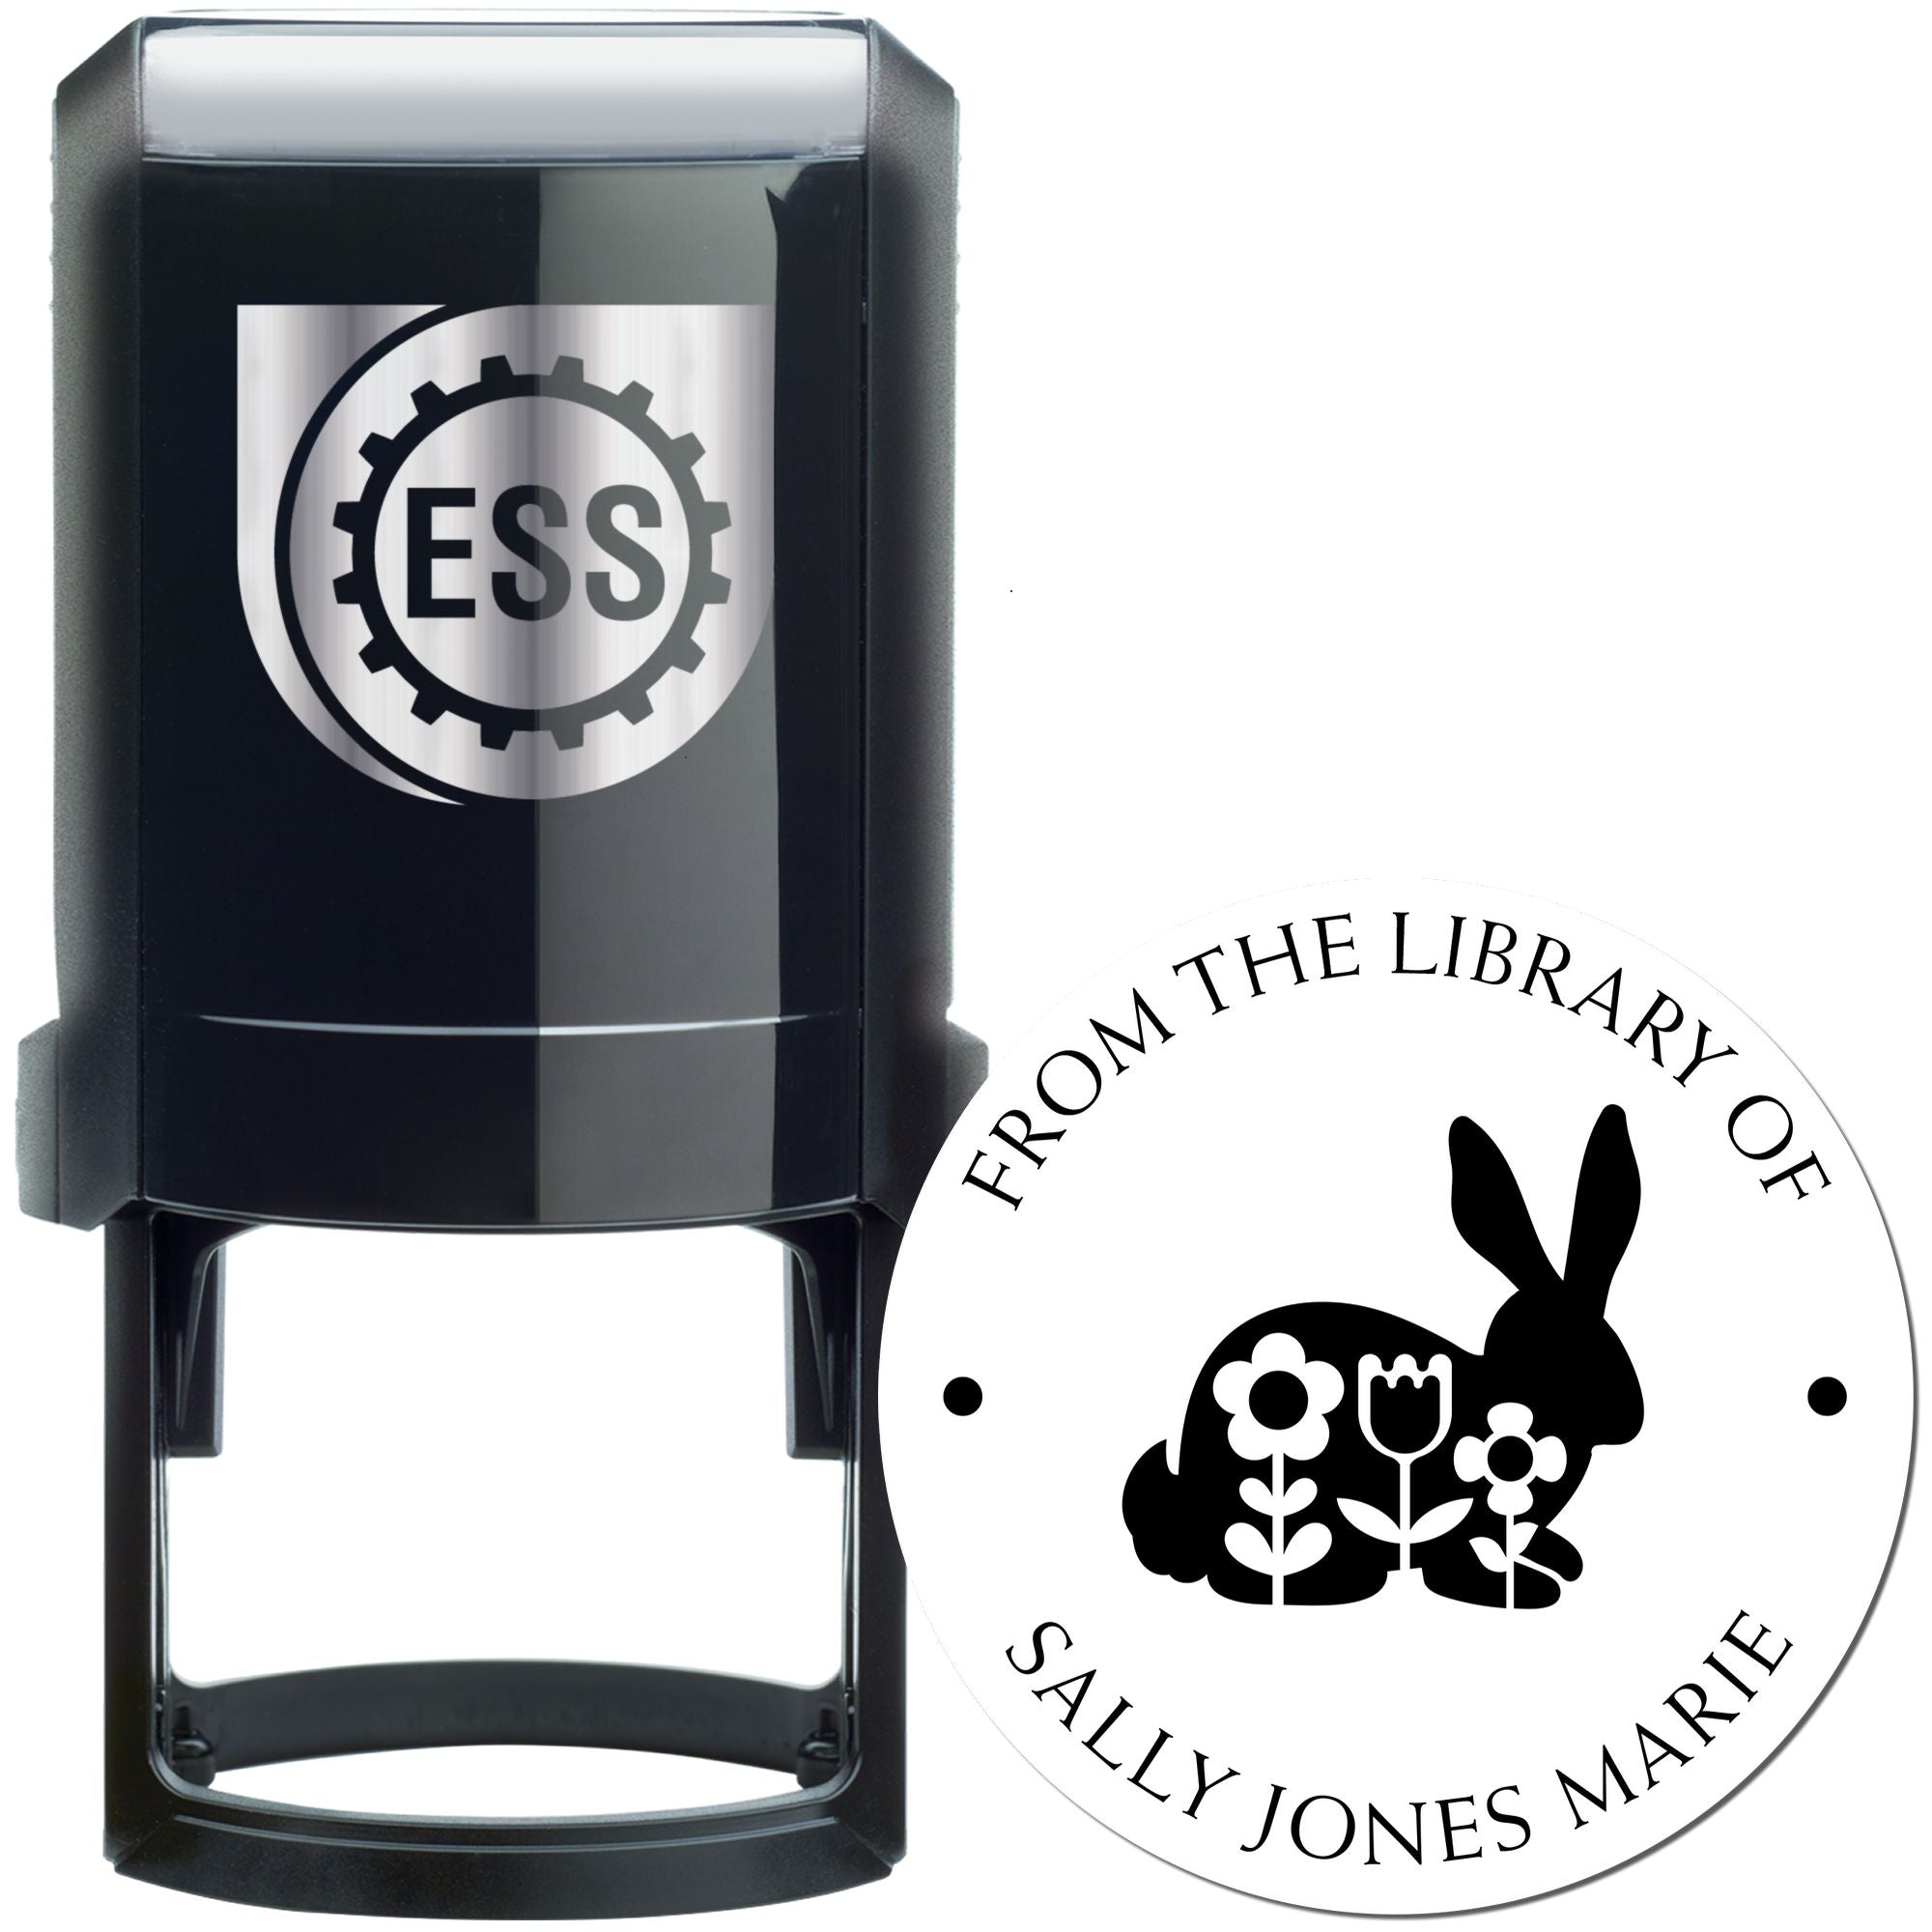
- Self-inking or pre-inked designs: These don’t look like the standard pad and stamp combo because the ink is built right into the stamp device. They’re neat and convenient, though you have less flexibility in switching colors.
No single type is universally “best.” It all depends on how you plan to use your stamp. If you’re handling lots of paperwork, you might go for a sturdy felt pad. If detail and color intensity matter—say for scrapbooking or custom stationery—a foam pad could be your new favorite.
Choose the right material
Once you know the basic types of pads, the next step is figuring out which material suits your stamping style. Consider how often you’ll use your pad, what surfaces you’ll stamp, and how fine your details need to be.
Felt pads for heavy-duty stamping
Felt pads stand up to repeated use and typically hold more ink per square inch. Many businesses rely on felt pads for date stamps, official seals, and everyday high-volume tasks. If you’re in a busy office environment, or you need to stamp hundreds of envelopes, felt is a tried-and-true choice. Here’s why:
- Longer ink retention: Felt material absorbs ink thoroughly, so you can keep stamping without re-inking too often.
- Durability: Felt doesn’t degrade quickly, meaning your pad can last years before needing a replacement.
On the flip side, felt doesn’t always offer the sharpest lines if you’re working with really intricate designs, because the fibers are slightly thicker. But for broad, bold stamps, felt pads are a champion.
Foam pads for crisp detail
Foam pads focus on precision, giving you clean, fine lines every time. They’re popular in crafting circles where stamp designs can be quite detailed, from delicate calligraphy to elaborate floral patterns. A foam pad also tends to give a more vibrant look, especially if you’re after a bold color. If you’re stamping logos on customer packages or adding custom messages to greeting cards, foam might just be your best friend. However, do keep these points in mind:
- Faster drying: Foam can lose moisture more quickly, so store it in a tightly sealed case.
- Frequent re-inking: Detailed designs need reliable ink flow, so be prepared to top off your pad regularly.
Considering hybrid or specialty materials
You might also come across mixed-material pads that use both felt and foam layers. These hybrids aim to provide durability and detail in one package. Or there could be gel-based options, usually marketed for special effects or embossing. If you’re feeling adventurous, it might be worth giving them a try, especially if you do mixed-media projects.
Ultimately, choosing a material depends on the balance you need between sharp detail, ink retention, and overall pad longevity. If you’re not stamping intricate patterns, a felt pad might feel more robust. If you care about super-crisp lines, foam is a strong contender. Both can work beautifully for blue-ink stamping, so no worries there.
Consider ink properties
Maybe you’ve chosen a felt pad, maybe a foam. Either way, you’ll still need the right kind of ink. Not all inks are created equal. Some are water-based, others oil-based, and still others are designed for quick-drying or archival purposes. The ink you pick can make a world of difference in your final impression’s appearance and durability.
Water-based vs. oil-based
Water-based ink is the usual go-to for everyday stamping. It’s affordable, dries relatively quickly, and comes in a wide range of colors. Oil-based ink, on the other hand, tends to dry more slowly, but it offers a deeper saturation and a more permanent finish. Offices that deal with important documents sometimes prefer oil-based solutions because they’re more fade-resistant. For craft enthusiasts, water-based is often enough, unless you’re aiming for extra longevity.
Fast-drying and archival inks
If you need your stamped documents to last decades without fading (like historical archives or official certificates), look into specialty archival inks. These inks resist sunlight, moisture, and other environmental factors. Fast-drying inks, often labeled as “quick-dry,” help prevent smudging on glossy papers or when you’re doing rapid stamping in a busy setting.
Matching ink to surfaces
Another crucial factor is the surface you’re stamping on. If it’s standard printer paper, you’re safe with most water-based inks. But glossy paper, plastic, or coated cardstock might require a more specialized formula to avoid smearing. Always read the label. Most manufacturers will specify which surfaces the ink is designed for, saving you from guesswork and possible frustration.
How color intensity affects your choice
Let’s be honest: sometimes, you just want your imprint to pop. Darker or more heavily saturated ink will give you a stamp that really stands out, even from a distance. If you’re going for a classic, professional look, a deep shade of blue can be perfect. Craft stores often carry multiple shades of blue—anything from a subtle pastel to a navy tint—so consider how bright or subdued you want the color to be.
Extend your stamp pad lifespan
Once you’ve invested in the perfect pad, you’d probably like to enjoy it for a good long while. Proper maintenance can extend your pad’s life and help you get consistently sharp impressions. Here are a few easy ways to care for your trusty inking tool.
Store it sealed and flat
Moisture is the lifeblood of any stamp pad. Keeping it sealed when not in use prevents premature drying. Storing it in a flat position helps the ink stay evenly distributed throughout the pad’s surface. If you store the pad on its side or upside-down, the ink might pool, making some spots overly saturated and others too dry.
Clean your stamps
Residue from older stamps can transfer debris or dried ink back onto your pad. After each stamping session, do a quick wipe-down of your stamps with a damp cloth or a specialized stamp cleaner. Avoid letting them sit too long with leftover ink still clinging on, especially if you’re switching colors. Regular cleaning not only preserves your pad but also ensures future stamps always look their best.
Re-ink before it’s fully dry
When you notice the color lightening or the imprint looking blotchy, it’s time to add a few drops of fresh ink. Waiting until the pad is completely dry can cause uneven saturation or patchy areas. The good news is that re-inking is straightforward. Most brands sell bottled refills. Just follow the instructions—usually a few drops at a time—to avoid over-saturating.
Keep it free of contaminants
Dust can infiltrate your stamp pad if you leave the lid off for too long—nobody wants tiny flecks on official documents. Make it a habit to recap the pad whenever you’re not actively stamping. If lint or larger particles do end up on the pad, a small piece of tape can remove them gently, without pressing the debris deeper into the material.
Pro tips for consistent results
Now that you know how to pick the right pad, let’s talk technique. Even the highest-quality product can’t compensate for sloppy stamping. A few subtle tweaks in your approach can turn those shaky prints into crisp, professional marks.
Practice your pressure
It’s tempting to press down as hard as you can, but that can lead to smudges. Aim for firm, even pressure. Let the stamp rest on the pad for a moment—just a second or two—to help the ink soak into the rubber or polymer. Then apply the same level of pressure onto your paper, lifting straight up to avoid dragging any ink.
Test on scrap paper
Before you commit your stamp to an important envelope or certificate, do a quick test run on scrap paper. This preview helps you spot any issues, like uneven inking or off-center impressions. If something looks off, just add a little more ink or adjust your angle. Practicing a few times builds the muscle memory you need for spot-on stamping every time.
Use a stamping mat
If your workspace is hard or uneven, you might not get the best impressions. A foam stamping mat or even a stack of old newspapers can give you a slightly cushioned surface. This gentle give allows the stamp to make full contact with the paper, creating more consistent lines.
Don’t rush your drying time
Even quick-drying ink needs a few seconds to set. Let the paper sit flat before stacking or mailing your stamped items. For especially glossy or coated paper, give it an extra minute or two. It’s worth waiting if you want to avoid accidental smudging.
Explore creative techniques
Once you feel comfortable with the basics, don’t be afraid to get fancy. You can layer different ink colors on a single stamp for a fun gradient effect or gently tap the edges of the stamp on a darker color to create a shaded look. These techniques breathe personality into everything from wedding invitations to business branding.
Frequently asked questions
Below are answers to some common questions readers have about ink pads, re-inking, and daily usage. If your question isn’t covered here, feel free to keep exploring further or ask around in local craft and office supply stores.
How often should I re-ink?
It depends on how frequently you stamp and the type of pad you have. Office users stamping daily might need to re-ink every couple of weeks. Casual crafters could go months before needing a refresher. Keep an eye on color intensity, and top it off before it runs bone dry.Can I mix ink brands?
Generally, it’s best to use refill ink from the same brand as your pad. Different formulas may not blend well, leaving you with inconsistent coverage. If you’re in a pinch, test the new ink on a small corner to see if it performs well before you commit.Is there a way to revive a dry pad without refill ink?
If you’re in an emergency situation—like right before a big mailing—you could dampen the pad slightly with water for water-based inks, but this is a very short-term fix. Too much water will dilute the color and might reduce ink adherence. For a lasting solution, always use proper refill ink.-
How do I remove dried ink from my stamps?
A mild stamp cleaner or a gentle soapy solution does the trick. Make sure your stamp is fully dry before using it again. Avoid harsh chemicals, as they can degrade the rubber or polymer materials over time. Can I use the same pad for multiple colors?
While you can technically change colors on a single pad by re-inking it, it’s not a great idea. Traces of the first color will remain, muddying the shade you add next. If you regularly switch between, say, blue and red, have separate pads to keep your colors vibrant and pure.Why is my impression blotchy around the edges?
Blotches usually result from pressing too hard or applying the stamp at an angle. Double-check your technique: lightly tap the stamp on the pad until it’s evenly coated, then press down on your paper with steady, gentle pressure. Also confirm that the surface beneath the paper is firm yet slightly cushioned.Do I need special storage conditions?
Most pads do fine in a normal office or home environment. Avoid extreme heat or direct sunlight, which can dry the ink prematurely. Storing in a sealed container at room temperature is typically enough to keep your pad in good shape.What if I want a perfect match to a brand color?
Some companies offer custom color matching, though you might need to place a bulk order. Alternatively, experiment with layered stamping or blending to approximate a specific brand color. Keep scrap paper handy and adjust your technique until you nail that signature shade of blue.
Wrapping it up
So there you have it. Choosing the right pad material, selecting the perfect ink formula, and practicing good maintenance all play a part in producing sharp, professional-looking impressions. When you put it all together, you’ll see that stamping can be a breeze—no more smudges or half-faded designs.
If you’re brand-new to the world of stamping, you’re now set with some practical know-how to make confident purchases. And if you’re upgrading your old standby, it’s always worth experimenting with different pads or inks until you find your ideal match. Give these tips a spin, and you’ll soon notice clearer imprints, less wasted paper, and maybe even a bit of pride when you see your crisp blue stamps on that final document or crafty masterpiece.
Got a favorite stamping technique? Share it with others—there’s always something new to learn in the stamping community. Happy stamping, and here’s hoping all your blue-ink projects turn out every bit as bold as you’d like!