Have you ever wanted a way to make your paperwork, packaging, and promotional materials look more polished without spending hours? That’s where self-inking logo stamps come in. They’re easy to use, quick to apply, and add a professional edge to almost anything you touch. Whether you’re looking to personalize shipping boxes or add your business brand to customer receipts, these handy tools make it happen in seconds. In this guide, you’ll learn how to pick the right stamp, use it effectively, and keep it in tip-top shape for many impressions to come.
Understand self-inking logo stamps
There’s a good reason self-inking logo stamps have remained a go-to solution for small businesses. They combine convenience and branding power, making them a must-have if you want easy, consistent brand impressions.
How they work
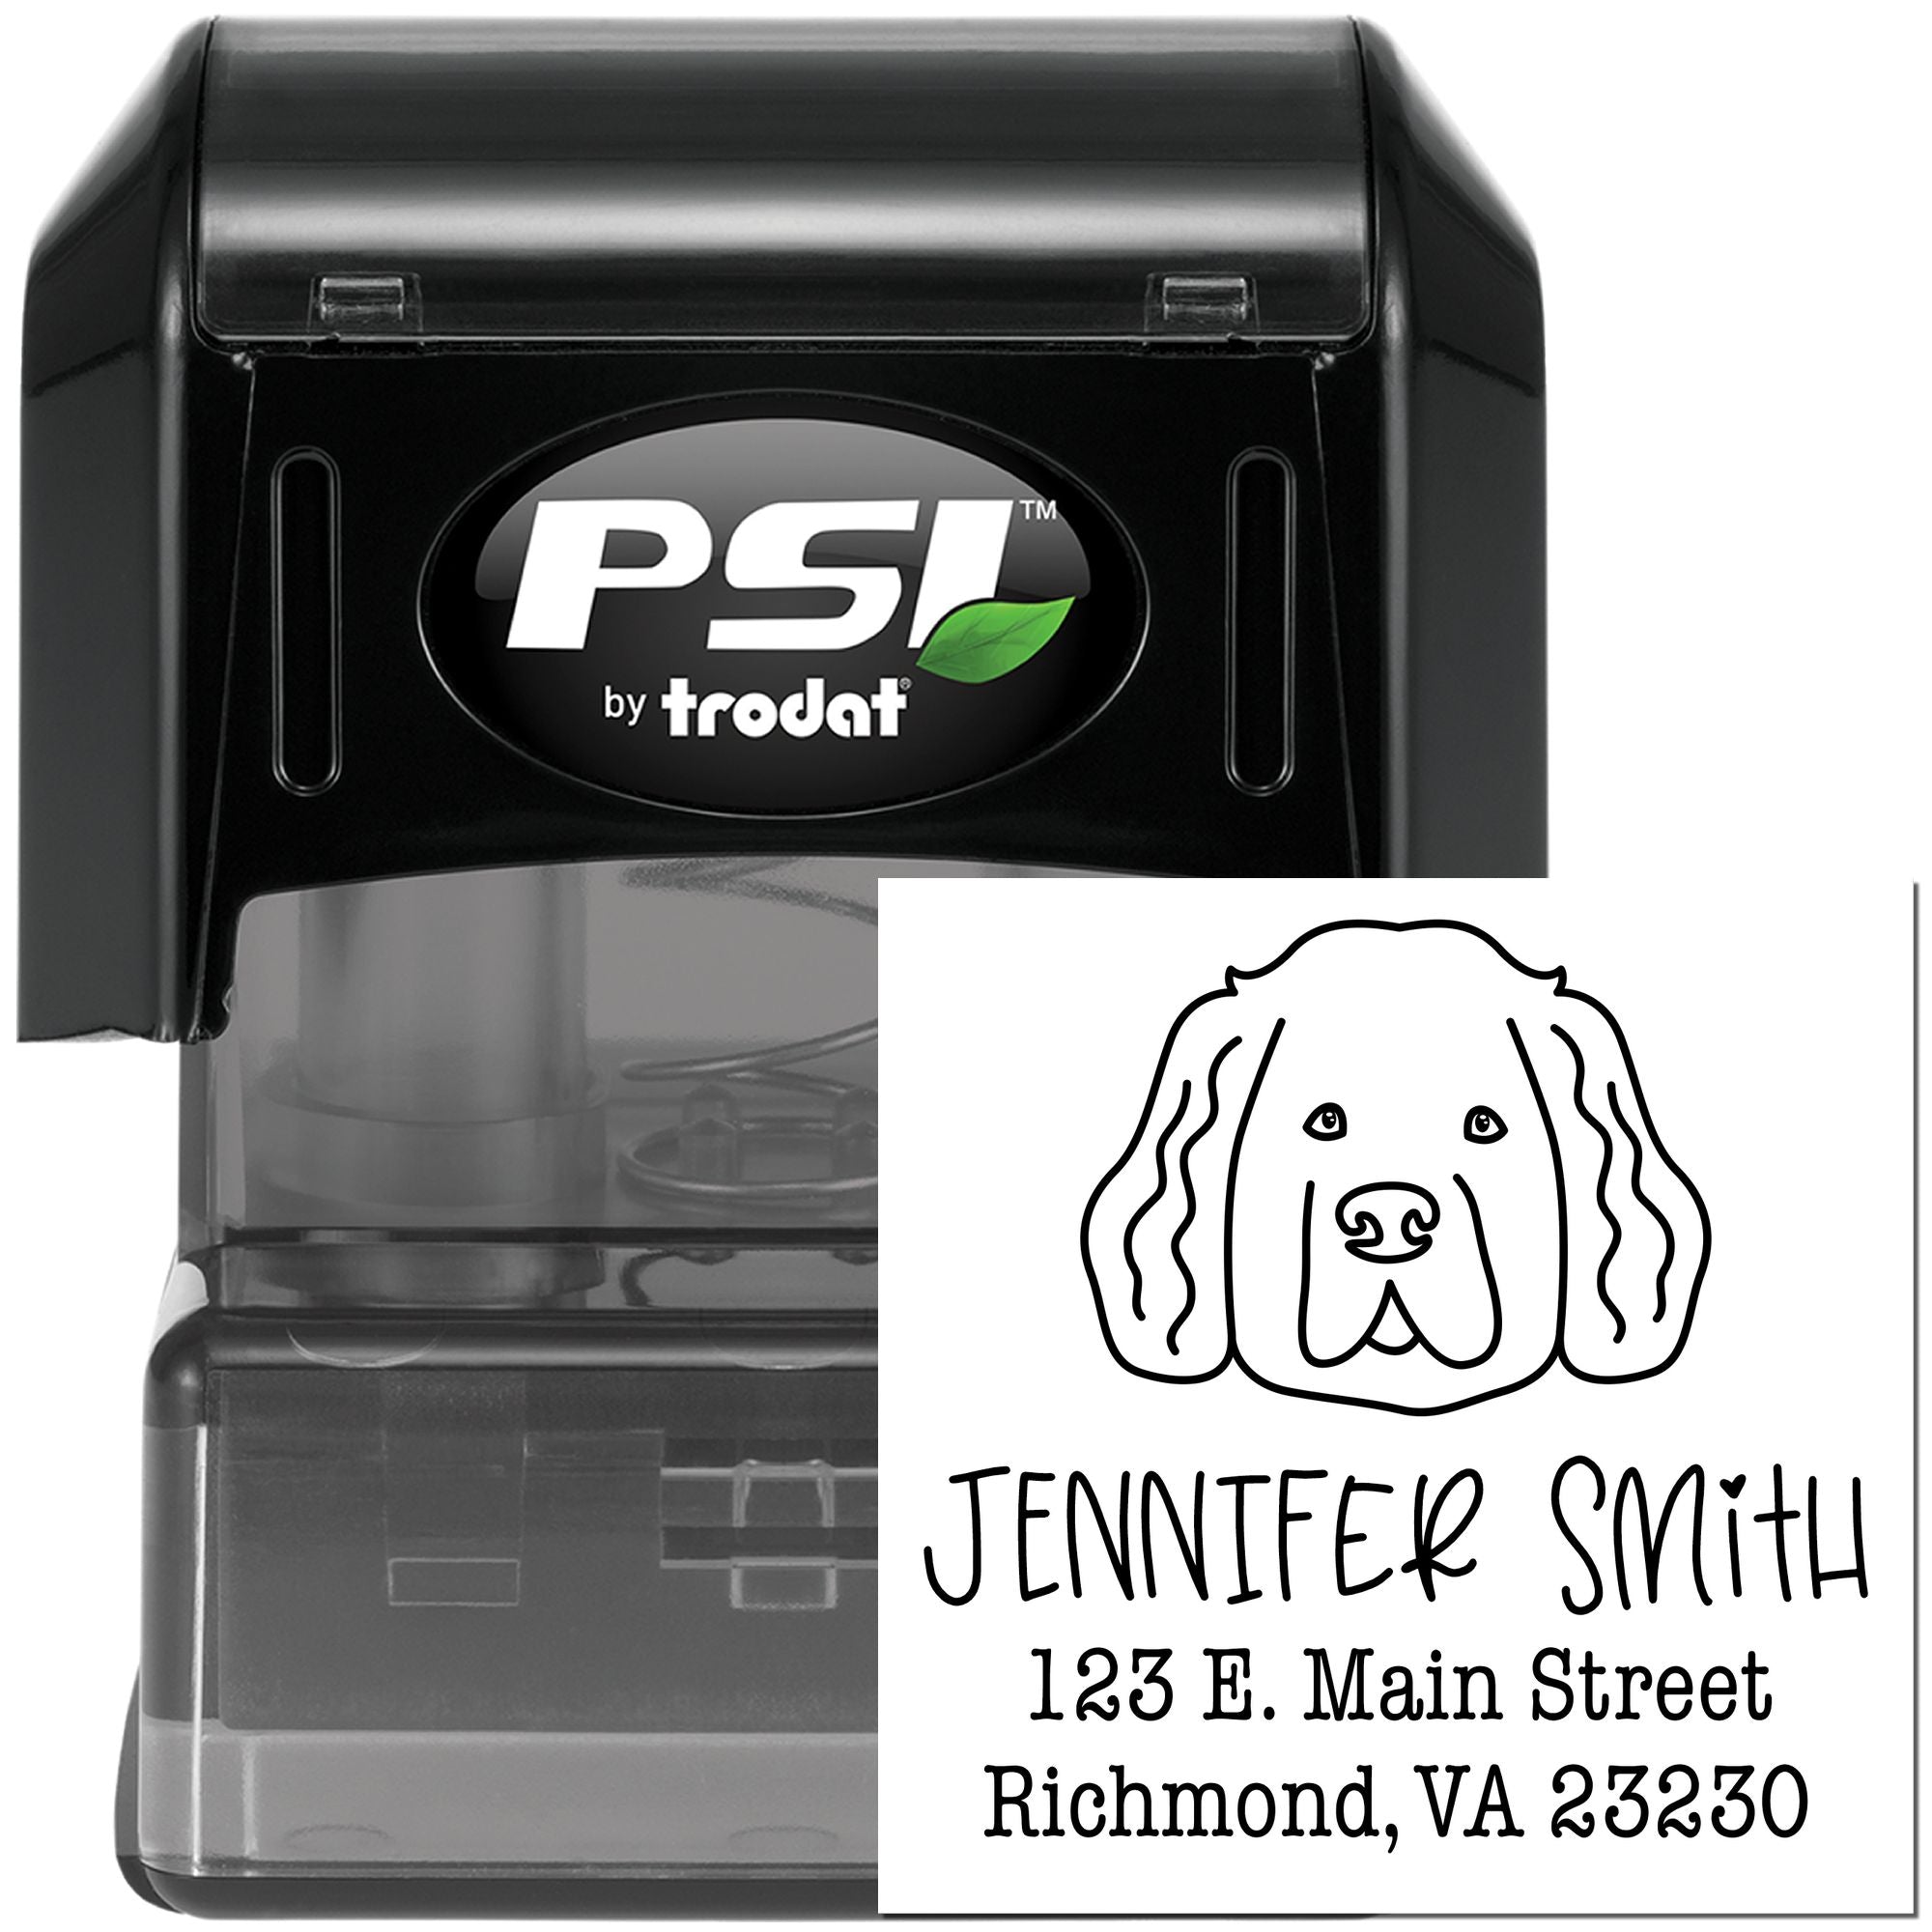
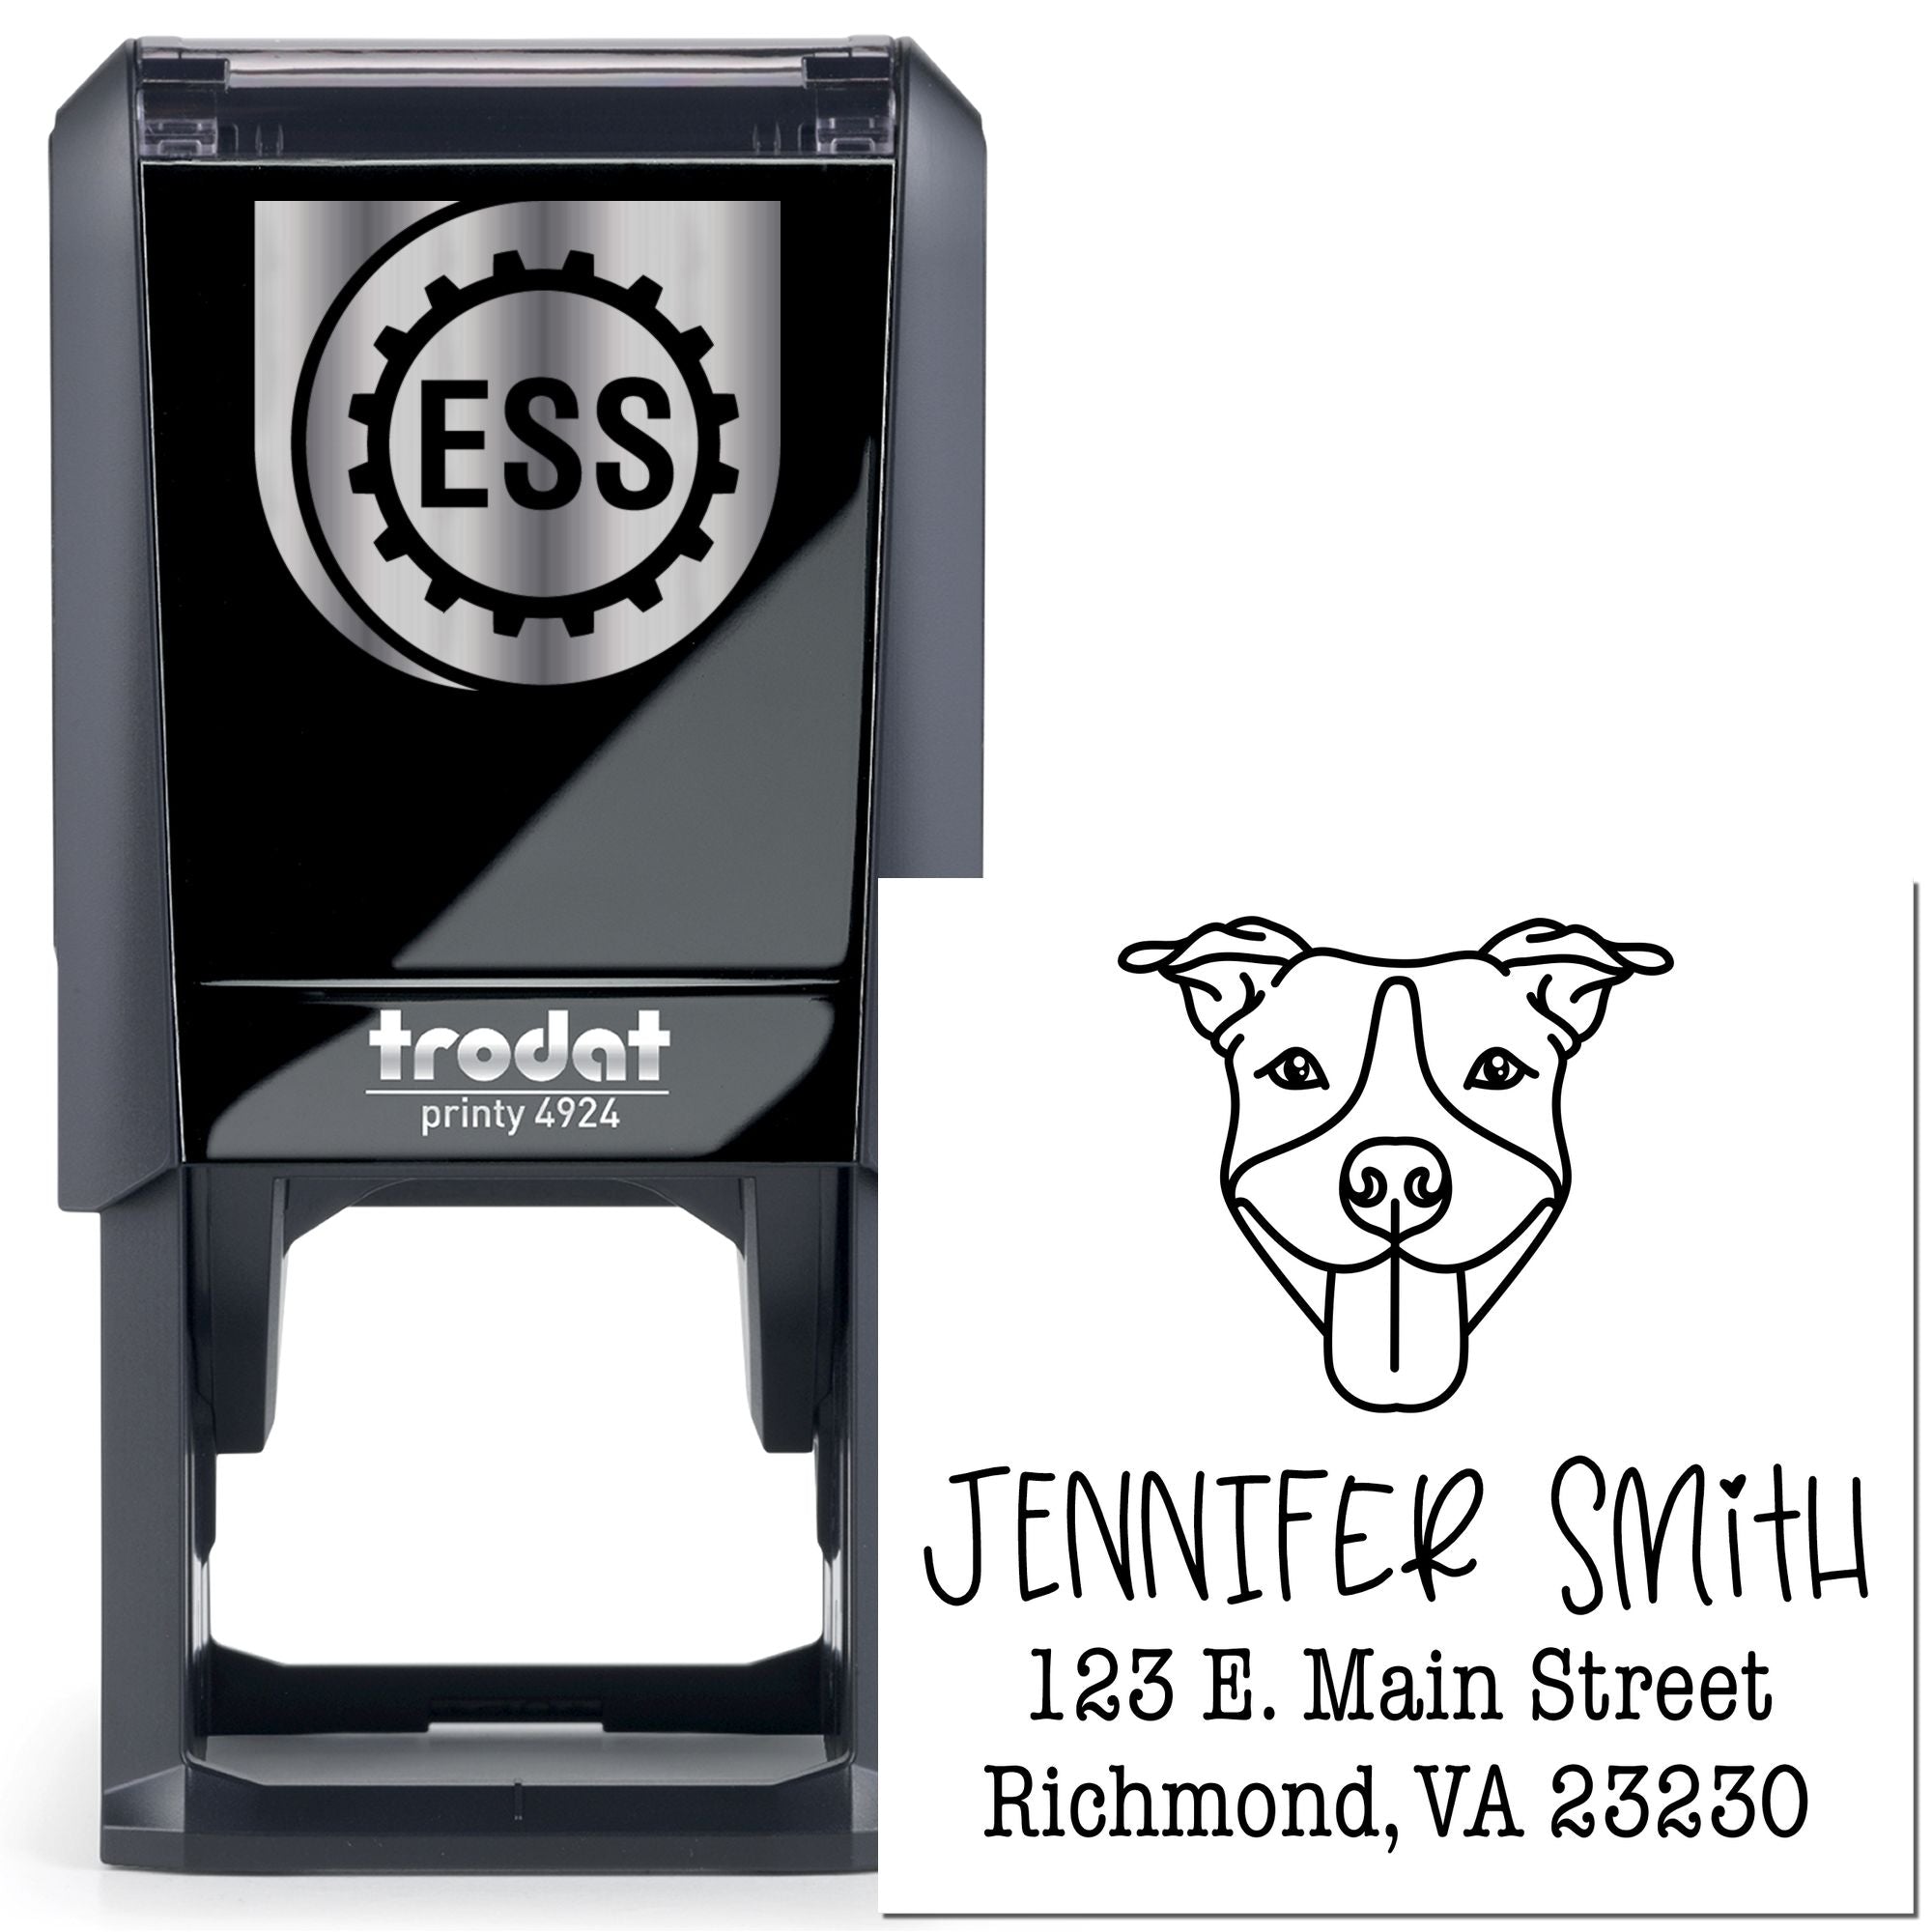
The term “self-inking” simply means the stamp has an internal ink pad that re-inks the design every time you use it. In other words, you don’t have to fiddle with a separate ink pad. When you press down, the stamp’s printing surface flips onto the pad and then flips back to stamp your logo. The result? A crisp impression with minimal fuss. This closed system helps keep your hands and workspace cleaner compared to manual stamps.
Why they matter
Your brand identity is everything, and stamping your logo on folders, cardstock, or boxes can reinforce that identity in a tangible way. Each impression acts like a mini advertisement for your business. You also save time, since you aren’t juggling separate inking tools or messing with blotting paper. As a busy entrepreneur, that kind of efficiency can mean the difference between meeting a tight deadline and running behind schedule.
Benefits of self-inking logo stamps
So why opt for these stamps over other types? It boils down to four big perks: a polished look, time savings, versatility, and consistent prints.
Professional branding
When you can reliably stamp your logo, name, or tagline onto business letters or product packaging, you instantly boost your professionalism. Think about how cool it looks to receive a hand-stamped envelope that sports a neat, eye-catching logo. That small detail can stick in a customer’s mind and help you stand out against the competition.
Time-saving convenience
Without a built-in ink pad, you’d have to manually dab or roll the stamp each time you want to use it. Over dozens of items, that extra step gets old fast. With self-inking logo stamps, the process is literally one step: press and go. If you find yourself sending out 50 packages on a busy Monday, that difference can be a total lifesaver.
Versatility across materials
Ever wanted to add your logo to a thank-you card or a kraft paper bag? Self-inking stamps usually work on a variety of porous surfaces, from thick paper to standard envelopes. You’ll want to check the stamp’s specifications to ensure it’s suited for your favorite materials, but generally, most standard paper goods are fair game.
Clean, consistent impressions
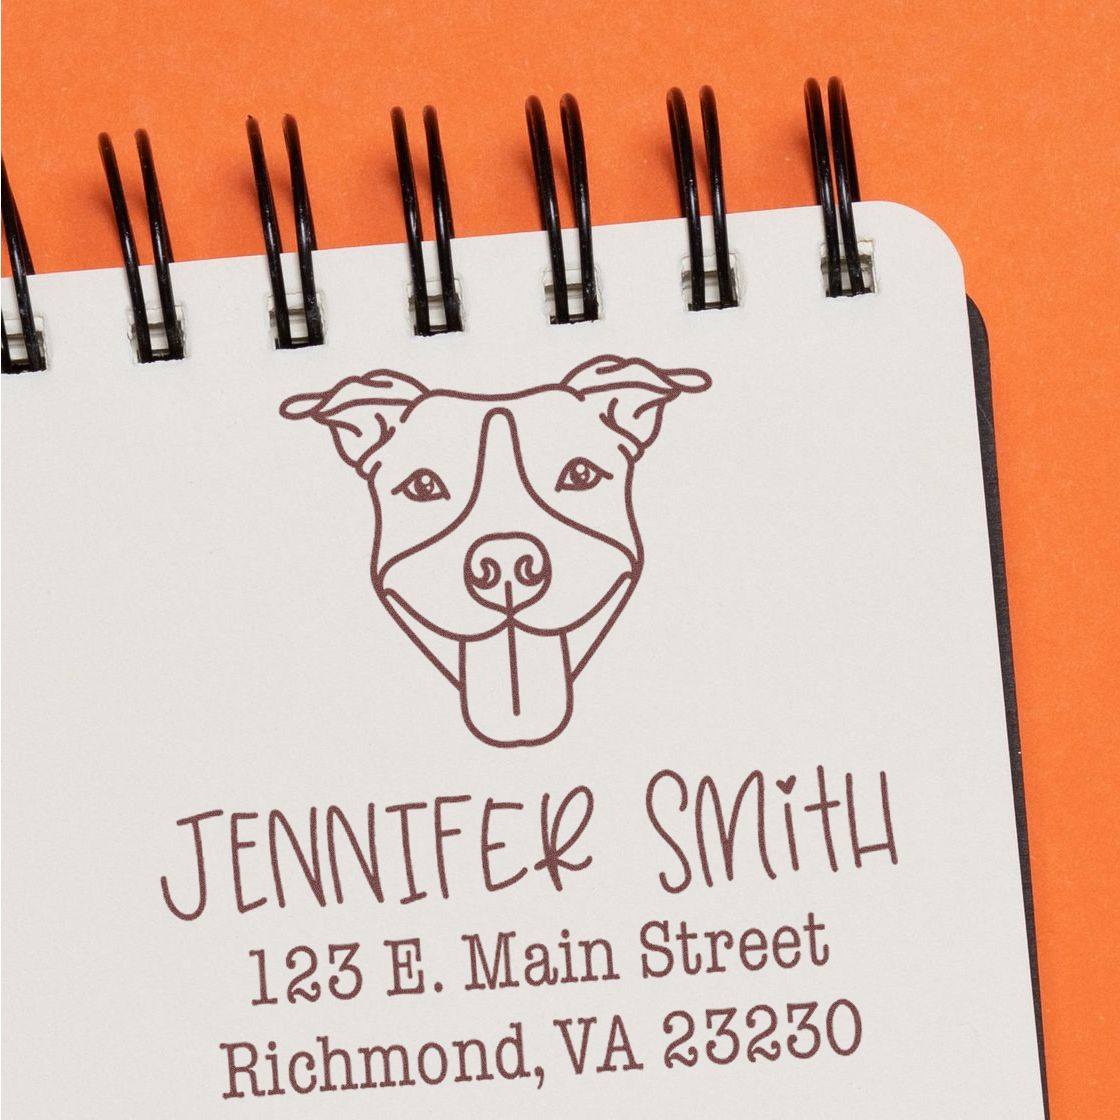
With a manual stamp, it’s easy to apply uneven pressure and end up with lighter or smudged marks. Self-inking stamps help you maintain consistency, thanks to their design mechanics. Once you get a feel for the correct pressure, you can replicate the same look over and over with minimal mistakes.
Choosing your design elements
Nor do you have to be a graphic designer to create an impressive stamp. You just need a clear logo and a sense of how you want it to appear. The following tips will help you sort out size, shape, and color so that you end up with a stamp you love.
Selecting the right logo
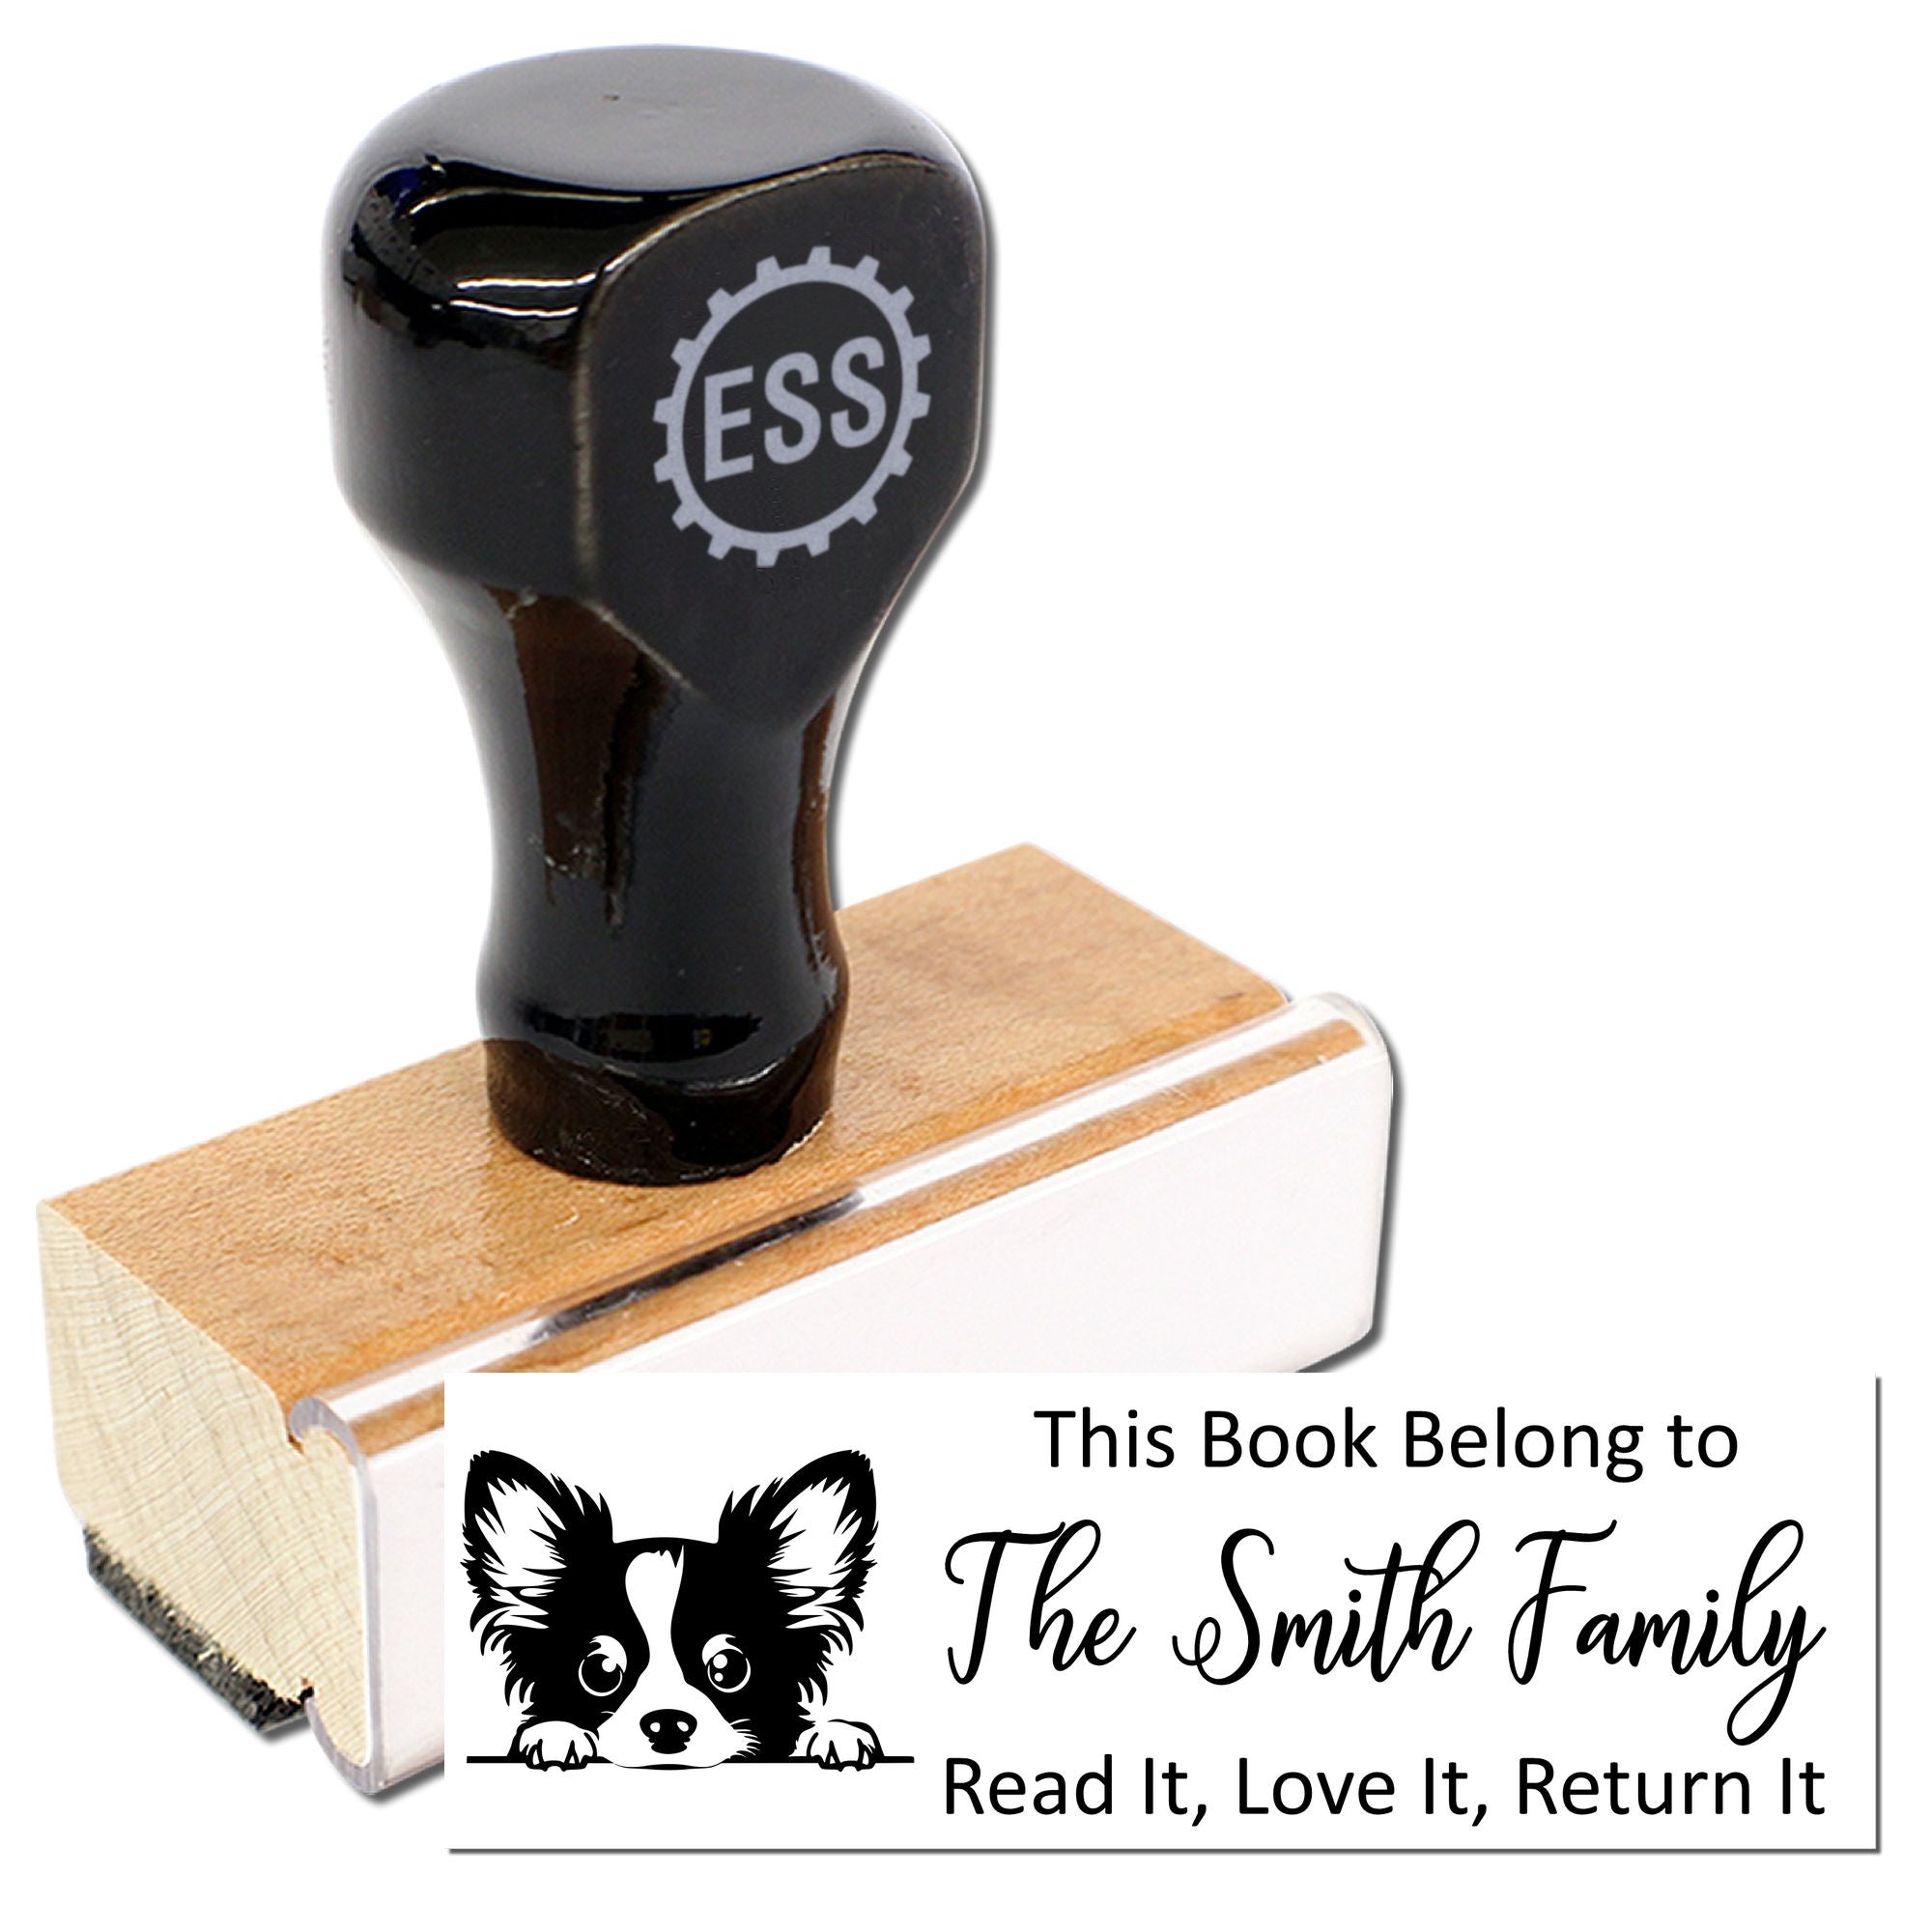
If you already have a logo, great. If not, consider investing time into a simple version that looks good in smaller sizes. Detail is nice, but keep in mind that extremely fine lines might not come out as cleanly when stamped. High-contrast designs with well-defined elements typically look best. A bold text logo can also stand out, especially if you want to emphasize your brand name or tagline.
Optimal size and shape
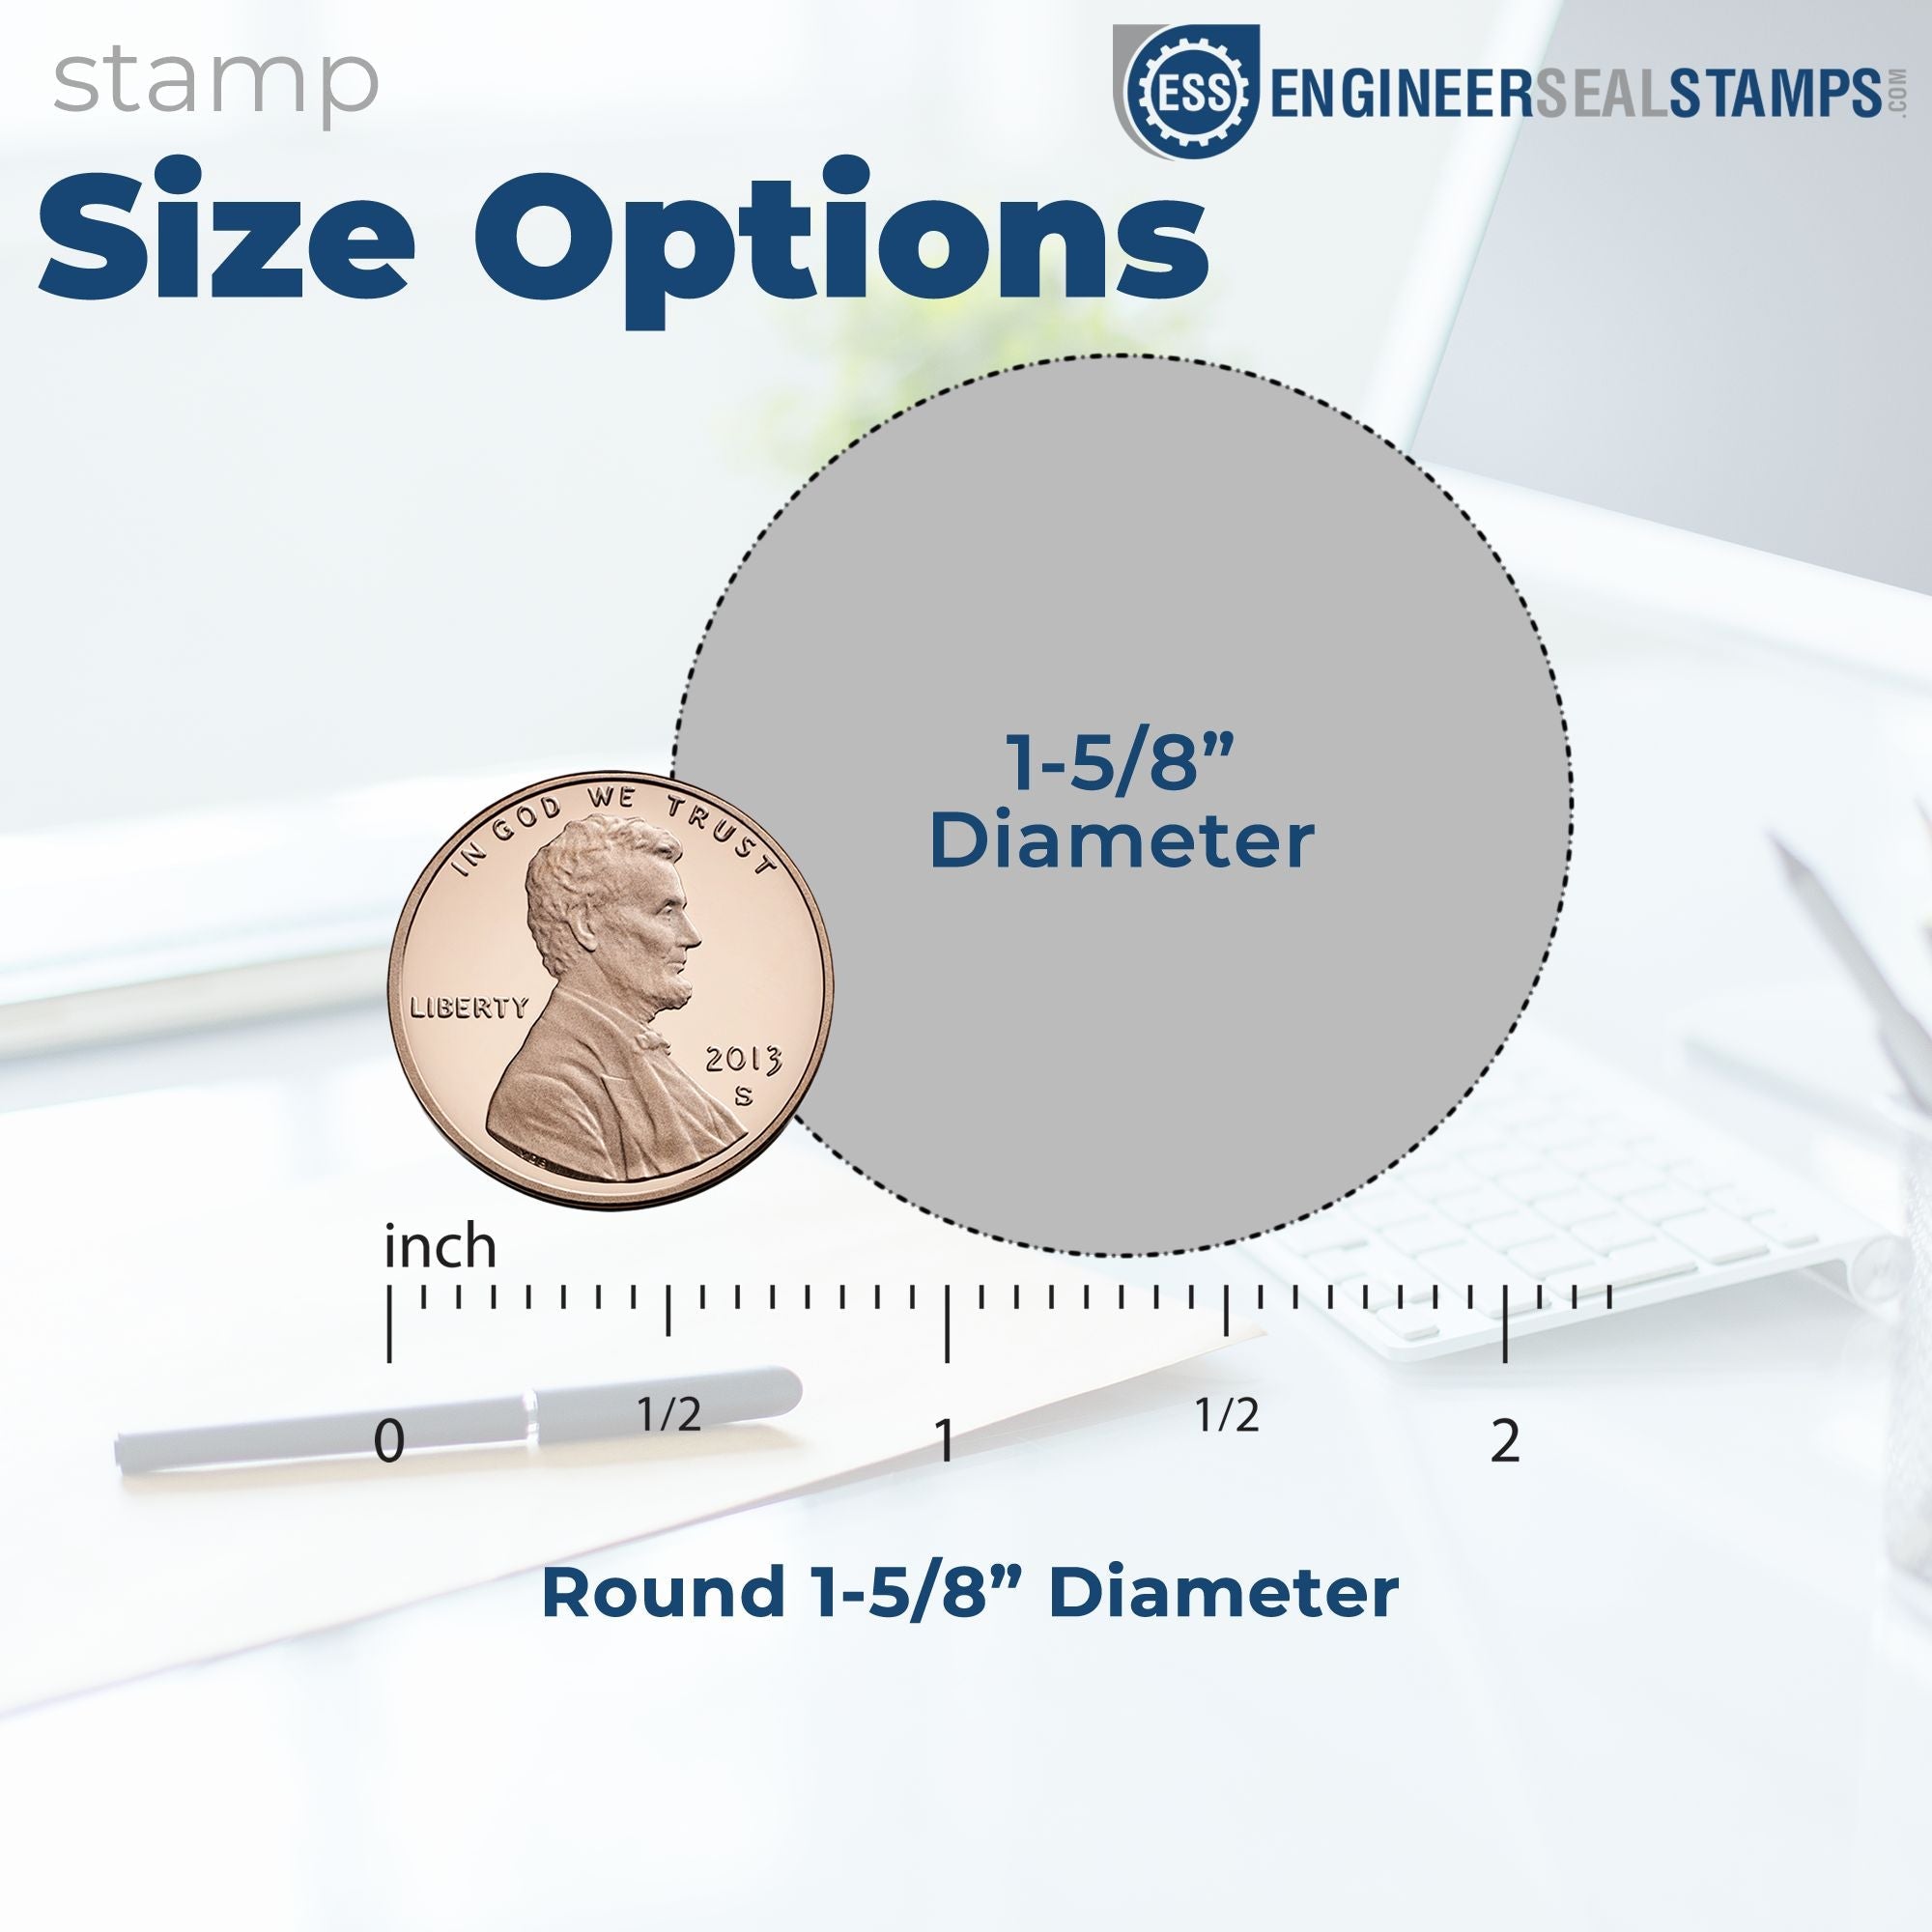
Ask yourself how and where you plan to use your self-inking logo stamp. If you want to brand large boxes, you might need a bigger impression area, but if you’re stamping on note cards or receipts, a smaller one is more practical. Rectangular stamps fit text-focused designs well, while round or oval stamps lend a classic feel.
Color considerations
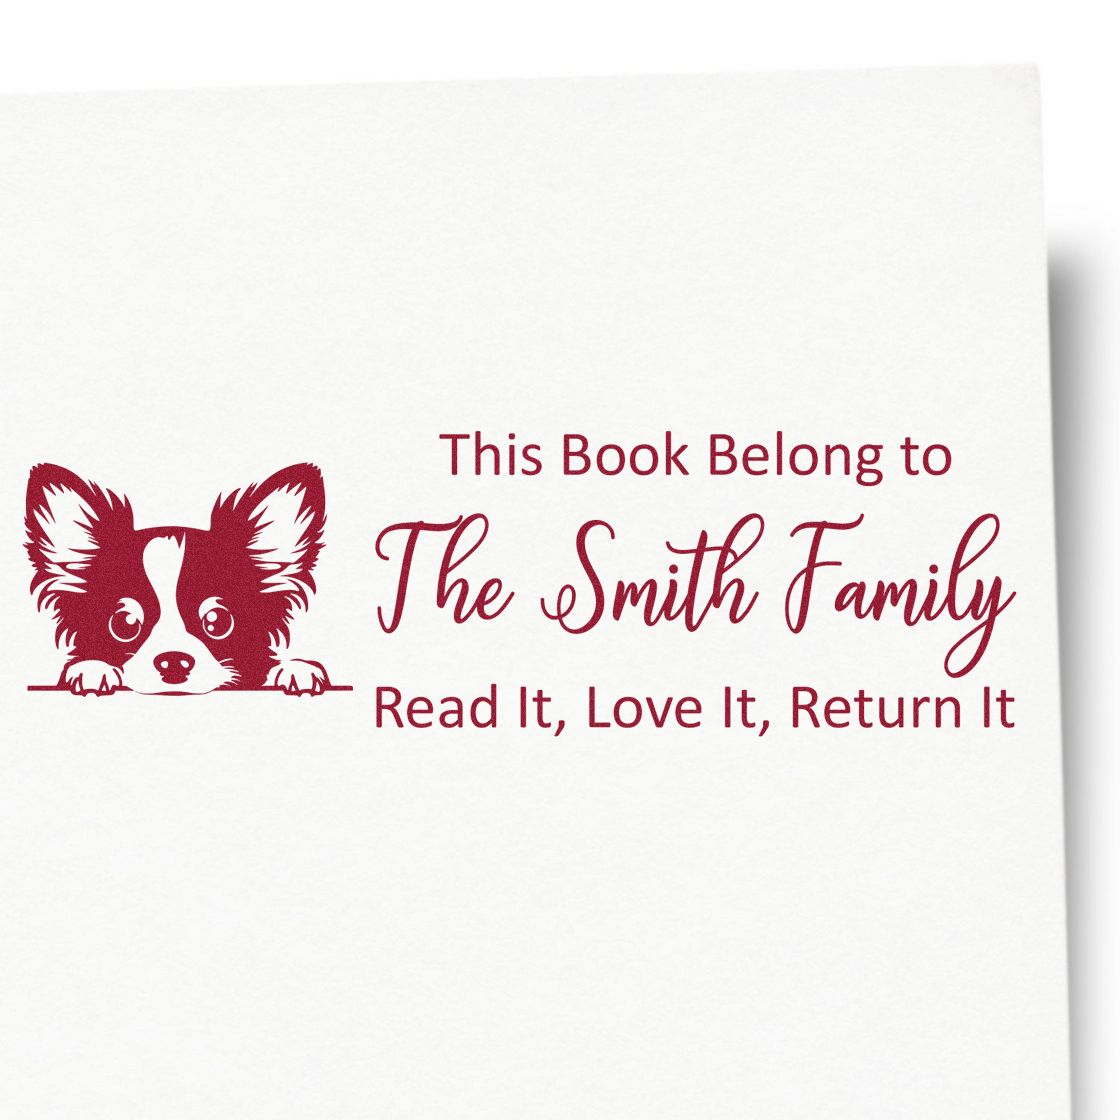
Black ink is a staple for a reason: it’s easily visible and works for formal situations. However, you can often request other colors or even two-tone designs if you prefer something livelier. Some stamp makers may carry red, blue, green, or custom colors, depending on your preferences. Just be sure the color doesn’t reduce the clarity of your design.
Top types of self-inking logo stamps
If you’ve started shopping around, you may have noticed the wide array of stamp shapes, sizes, and materials. Here’s a quick rundown of the main types to help you choose your best match.
Rectangular stamps
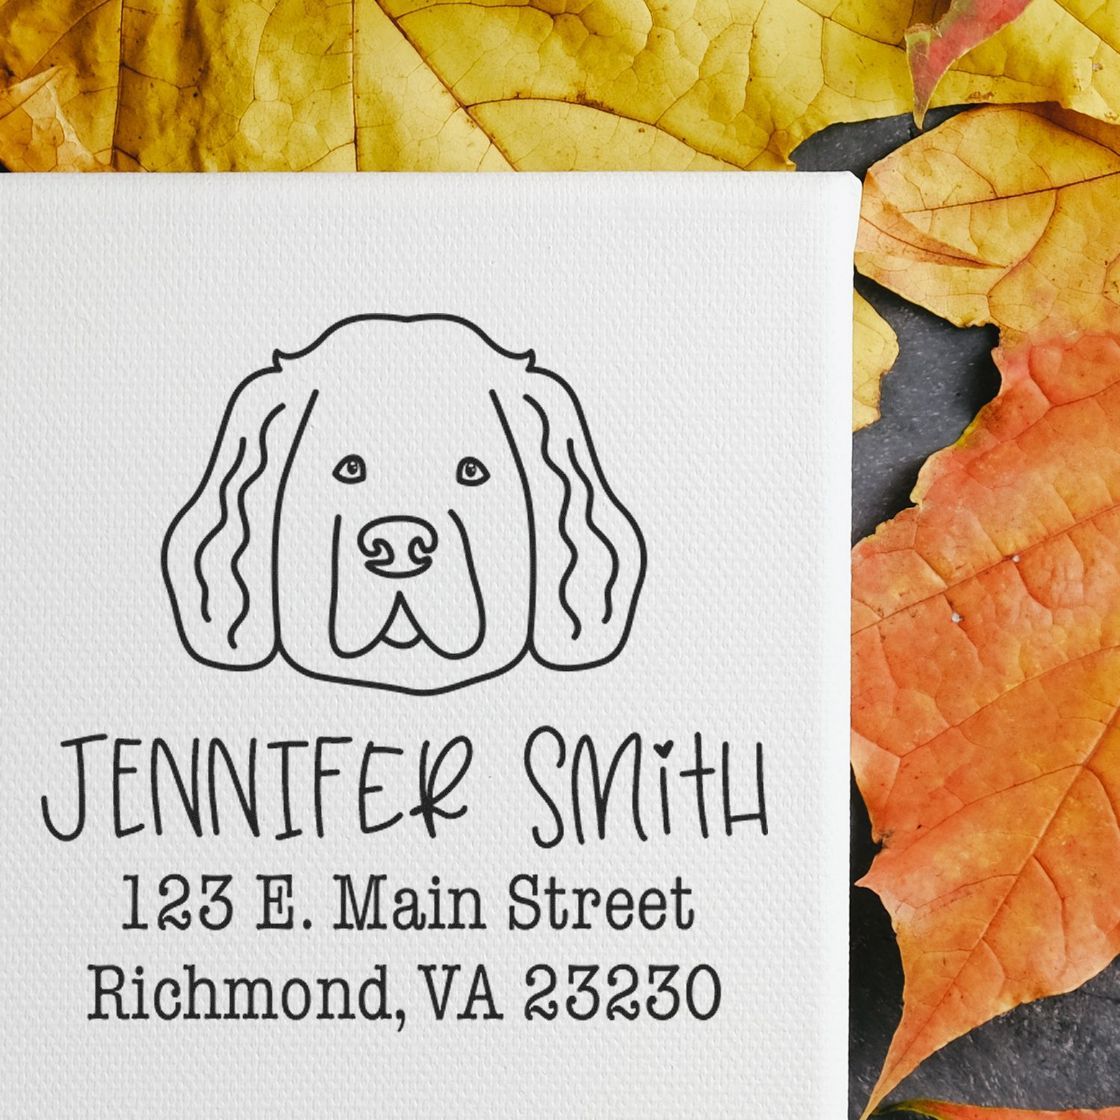
A rectangular self-inking stamp is perfect if your logo is text-heavy or includes an emblem plus a line of text. You’ll see these used a lot for address stamps, logos with a horizontal orientation, and even disclaimers or labels. They’re simple to align and often deliver a very clear impression.
Round stamps
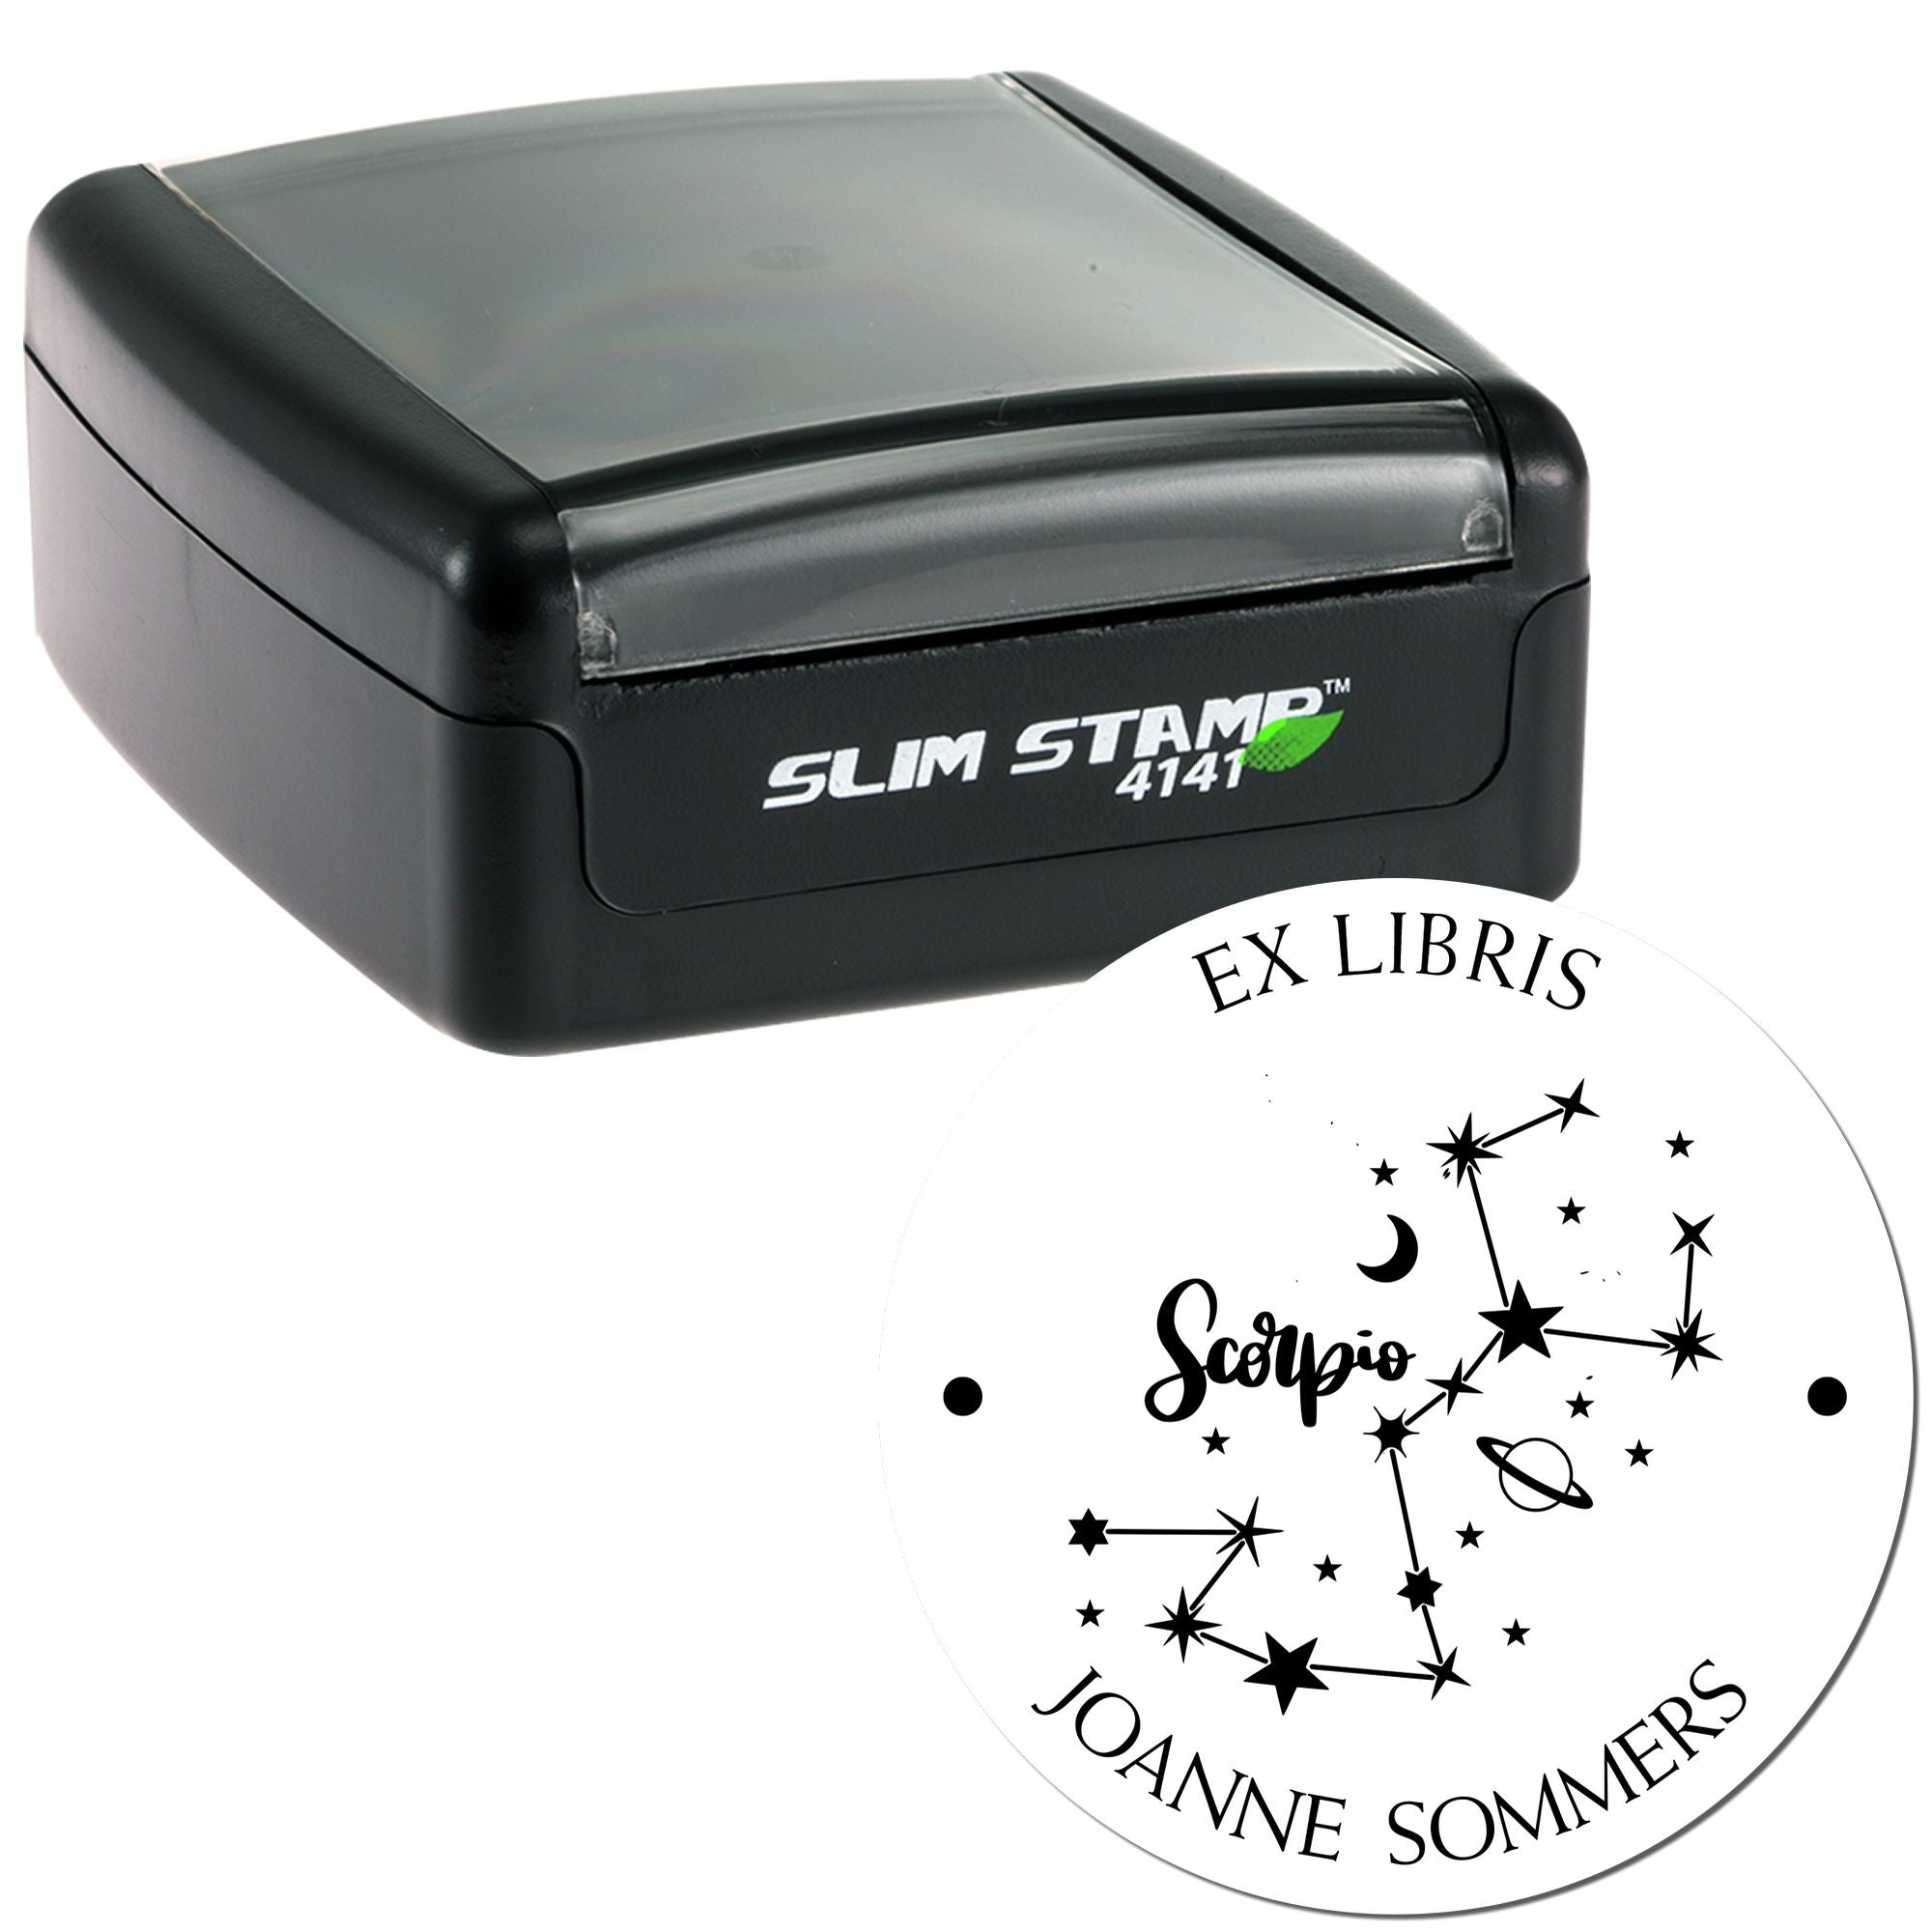
Round stamps carry a more traditional, seal-like vibe. They look especially sleek if you want your logo to appear as a classic emblem, perhaps with text arched around the border. These stamps often suit small business owners who want to convey a sense of heritage or craftsmanship. If your brand has a more traditional or artisanal direction, a round stamp might be your top choice.
Specialty shapes
Feeling experimental? Specialty shapes such as oval, square, or custom die-cut stamps are out there. These can help differentiate your brand if you want to stray from the usual forms. Just keep in mind that specialty options sometimes have a slightly higher price or take extra time to produce.
How to order from Engineer Stamps (ESS)
At Engineer Stamps, known to our friends as ESS, we streamline the process so you can get your hands on your new self-inking logo stamps quickly and with minimal hassle. Here’s a quick look at the steps you’d typically follow to bring your design to life.
Step 1: Prepare your logo
Gather a high-resolution version of your logo in a suitable file format (often a vector file or a 300 dpi image). If you’re not sure which file type is best, our support team can help answer your questions. Whether your logo is a bold wordmark or a more complex crest, clarity is key.
Step 2: Upload and specify details
Once you have your design ready, you can send it our way. Indicate the type and size of stamp you’d like, along with your desired ink color. If you have any special preferences, such as an oval shape or a two-color design, be sure to include that info. Feel free to mention your main usage scenarios too, because we can offer suggestions on the best size or orientation for your needs.
Step 3: Review and finalize
After we work our magic, we’ll show you a preview to confirm everything looks the way you expected. Review the mockup carefully. Check spelling, size, edges, and any fine details. If all is good, simply give the green light, and we’ll finalize your stamp for production. Depending on your chosen shipping method and location, you’ll have it at your door in no time.
Use cases to spark ideas
Wondering how self-inking logo stamps might fit into your day-to-day business routine? Here are a few ways you can use them to boost brand recognition and give your customers a memorable unboxing or buying experience.
Packaging and shipping
When you stamp your logo on shipping boxes, envelopes, and bags, it’s like giving recipients a mini preview of what’s inside. This touch can elevate your packaging, especially if you run an online store and rely on memorable mailers to keep buyers excited. It also doubles as a quick brand recall tool when someone sees the package in a busy mailroom.
Document authentication
Imagine stamping your invoice or your official letters with a clear logo before you send them out. That small but thoughtful gesture indicates you’re proud of your brand and consistent about presenting it. It also helps verify documents, especially if you include a specific date or sign-off that can’t be easily replicated digitally.
Event promotions
Hosting a pop-up stand at a conference, trade show, or local farmer’s market? Save time by stamping your brochures, flyers, or freebies with your logo. You can see how convenient it is to instantly turn a plain sheet into a branded piece of marketing. It’s way faster than printing new marketing collateral if you run out at the last minute.
Caring for your self-inking stamp
Once you’ve chosen the perfect stamp and used it a few times, you’ll want to keep it in good condition so you can rely on it for months or even years. Proper care involves a few easy steps, none of which require fancy equipment.
Cleaning and re-inking
- Keep the stamp’s surface free of debris: If you notice lint or dust gathered on the imprint surface, wipe it off with a soft cloth. This ensures a crisp impression every time.
- Re-ink as necessary: After numerous uses, your stamp may start to appear faint. Most self-inking stamps have a small slot or compartment where you can add a few drops of compatible ink. Always use the recommended ink type or brand, because mixing random inks could clog or affect color quality.
- Avoid heavy scrubbing: Gently wipe any residue from the stamp face, but skip harsh chemicals or rough sponges. These can damage the rubber or polymer surface.
Storage tips
- Store it upright: When not in use, keep your stamp in a standing position on a stable surface. Laying it sideways or tossing it into a drawer can cause accidental impressions or smudging.
- Keep it covered: Some self-inking logo stamps come with a plastic cover that protects the impression area. If yours does, place that on top before you tuck the stamp away, especially if you travel to trade events.
- Shield it from sunlight: Prolonged exposure to direct sunlight can dry out the ink faster. Aim to keep your stamp in a cool, dry place. An office drawer or supply shelf is usually enough to maintain its longevity.
Frequently asked questions
Below are answers to some of the most common questions we get about picking, using, and caring for self-inking logo stamps. If you’re just getting started, these FAQs might clear up any lingering doubts.
1. Can I change the ink color in my self-inking logo stamp later?
Typically, yes. If your stamp’s design allows for swapping ink pads, you can replace a black ink pad with, say, a blue or red one. Just make sure you purchase a compatible ink pad from the same manufacturer so the fit is exact and the ink formula works correctly.
2. How many impressions will I get before re-inking?
It depends on the brand and size of your stamp, but most self-inking designs give you several thousand impressions before fading. For instance, many can handle 3,000 to 5,000 impressions before needing more ink. Smaller stamps might last even longer, because they use less ink per impression.
3. Is there a limit to how detailed my logo can be?
While modern techniques allow for very precise cuts on the stamp surface, extremely fine details might not translate perfectly onto paper — especially if there’s a lot of shading or texturing in your artwork. Simplifying your design or using high-contrast elements can help ensure a crisp, readable impression.
4. What’s the best way to position my stamp evenly?
After some practice, you’ll get a feel for aligned stamping, but a quick trick is to look at any guide lines or markers on the stamp body. Place the stamp lightly on the surface first to judge placement, then apply firm, even pressure. If you need perfect alignment for large batches, consider using a ruler or marking your workspace lightly in pencil.
5. Can I use my self-inking logo stamp on glossy paper or plastics?
Most self-inking products work best on porous surfaces like paper, cardstock, or cardboard. Glossy or coated surfaces may cause the ink to smear or take much longer to dry. If you absolutely need to stamp on a non-porous surface, look for specialty ink or confirm with the stamp manufacturer that it’s doable.
6. How do I keep my stamp from drying out if I don’t use it often?
Make sure the stamp is kept away from direct sunlight and has a protective cover or resting position that keeps the ink surface closed against the pad. This setup prevents unnecessary air exposure. If you come back after a long break and find it’s a bit dry, add the recommended ink to refresh it.
Key takeaways and next steps
Custom self-inking logo stamps are a small investment that can seriously level up your brand presence. In just a single press, you can make your shipping boxes more memorable, your documents more official, and your whole operation more cohesive. By selecting the right design, shape, and size — and taking good care of your stamp — you’ll get countless impressions that leave a polished mark of your business out in the world.
Feel free to explore all the options at Engineer Stamps (ESS) or any other trusted maker who can interpret your logo well. Get creative, try new colors, and think about all the ways your stamp might spark extra curiosity among your customers. Most importantly, have fun adding that personal touch that sets you apart. You’ve got this. And your brand is ready to shine.