Transform your crafts with a great stamp pad for embossing and watch your projects truly pop. If you’ve ever felt that regular ink just isn’t cutting it, embossing adds that special raised effect, giving outlines and designs a professional, eye-catching edge. Ready to step up your craft game? Let’s dive right in.
Get familiar with embossing
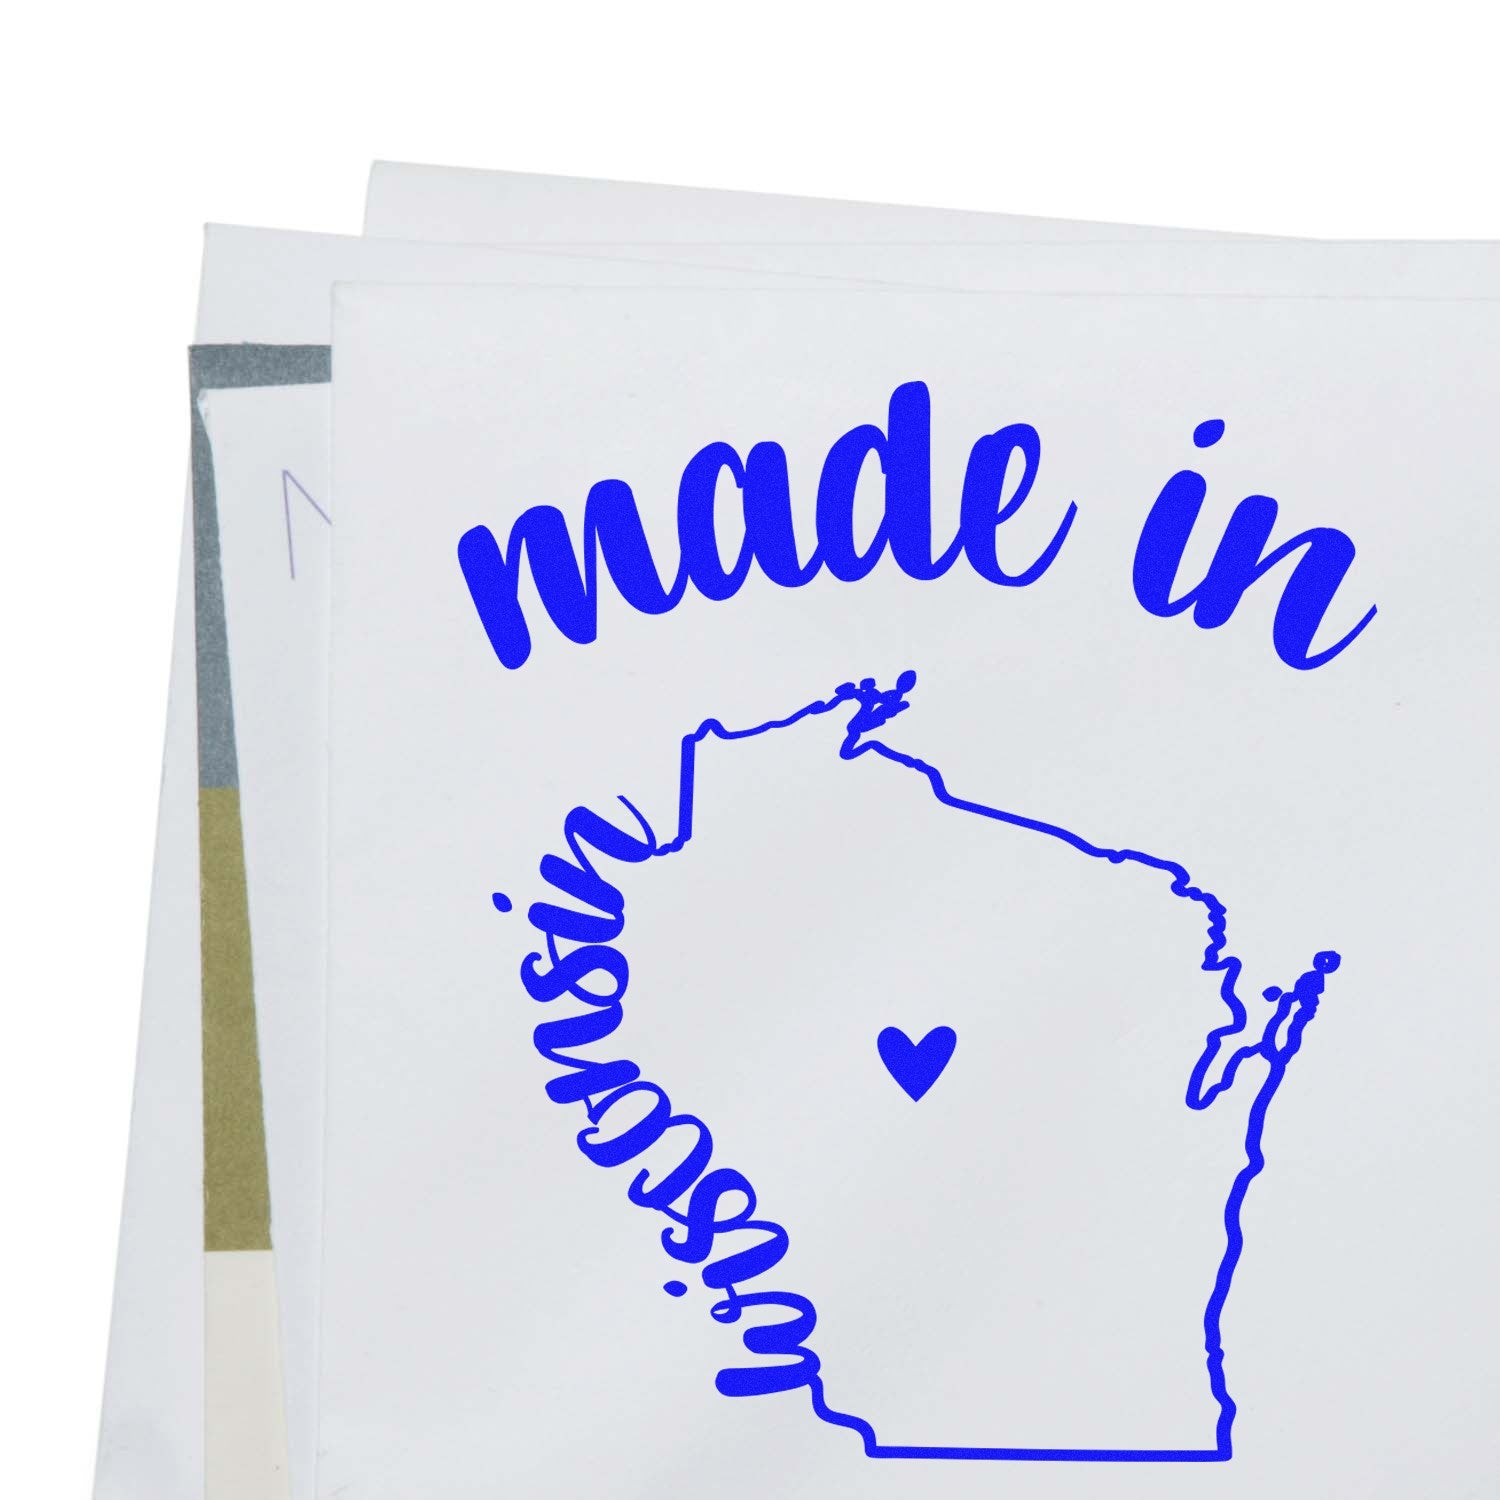
Craft embossing involves pressing a design onto a surface, then heating embossing powder to create a raised, glossy finish. You’ll use a special stamp pad for embossing that holds ink just long enough for you to sprinkle on the powder before it bonds under heat.
Why go for embossing?
- It creates a textured, high-end look on both paper and cardstock.
- You can personalize invitations, scrapbooks, or greeting cards.
- It gives you the freedom to experiment with glittery, metallic, or matte finishes.
Pick a quality stamp pad
Your embossing results depend on the pad you choose. A typical stamp pad for embossing has slow-drying ink that helps the powder stick. So how do you decide which one is best?
Consider these factors
- Ink type: Pigment inks dry slower, which is perfect for embedding embossing powder.
- Size: A larger pad can accommodate broader designs, but a smaller pad might be easier to handle with intricate stamps.
- Color range: Clear or tinted? Clear ink keeps embossing powder’s color true, while tinted inks let you see where you’ve stamped.
Try these embossing techniques


Embossing is pretty straightforward, but a few extra tips can level up your results. Got a favorite stamp design? Test it with these approaches to see which one speaks to your style.
Basic heat embossing
- Ink your stamp evenly, pressing lightly so you don’t oversaturate it.
- Press the stamp onto your paper or cardstock, lifting straight up to avoid smudges.
- Sprinkle embossing powder over the wet ink, then shake off the excess.
- Heat the powder with an embossing heat tool until it melts and forms a raised, glossy surface.
Resist embossing
If you crave a dramatic effect, stamp and emboss with clear ink, then apply a contrasting dye or watercolor over it. The embossed design resists the paint, leaving a crisp image that stands out beautifully.
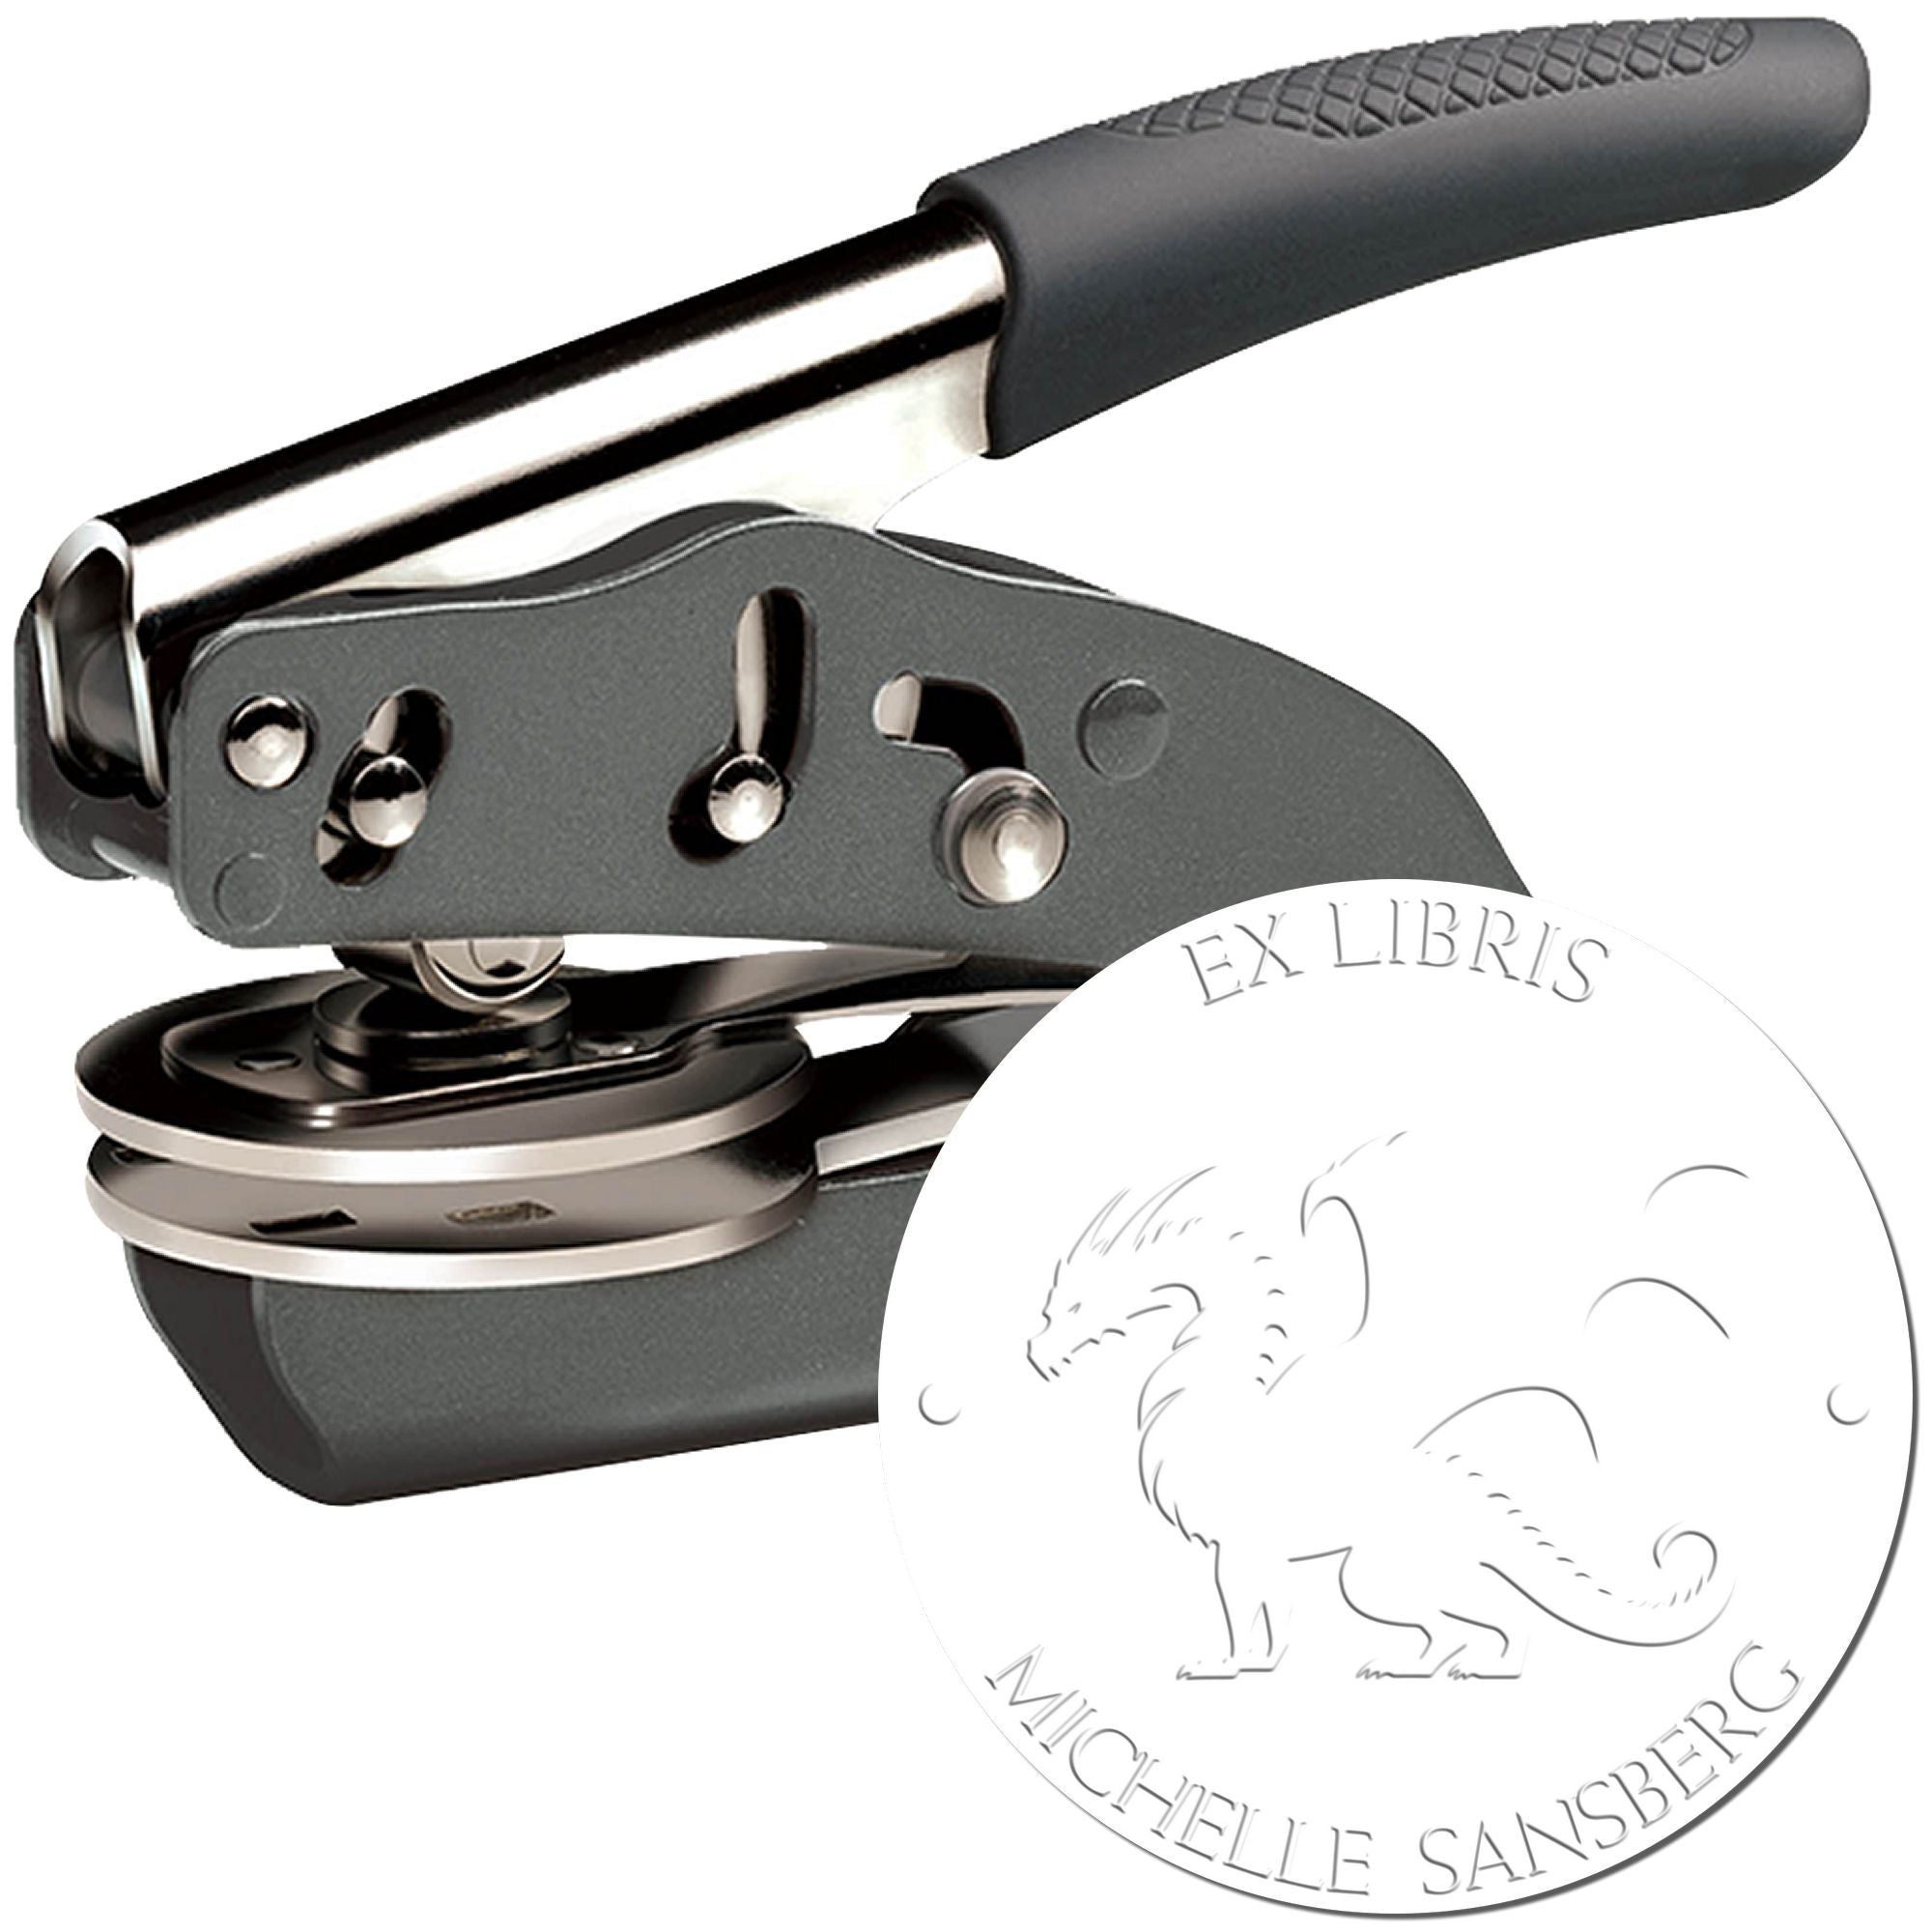
Maintain your stamp pad
A clean stamp pad can make all the difference between a crisp image and a smudged mess. Taking a few moments to maintain it helps extend its life.
Simple cleaning tips
- Keep the pad closed or covered when not in use to protect it from dust.
- If it starts to dry out, many embossing ink pads can be refreshed with matching reinker solutions.
- Wipe the exterior with a slightly damp cloth if you notice any stray ink or powder.
Storage reminders
- Store your stamp pad flat to distribute the ink evenly.
- Avoid direct sunlight and high heat, since that can dry out the ink faster.
- Keep it away from loose embossing powders, so you don’t unwittingly transfer them onto the pad’s surface.
Wrap it up
Embossing isn’t just a simple tweak to your usual stamping routine. It can seriously elevate your crafts, from birthday cards to business invitations. All you need is a reliable stamp pad for embossing, a bit of patience, and a steady hand. Experiment with different ink colors and powder finishes until you find the style that feels uniquely yours. Once you see how it transforms your work, you’ll never want to go back to plain old ink again. Happy crafting!