Discover embossing tools basics
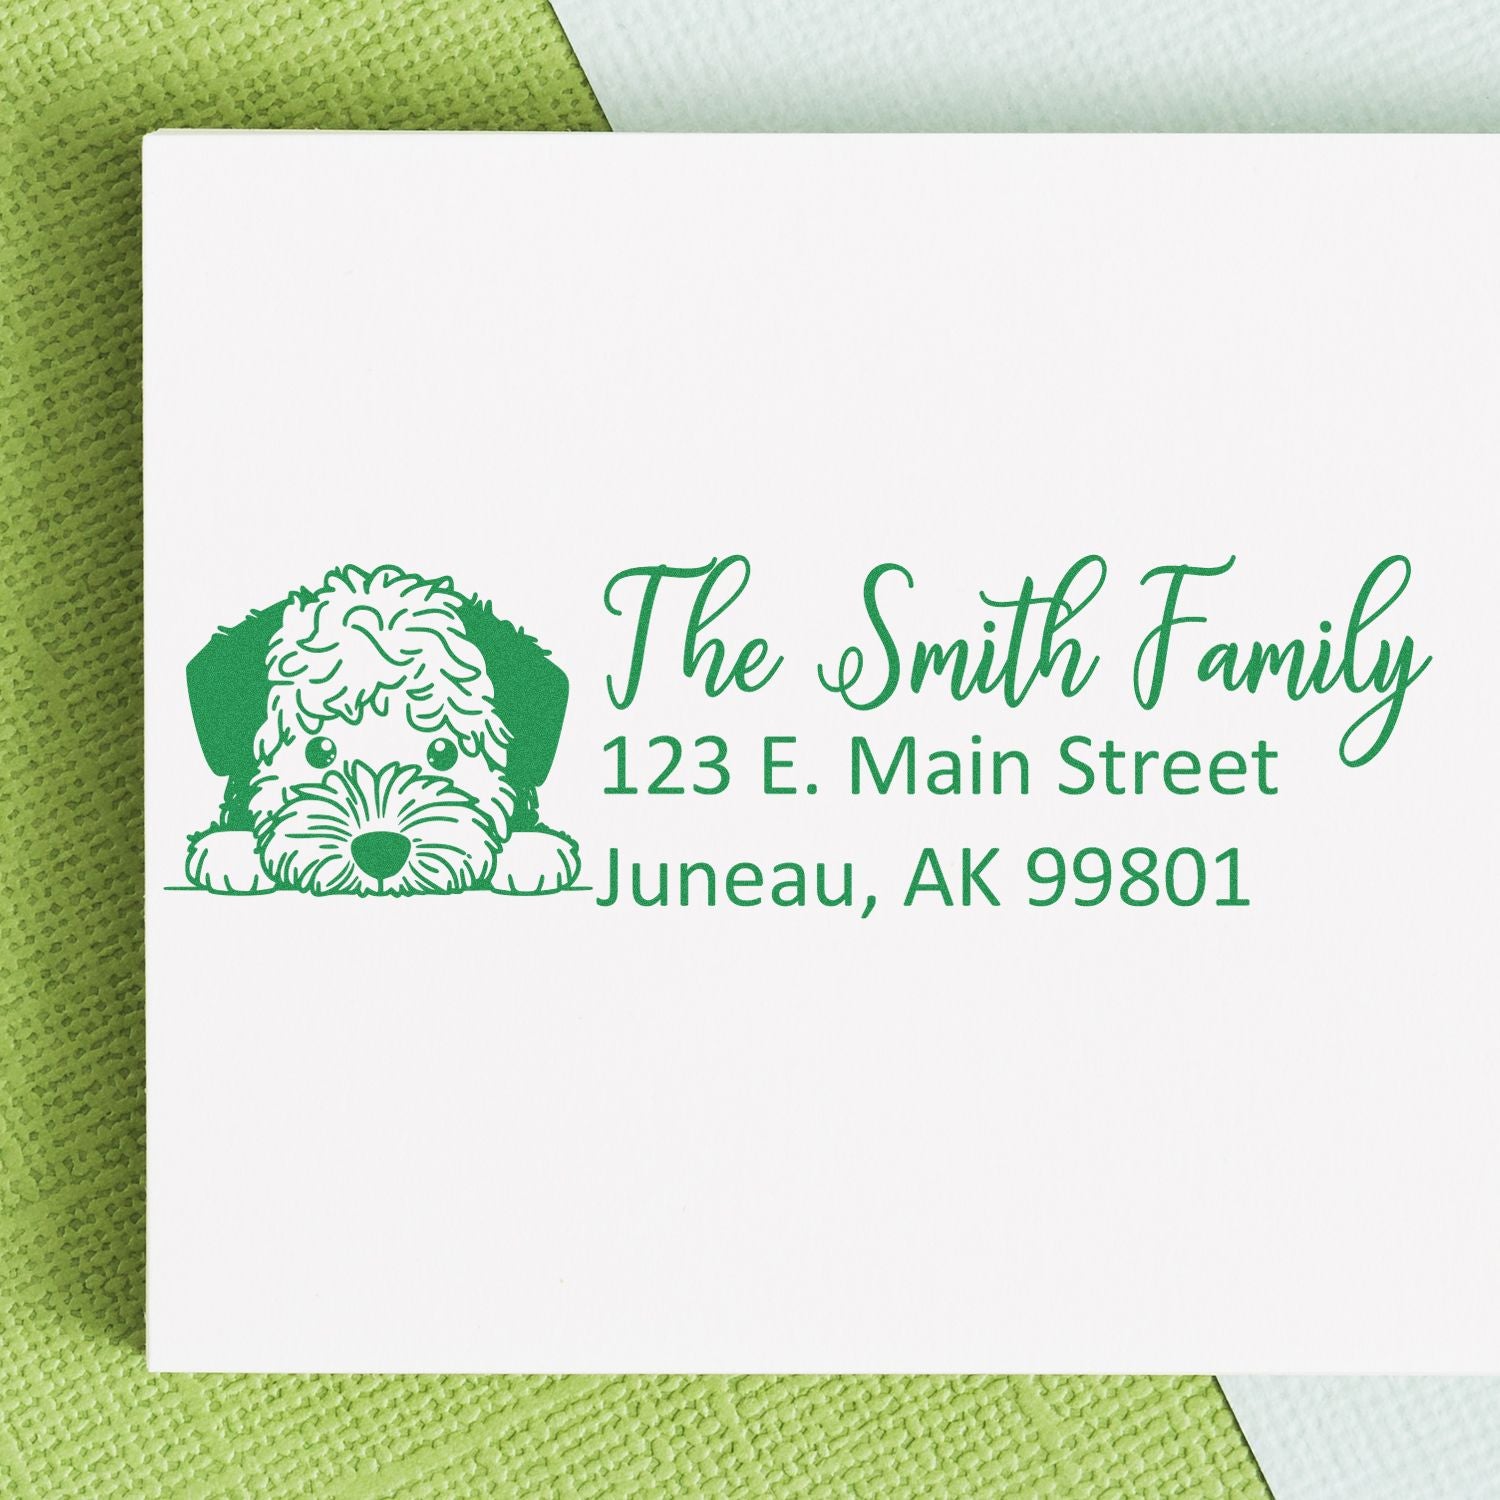
If you’ve ever wanted a memorable seal on your outgoing mail or bookplates, embossing tools for branding might be exactly what you need. By adding a raised impression to stationery, books, or business cards, you create a subtle but impactful personal mark. That crisp, raised detail is more than just decoration, though. It’s a way to make your correspondence look professional and yours alone.
At Engineer Seal Stamps (ESS), we’ve seen how embossers inspire creativity. They’re popular among small business owners who want a consistent brand, as well as die-hard stationery fans who just love a clean impression. Before jumping into which embosser to pick, let’s talk about the basics so you know exactly what you’re getting.
Key reasons to use them
- They add a sense of exclusivity or elegance to your stationery.
- They work quickly, often with just a simple press.
- They’re versatile: you can emboss envelopes, letterhead, even napkins for special events.
- They give you a recognizable personal or business identity at a glance.
Select your perfect embosser
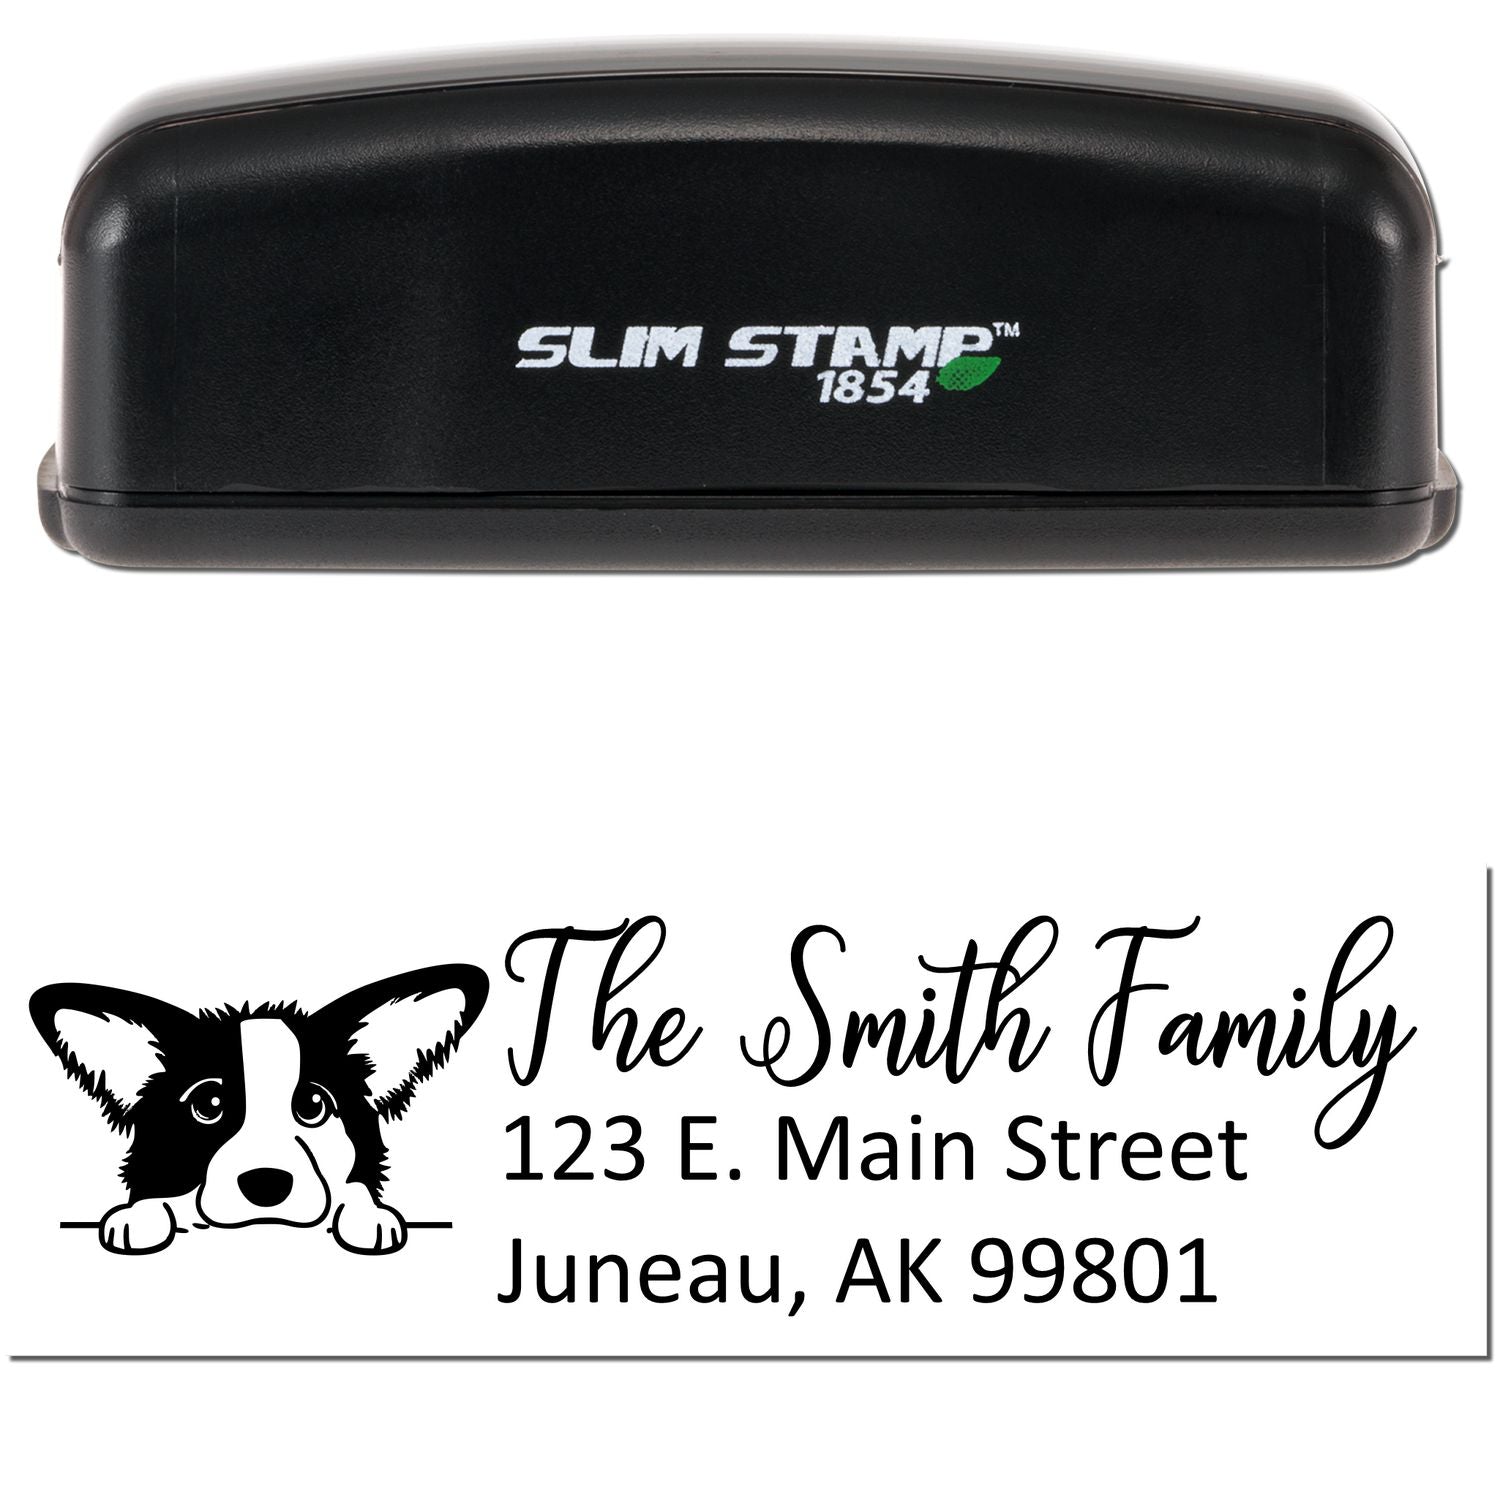
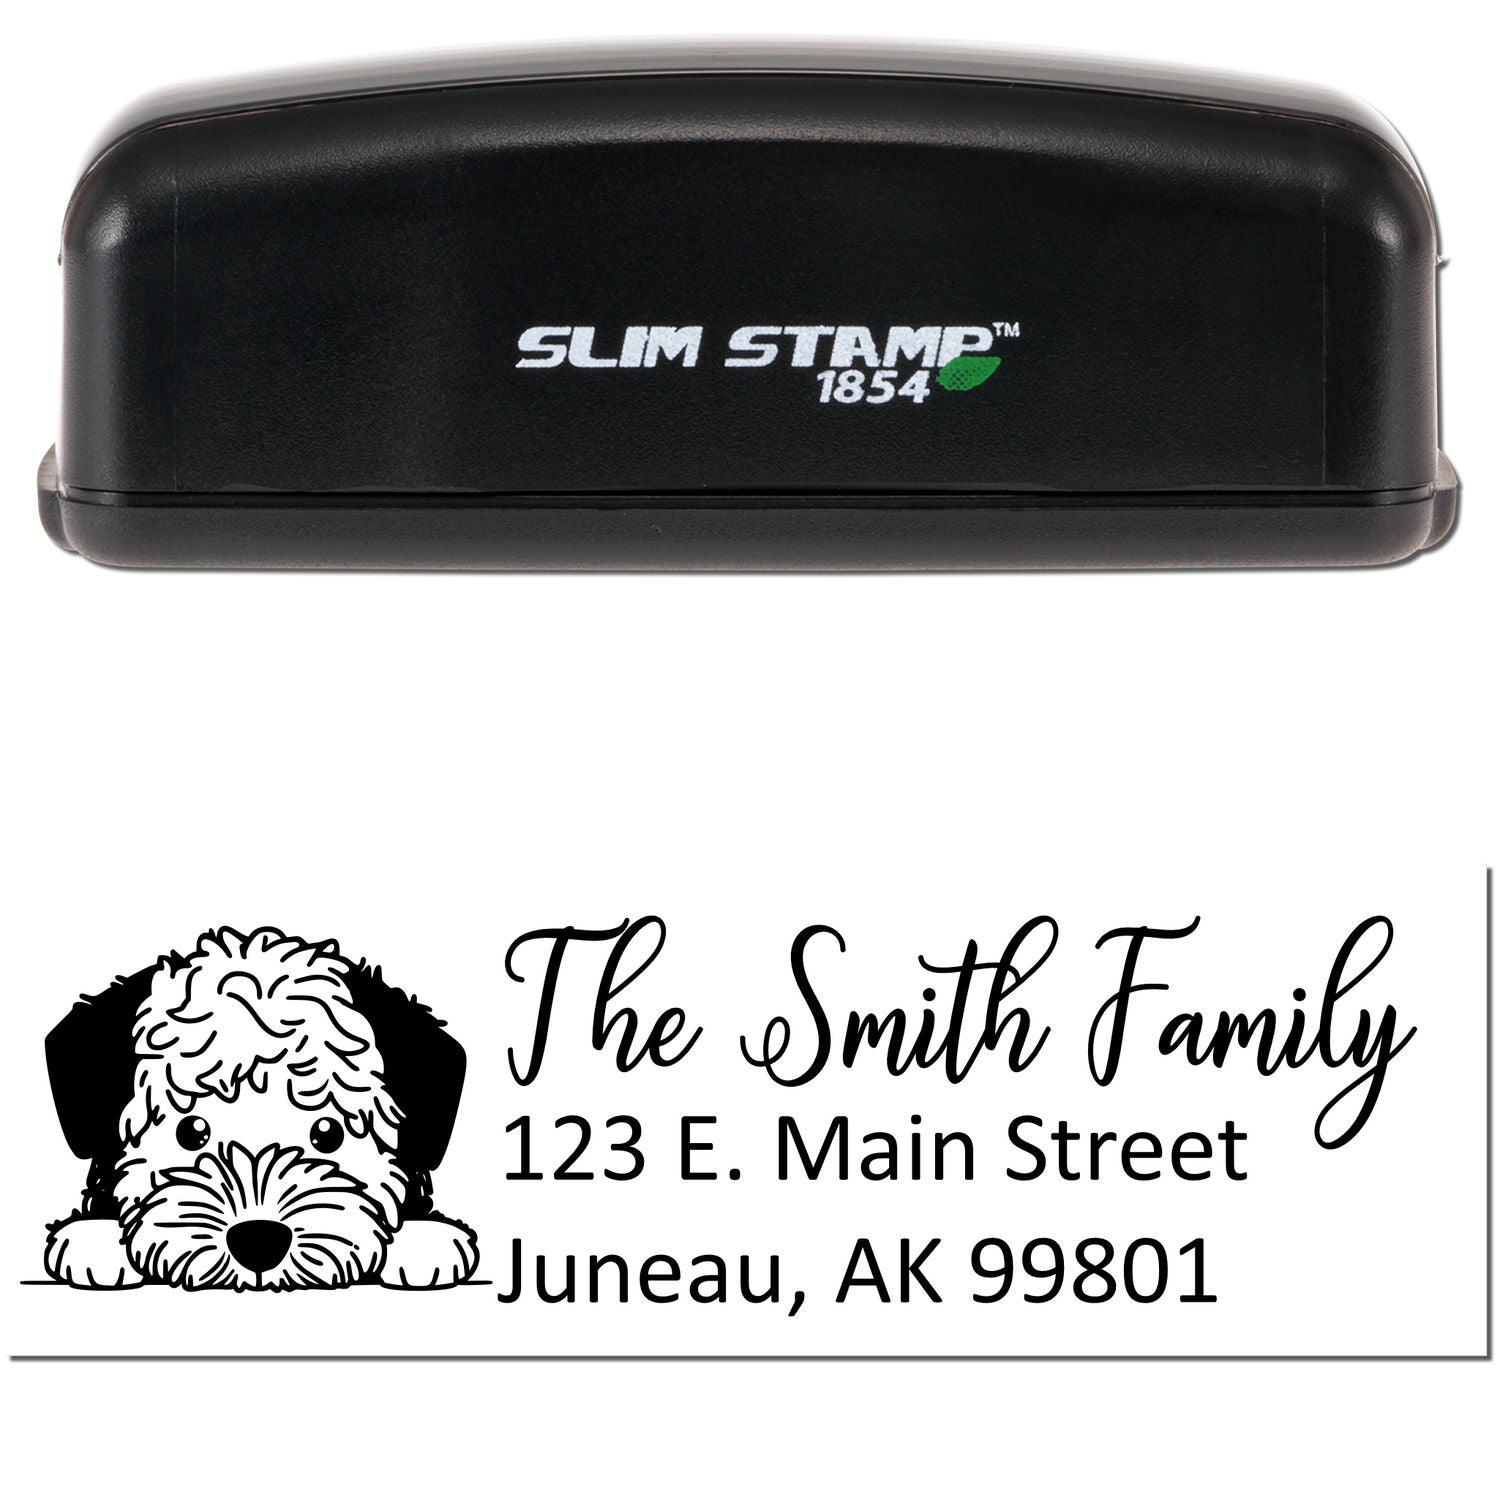
Once you decide to invest in an embosser, you’ll find there are various styles out there. From handheld devices to desk-mounted models, the best choice usually depends on how often you’ll emboss and on which materials.
Handheld embossers
These are compact and easy to store. They’re often priced lower, and you simply squeeze the handles to create your raised impression. If you emboss only occasionally, like for personal stationery or bookplates, a handheld option is a great start.
Desk embossers
If you’re planning frequent use or working with bulk stationery projects, a desk embosser makes life simpler. It typically has a sturdy base, which means you can press down with consistent force. This consistency is key if you’re embossing thicker or stiffer materials, such as cardstock.
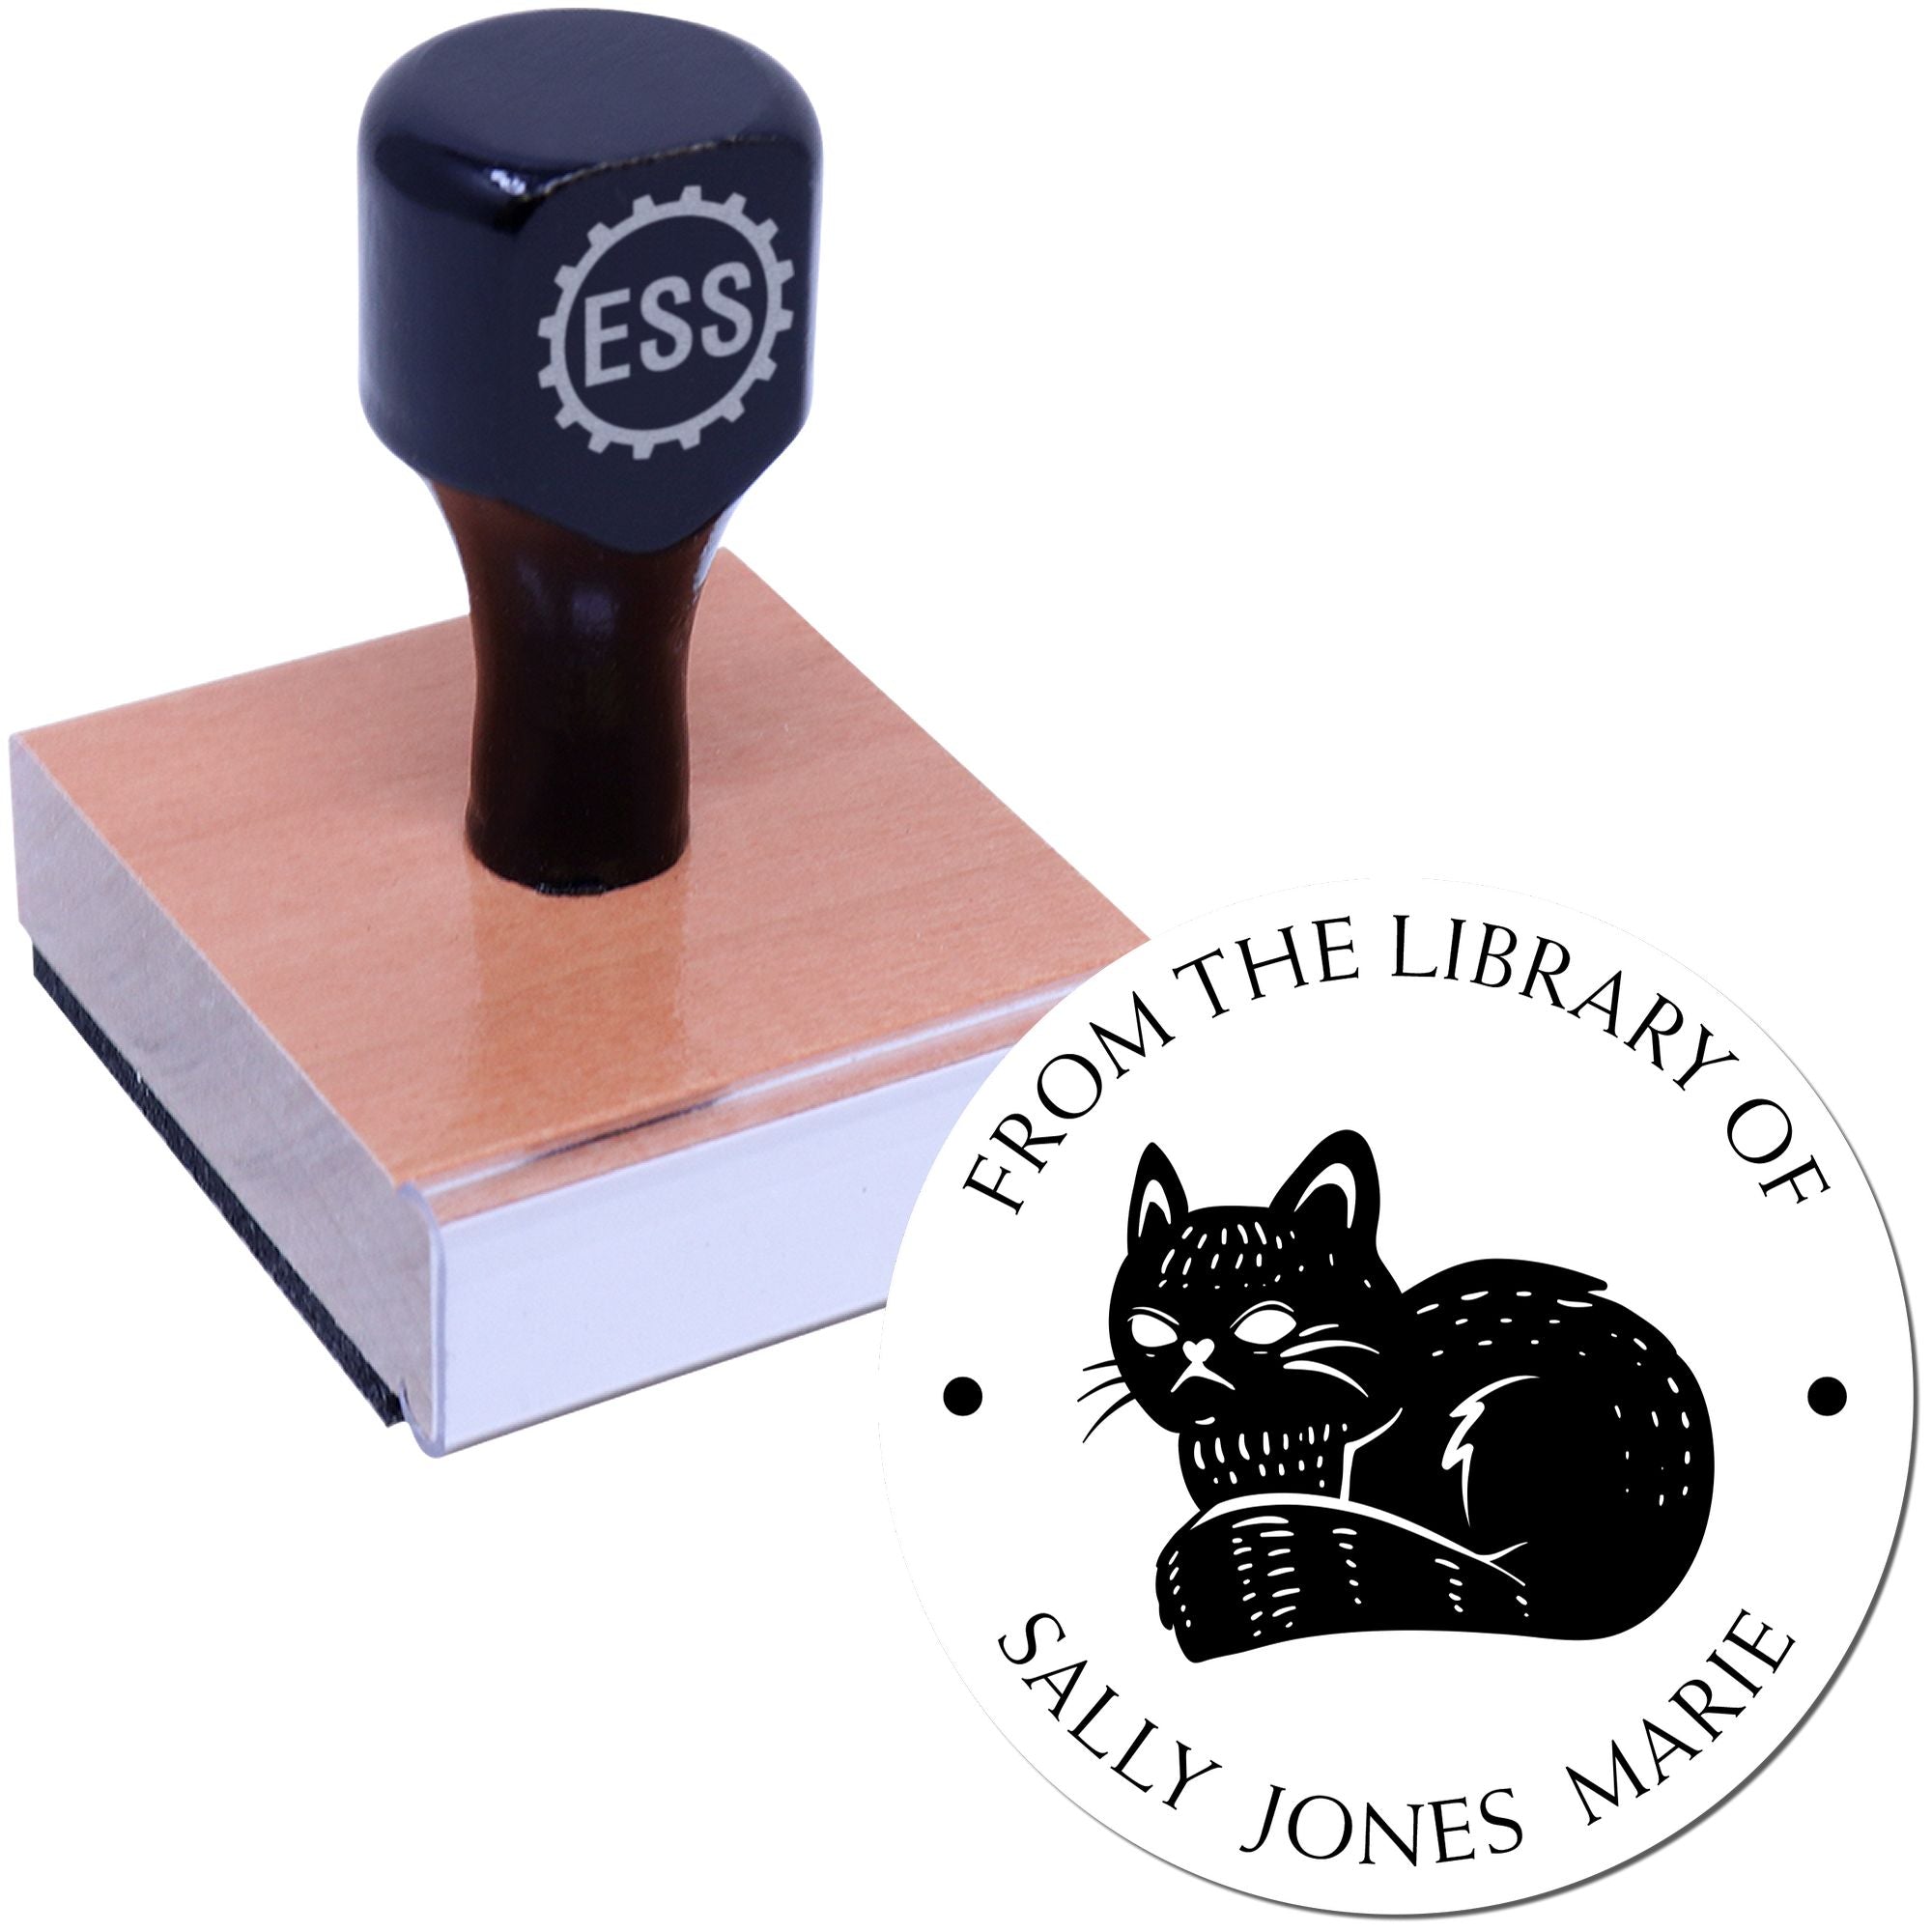
A note about design
Choosing the text or graphics on your embosser is a big part of the fun. Custom logos, monograms, or full business names all work well. If you want a jump-start, check out our range of custom embossing stamps for fresh ideas and inspiration.
Emboss in four simple steps
Getting that crisp impression doesn’t require a full art degree. Follow these quick steps to transform everyday paper goods into personalized keepsakes.
Prepare your materials
Make sure your paper, cardstock, or envelope lies on a flat surface. If you have thick materials, practice on a spare piece to find the sweet spot for the embosser.Position your embosser
Align the center of your design where you want the impression to appear. Some embossers have guide marks or a translucent sliding plate to help with positioning.Press firmly
Squeeze the handles (for handheld) or press down on the lever (for desk models) with steady pressure. Too light, and your design may appear faint. Too hard, and you could warp finer details.-
Check your design
Lift up the embosser and check. If it’s crisp and clear, you’re good to go. If it’s off-center or a bit uneven, adjust and try again. You’ll get the feel for it within a few attempts.
Maintain your embosser
Just like any frequently used tool, you’ll want to give your embosser a little TLC to keep it in top shape.
Wipe it down
After embossing, use a dry cloth to dust off any paper fibers or small debris.Inspect for alignment
If you notice misalignment or the impression becoming uneven, you can often adjust the plate or tighten a screw (depending on the design).Store properly
Keep your embosser away from humidity and direct sunlight. If it’s handheld, stow it in a drawer or case to avoid knocks or scratches.
Summarize and get creative
Whether you’re embossing personal notecards or creating a signature seal for your brand, an embosser is a versatile tool that adds polish to your printed materials. Spending a few moments to find the right style and keeping it well-maintained ensures that you’ll have those unique raised impressions for years to come.
At Engineer Seal Stamps (ESS), we’ve helped everyone from hobby crafters to thriving businesses discover the power of a custom stamp and embosser. There’s something special about that tactile element, and we’re delighted to see so many people embrace it as part of their personal or business identity.
Frequently asked questions
-
What type of embosser is best for thicker cardstock?
Desk embossers generally offer more leverage, making them better for heavier materials. Handheld models can work too, but you may need to apply more pressure. Can I change the design on my embosser?
Many embossers come with interchangeable plates, so you can switch out the design rather than buying a whole new device. Check with your manufacturer for compatibility.What paper weight is ideal for embossing?
You can use nearly any paper that isn’t too glossy or coated. Standard printer paper, letterhead, and cardstock all work well. Test a sample first to avoid smudges or uneven impressions.How often should I clean my embosser?
A quick wipe after each use is great for removing fibers. You may need a deeper clean every few months if you’re using it daily.Can I use my embosser on materials besides paper?
Absolutely. You can emboss thin metal sheets, vellum, or even certain fabrics. Just be sure to test before working on your final piece to ensure a crisp impression.