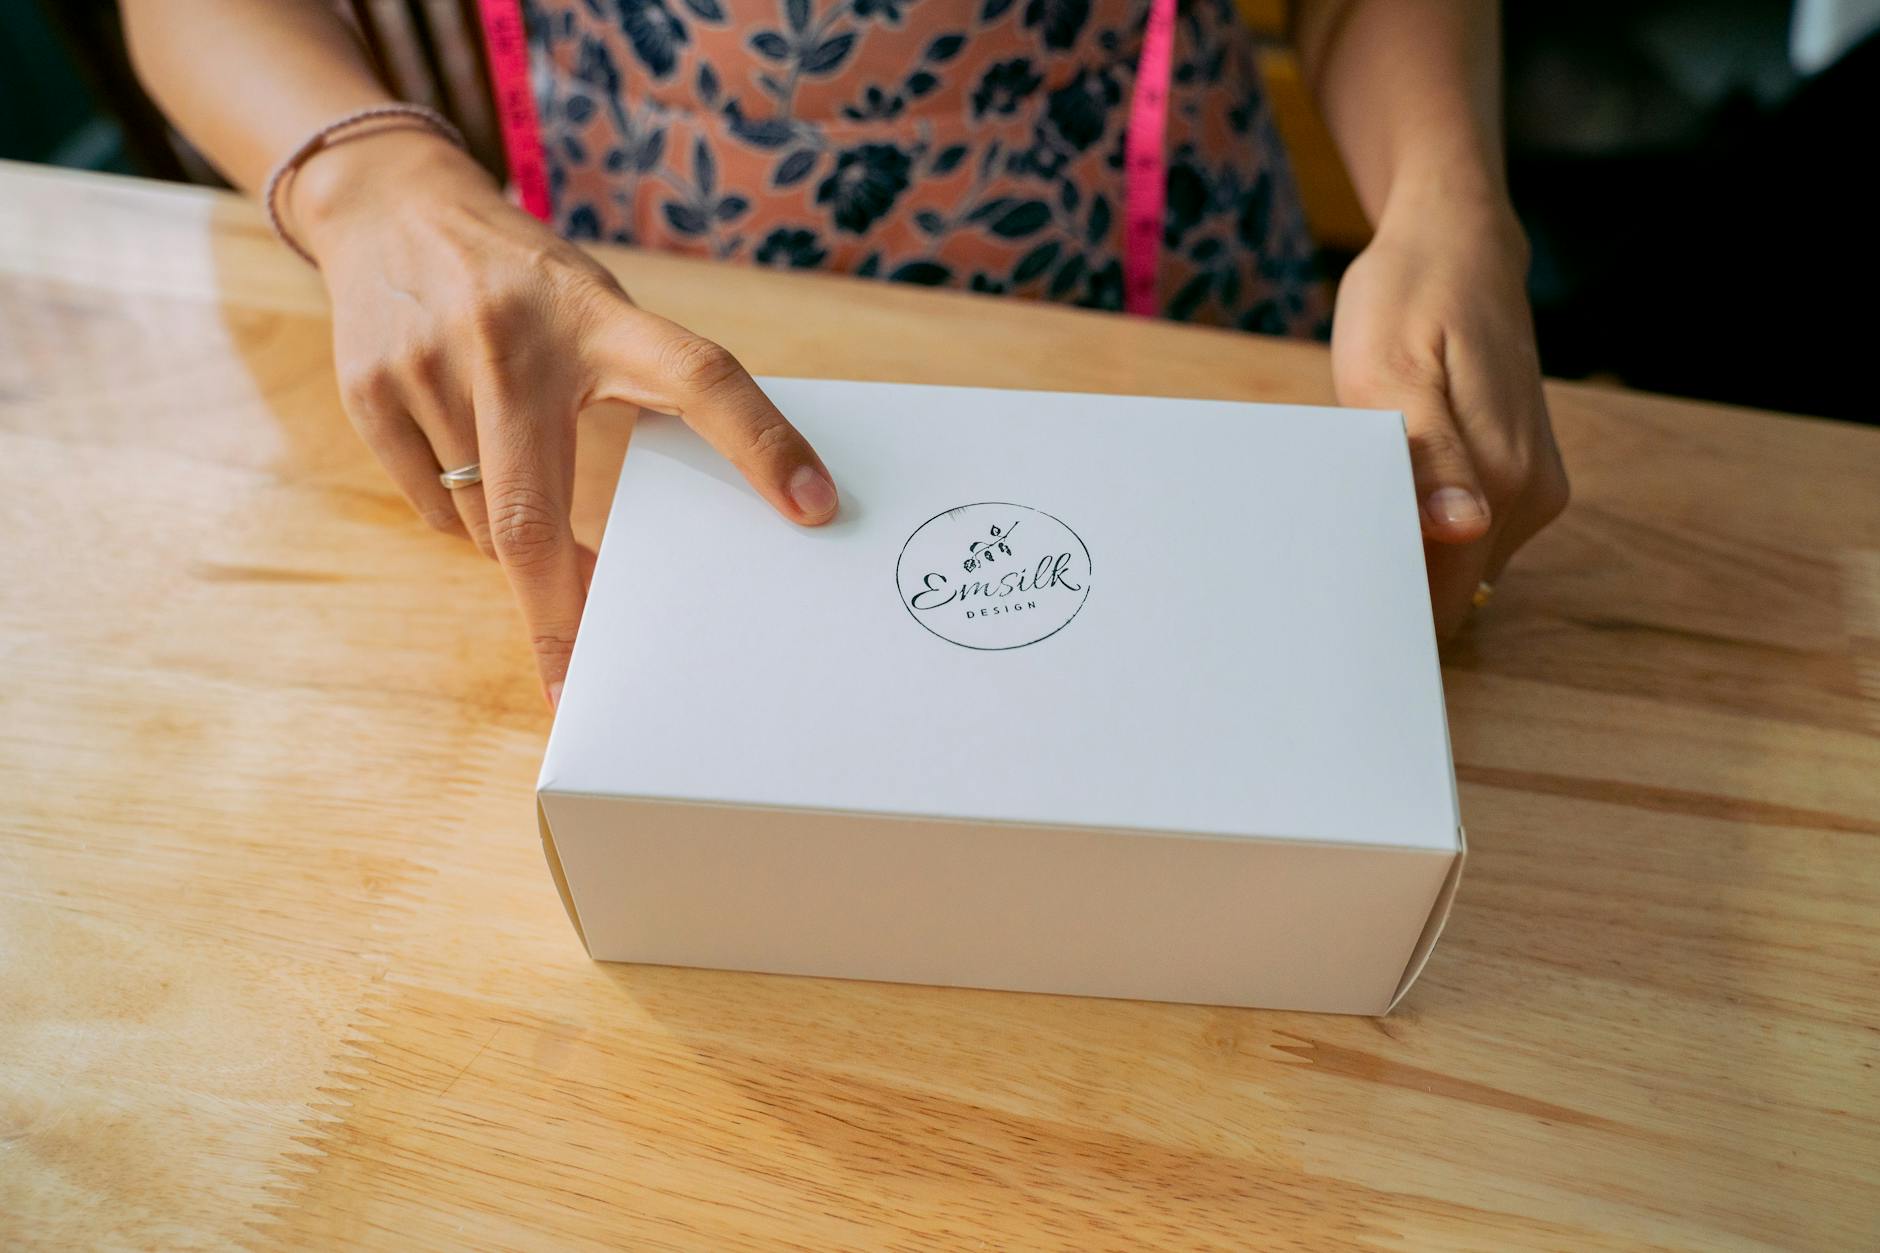
Have you ever carefully packed up your products, placed them in a neat little box, and still felt something was missing? That final touch of branding can make all the difference between an ordinary shipment and an extraordinary unboxing experience. If you’re looking to add personality, professionalism, and a memorable flair to your packaging, a logo stamp for packaging boxes could be exactly what you need. It’s budget-friendly, practical, and easy to use, whether you’re running a one-person Etsy shop or a growing small business.
To help you see why these stamps are so valuable, we’ll explore everything from the key benefits to design tips. By the end, you’ll have a clear idea of how to use a custom logo stamp, what materials will work best, and how to keep your branding consistent from your doorstep to your customers’ hands.
Why you need a logo stamp for packaging boxes
No matter how big or small your business might be, presentation matters. Think of the times you’ve received a package that looked generic, with no branding or special touch. You likely tossed the box aside without a second thought. Now, compare that to a package adorned with a well-placed stamp or creative design. Which one do you remember more?
A logo stamp for packaging boxes transforms regular cardboard into a brand statement. It shows that you’re intentional about your brand identity, sending the message that you pay attention to the small details. The stamp also has a very practical side. Pre-printed boxes can be expensive, especially if you need different sizes or designs. By using a single, well-crafted stamp, you can easily brand multiple types of boxes, envelopes, or tissue paper.
Beyond cost-effectiveness, custom stamping creates a consistent and cohesive feel. When your customers see your logo on the box, they know it’s from you before they even open it. That instant recognition is incredibly valuable, particularly as you build a reputation in your industry.
Still wondering if it’s worth it? Ask yourself: how do you want your customer to feel when they receive a package from you? If your answer involves words like “excited,” “impressed,” or “valued,” a logo stamp can help turn that vision into reality.
Key benefits of custom logo stamps
If you’re still on the fence about taking the leap, let’s break down some core benefits that a custom logo stamp can bring to your packaging.
Building brand credibility
The moment people see your logo prominently displayed, they get the sense that you’re a legitimate business. When every aspect of your packaging is cohesive, it spreads the message that you care about quality and professionalism. If you consistently stamp your branding onto each box, you reinforce the idea that your business is here to stay.
Brand credibility grows when people recognize your logo across multiple channels. If they’ve seen it on social media, they’ll instantly recall your products when they open their mailbox. You’re also showing that you’ve put thought into your packaging, conveying that you likely put the same level of care into the product itself.
Showing your uniqueness
Stamps give you a flexible, creative way to stand out. Rather than relying on cookie-cutter labels or mass-printed packaging, you can choose exactly how you want your logo to appear. It might be as simple as using a particular ink color that’s unique to your brand. Or you could pair the stamp with a fun tagline, a special pattern, or even a quick little message thanking customers for their purchase.
Your branding doesn’t have to be complicated to look professional. A minimalist design can look just as striking as elaborate artwork, especially if you maintain consistency across the board. The stamp itself is a practical tool, but it’s also an opportunity to showcase what makes your business different.
Designing your own logo stamp
So you’ve decided that a logo stamp for packaging boxes is on your must-acquire list. Where do you begin? Before you purchase a stamp, you’ll want to refine your design. This could involve choosing the right imagery for your business name, tagline, or emblem.
Simplicity is vital
While you want your logo to stand out, it’s best to remember that less is often more. Intricate details might look lovely on a computer design, but they can become muddled once transferred onto a stamp. Fine lines and details may not always translate well on rough surfaces like cardboard.
Try to pick a design that’s immediately recognizable, even if someone only sees the stamp for a quick moment. Larger, bolder text, clearly defined shapes, and limited lines can help guarantee that your stamp looks crisp every time.
Consider color and ink type
You’ll often see black ink used for logo stamps, and for good reason. It’s bold, legible, and stands out on light surfaces. However, you could explore other options that align with your brand. Dark blue, deep green, or even metallic shades could make an impact. Just double-check that the ink’s hue contrasts enough with your packaging so your logo can be easily read.
You’ll also want to consider the ink’s drying time. Some inks dry almost instantly, which is helpful if you need to stamp a large stack of boxes in one sitting. Others might smudge if you’re not careful or if you don’t give them a moment to set. Testing your ink type on the exact surface you’ll be using can save you a headache later.
Best materials for your logo stamp
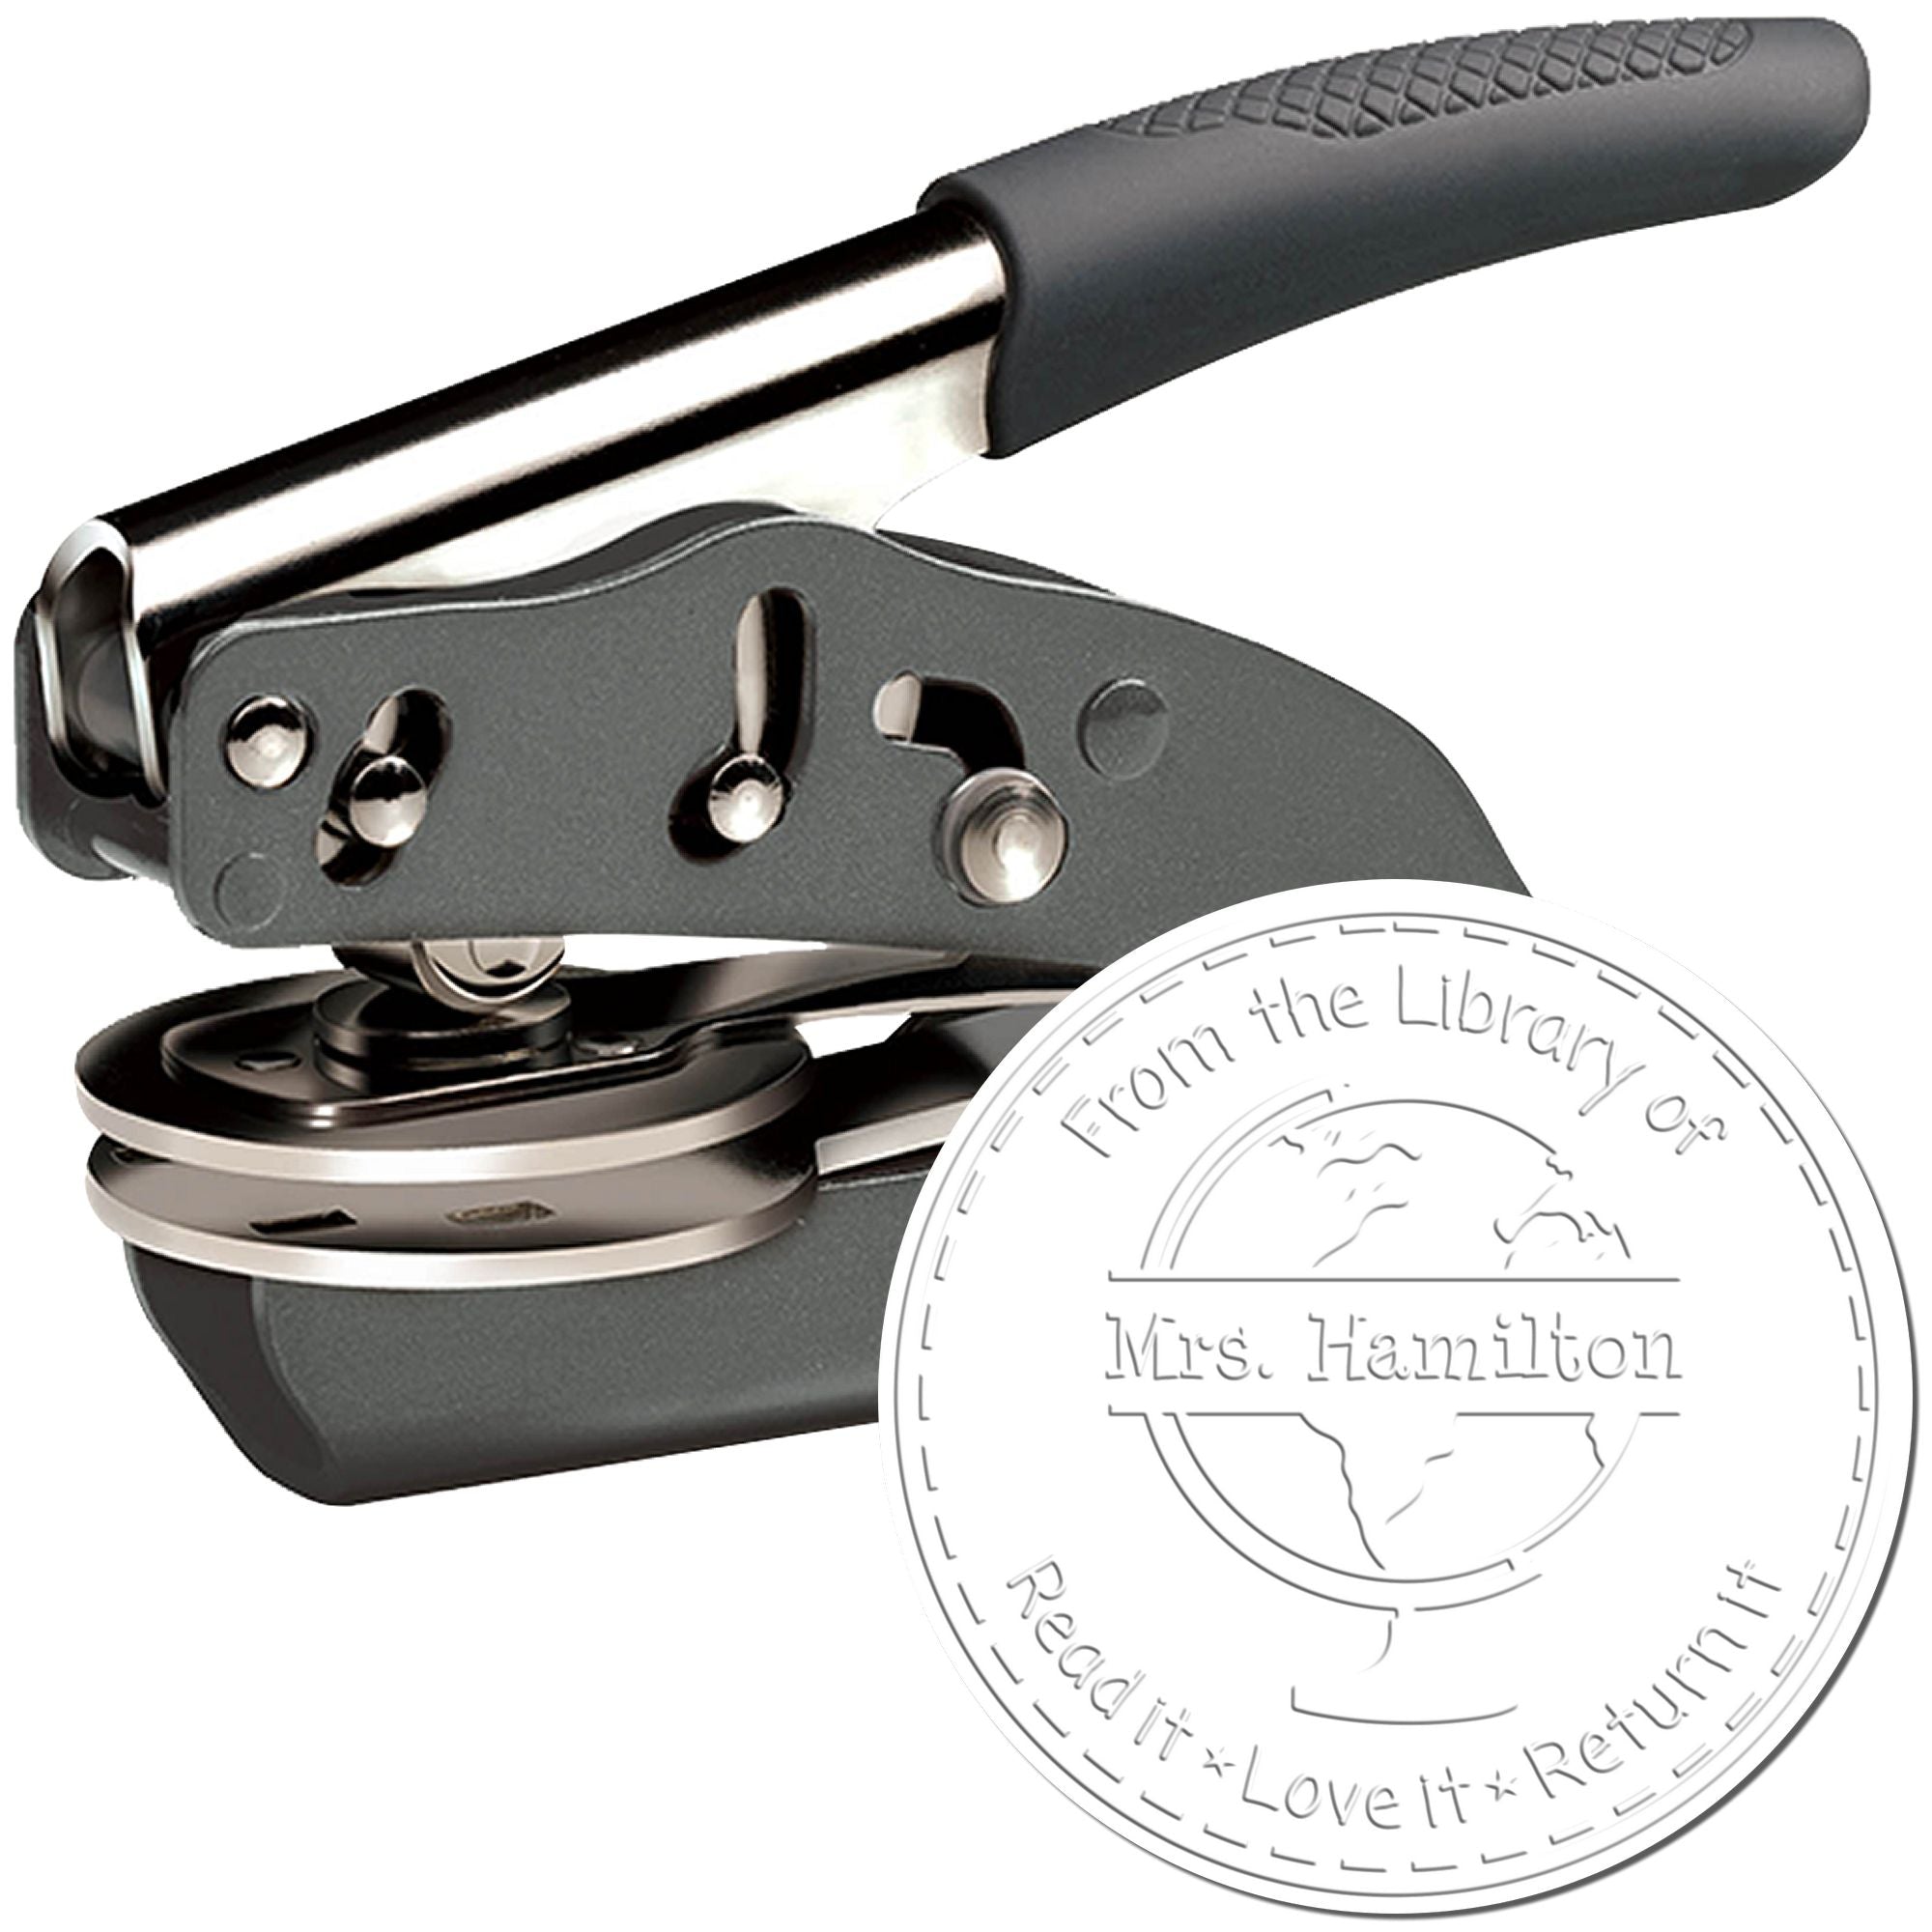
When it comes to having your logo turned into a physical stamp, there are typically two common choices: rubber and polymer. Each has its pros and cons, so let’s explore both to determine which might suit your business better.
Rubber
Rubber stamps are probably what you picture when you think of a traditional stamp. They’re carved or laser-etched, then mounted onto a wooden or acrylic block, providing a stable, firm stamping surface. Rubber stamps are known for their durability. If you care for them properly (cleaning off excess ink, storing them in a cool, dry place), they can last years without losing their clarity.
Although rubber stamps are usually a tad more expensive upfront, they’re a great long-term investment. They handle intricate designs fairly well, so long as the lines aren’t too thin. Because of their durability, rubber stamps can handle repeated usage, which is handy if you need to prepare a big batch of orders at once.
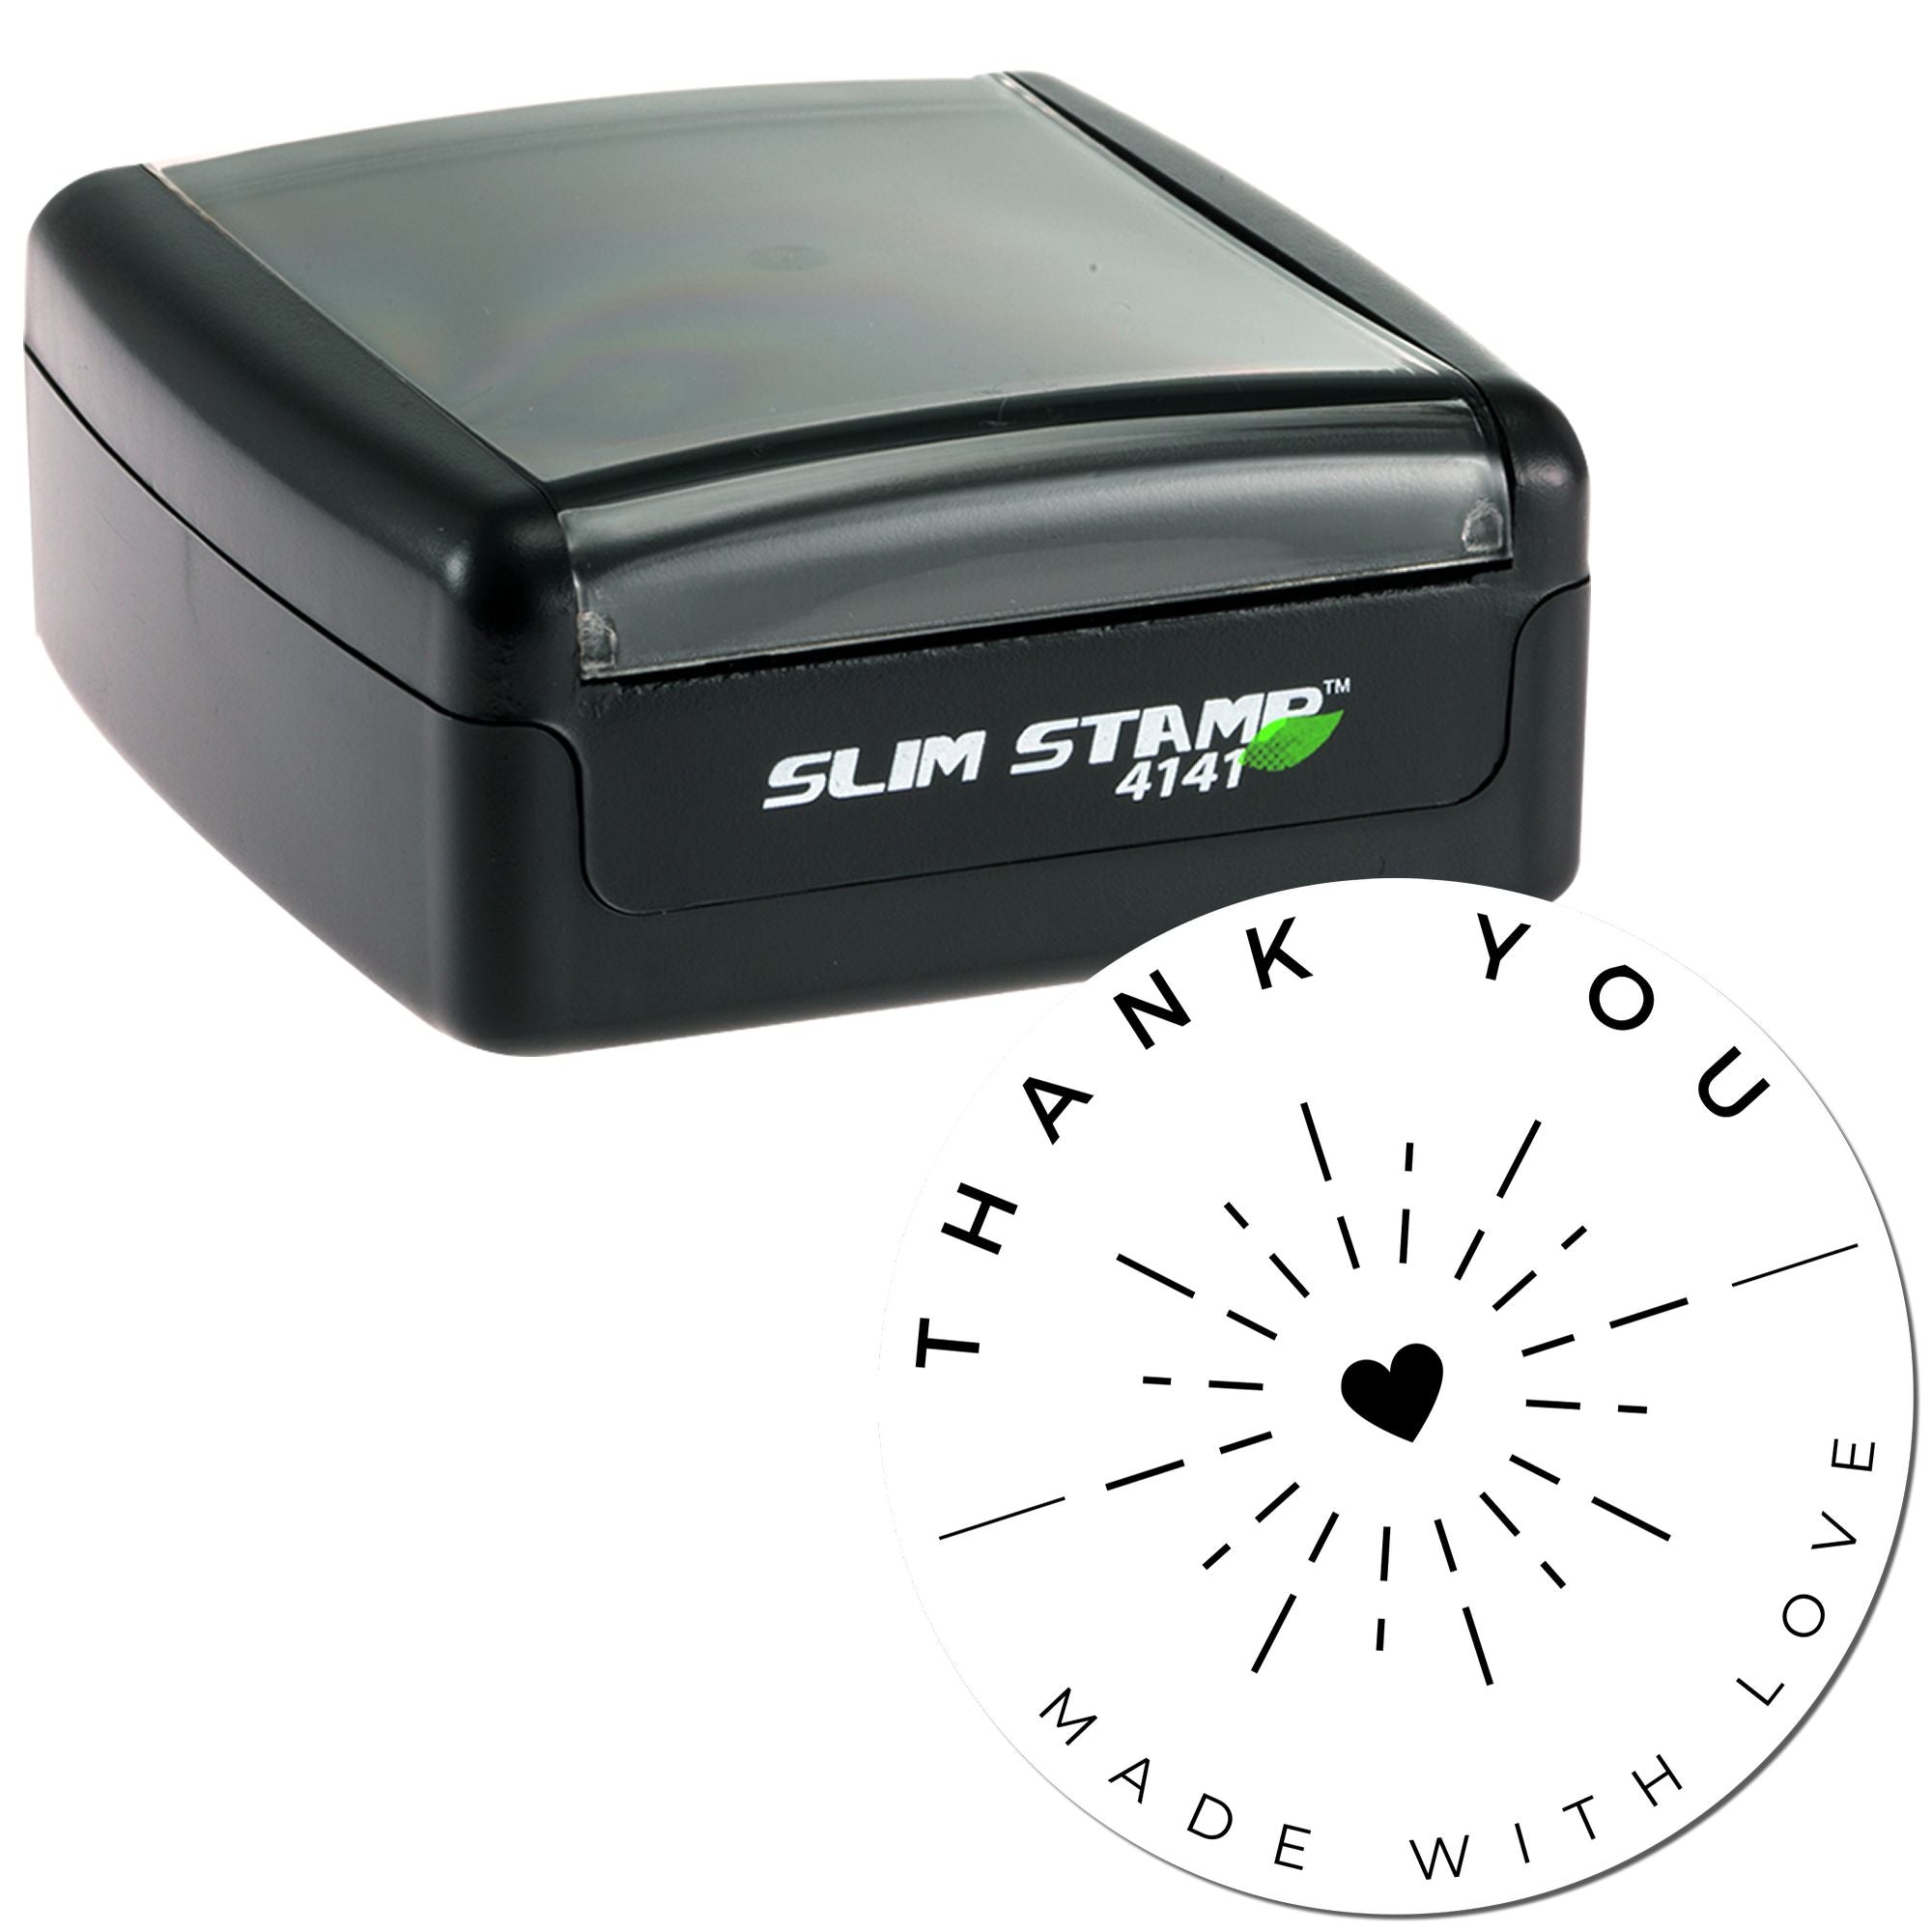
Polymer
Polymer stamps, sometimes called clear stamps, are transparent. This visibility can help you precisely place your design so you’re more likely to stamp exactly where you want. This is especially handy if you plan to mix multiple stamps, like a logo plus a small message. Polymer stamps often come with an acrylic block to stick them onto.
One downside is that polymer stamps can wear out faster if not cared for correctly. Too much scrubbing, or using the wrong ink, might degrade the material. Still, many small business owners love polymer stamps for their affordability and ease of placement. If you want maximum alignment control, polymer is a solid option to consider.
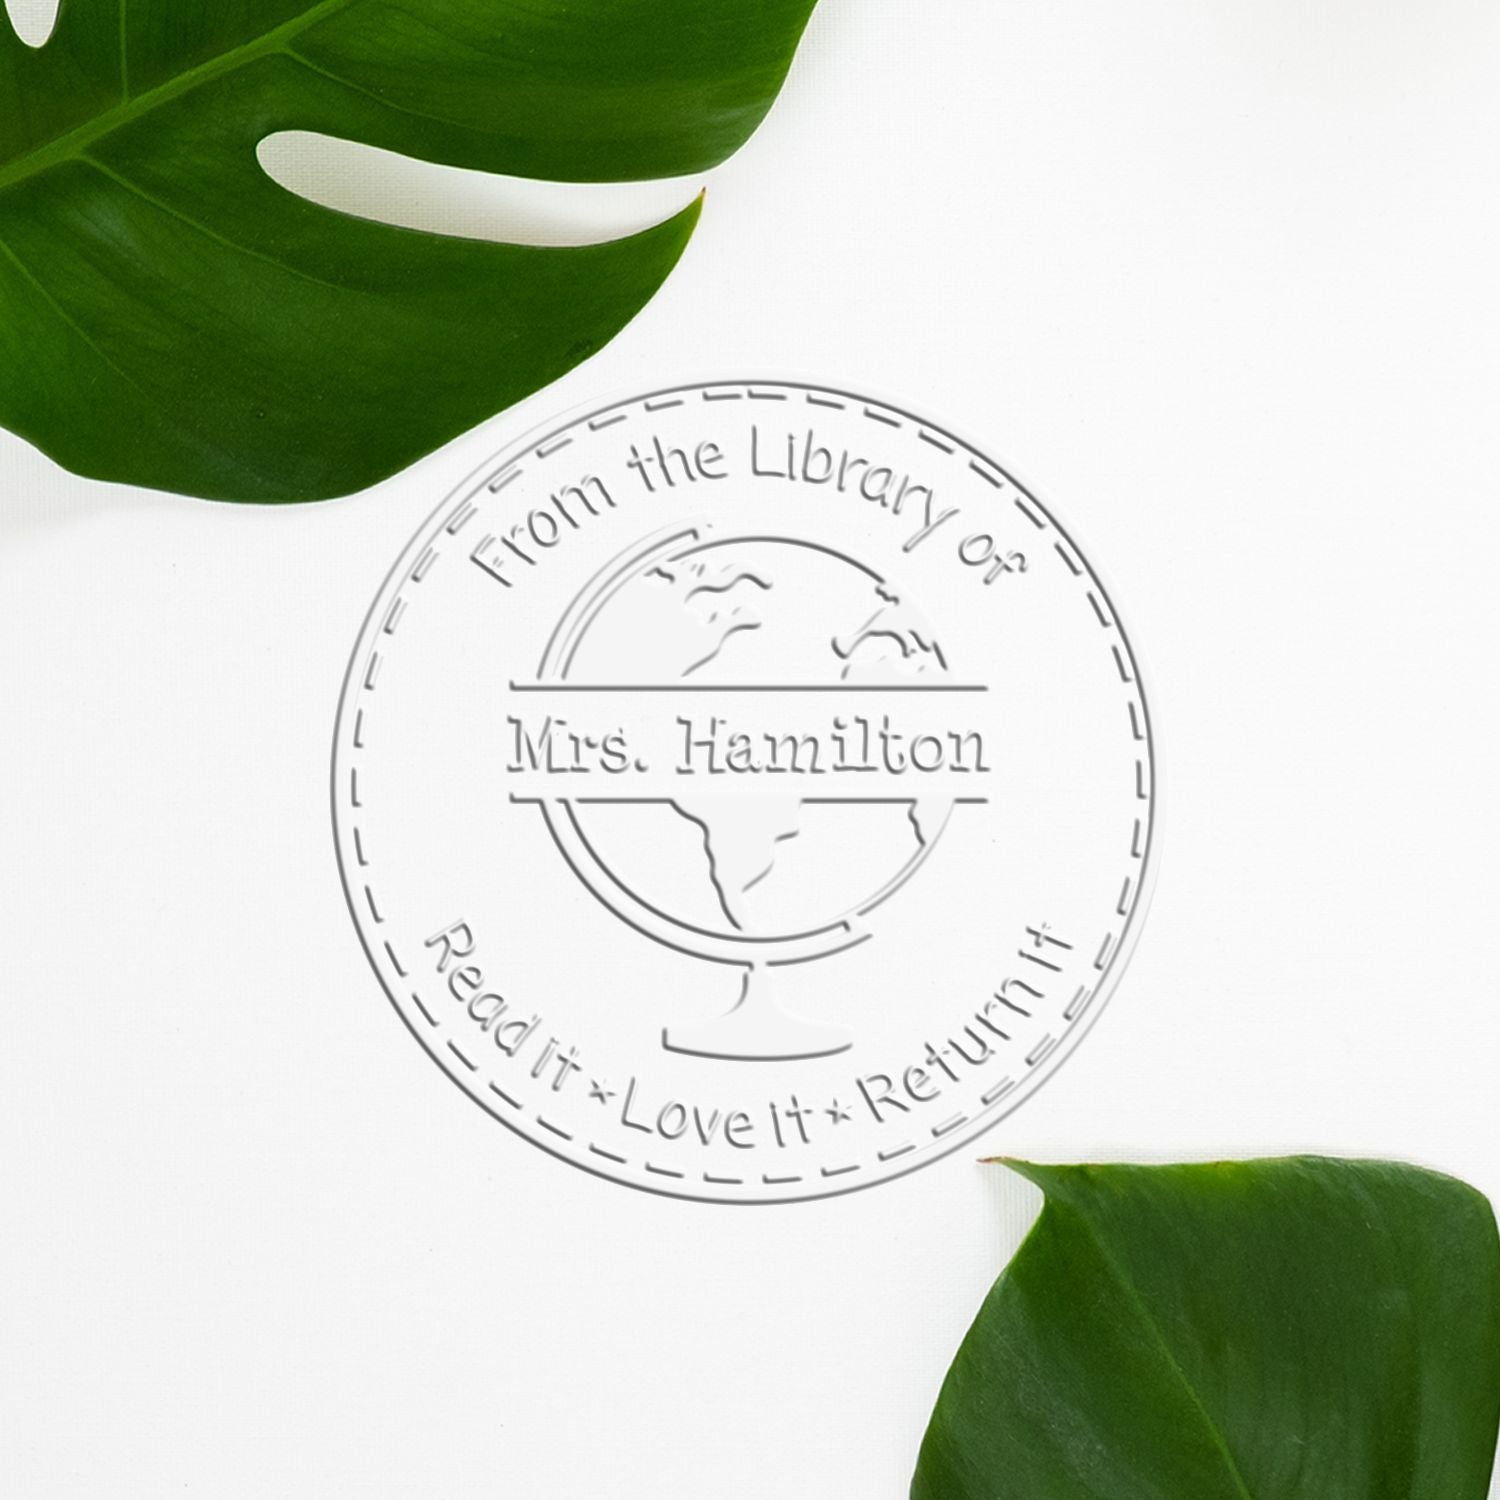
Where to place your logo stamp on packaging
Stamps let you get creative with placement and frequency. You could keep it super simple by stamping the top of each box, or you might get a little adventurous and add branding in multiple spots.
On the box top
Placing your stamp on top is the most straightforward approach. When customers open the mailbox or receive their delivery from the courier, the first thing they’ll see is your mark. This helps them recognize where their package came from before they even check the shipping label.
On the sides
For boxes that might be stacked or shelved, stamping at least one side or corner ensures brand visibility. This is especially helpful if your customers are retailers who might stock your product in a brick-and-mortar location. When someone glances at a stack of boxes, your logo is more likely to catch their eye.
On sealed flaps
If you’re someone who uses decorative washi tape, stickers, or interesting seals, a logo stamp on the flap can be a fun way to tie everything together. Picture a small business shipping a subscription box or a curated gift set. The moment the flap is opened, your logo is front and center. It’s a small but impactful way to add excitement and keep your brand memorable.
Using your logo stamp for creative marketing
Stamping a simple logo is great, but why not take it a step further? You already have the stamp in hand, so you can use it for extra marketing touches that go beyond the shipping box.
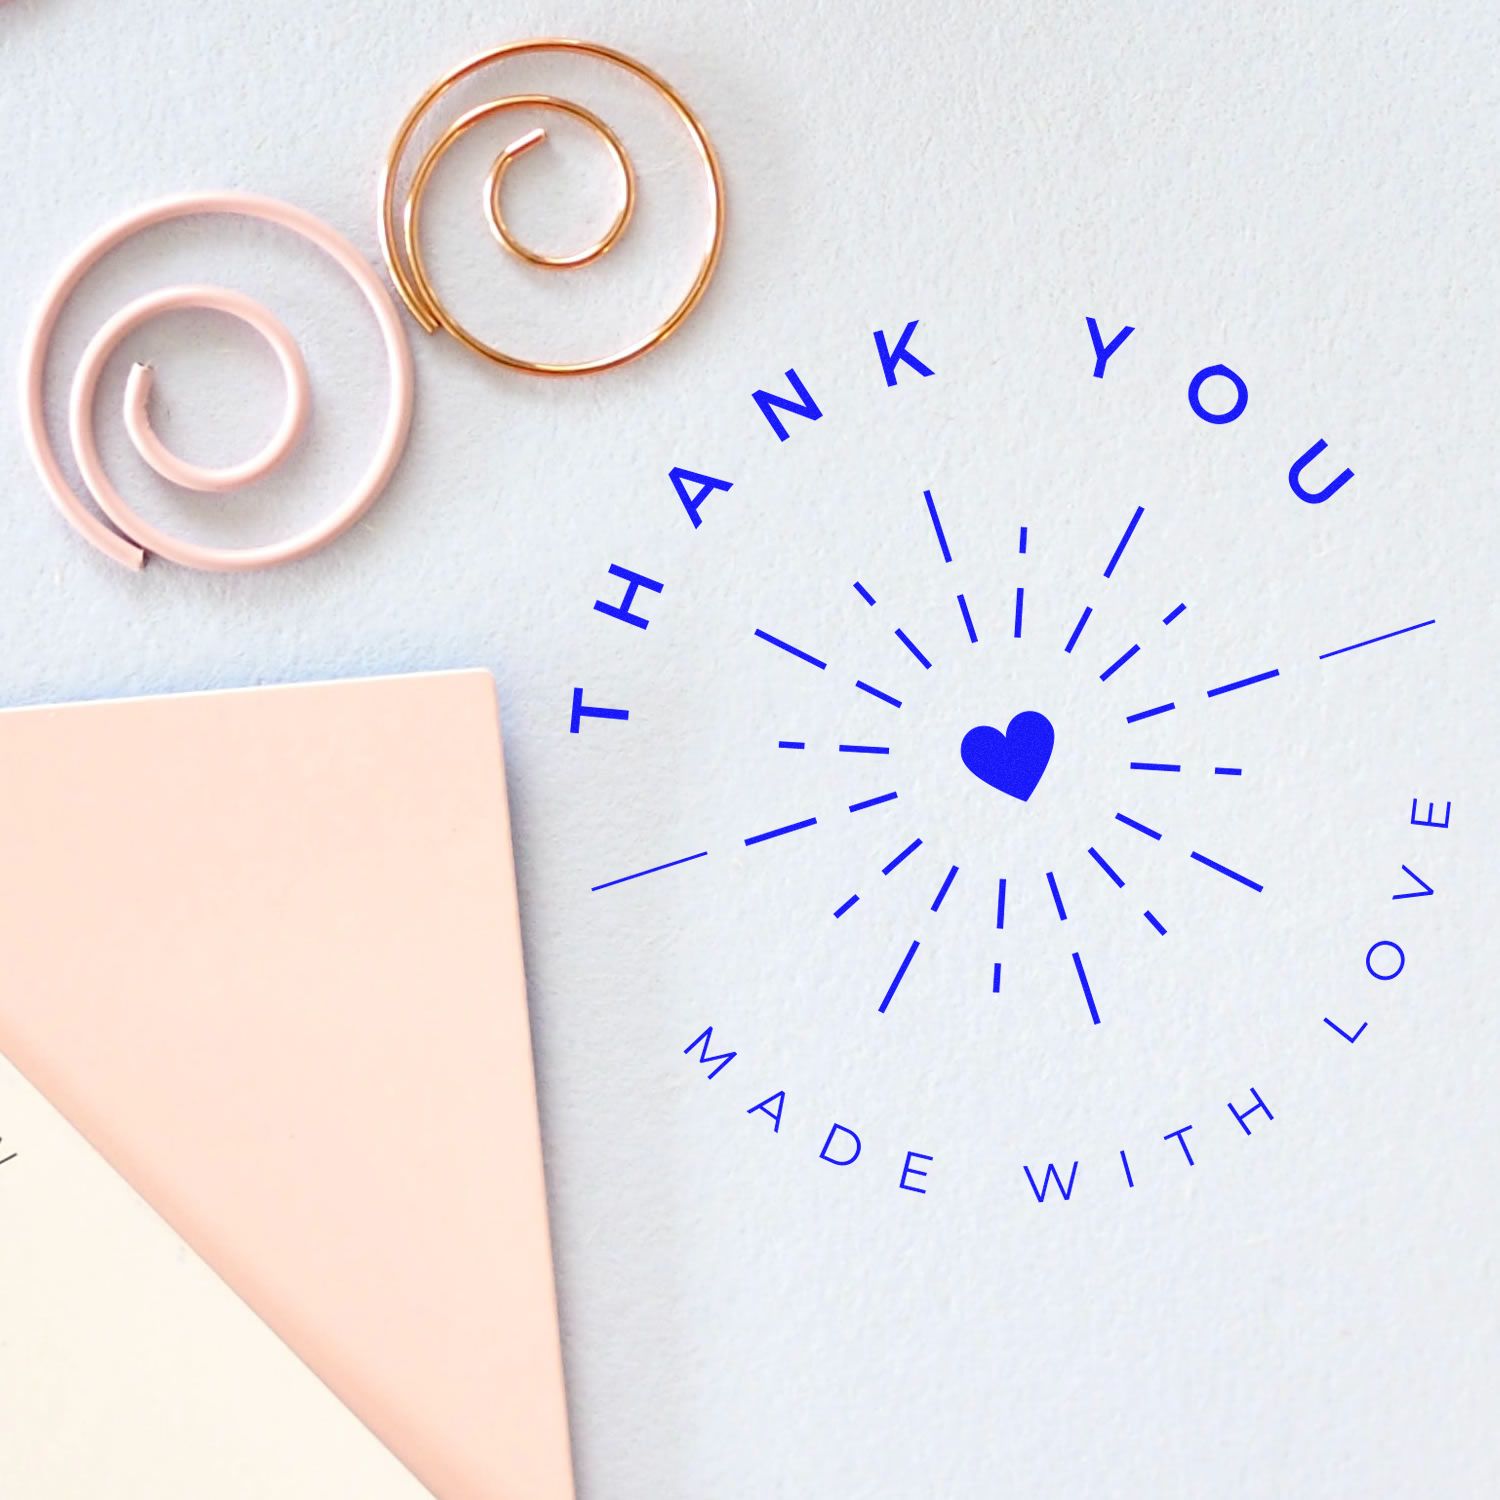
Add personalized notes
A handwritten or printed thank-you note feels thoughtful, but it can become a bit more special if you include your logo. You might stamp the corner of the note or the envelope holding a small discount code. This kind of detail makes your message feel cohesive and genuine, reinforcing your brand in the customer’s mind.
You could even combine your logo with a short personalized message, like “Hand-packed with love by [Your Name].” That sense of personal connection can encourage repeat business. Customers love to feel like they’re supporting a real person behind the brand, especially when the packaging shows that you’ve personally handled their order.
Use seasonal or holiday themes
During certain holidays, you can dress up your packaging by pairing your main logo stamp with festive mini-stamps. For instance, around the winter holidays, you could add a small snowflake or pine tree next to your logo. For a spring promotion, maybe a flower or bunny-themed stamp would do the trick. This slight shift in your packaging can demonstrate that you’re playful and paying attention to seasonal joys.
You can also incorporate limited-time marketing campaigns. If you launch a new product line, consider a “Special Edition” stamp or tagline to place near your logo. As your promotions change, you can either give your customers a brand-new unboxing experience or reinforce the messaging of your ongoing campaign.
Step-by-step guide to stamping
If you’re wondering how to get that crisp, professional look without messing up your boxes, here’s a straightforward process:
Test your surface: Cardboard, paper mailers, and glossy boxes may respond differently to various inks. Before stamping all your boxes, test an extra piece of the same material to ensure your chosen ink looks good and doesn’t smudge.
Prep your stamp and ink pad: If it’s a brand-new stamp, rinse off any residue with a little water (just a light dab) and let it dry fully. Make sure your ink pad is well-inked but not overly saturated.
Practice your pressure: Try a couple of test presses on scrap material to see how much force you need. Too little pressure might result in a faint image, while pressing too hard can distort the design.
Stamp in a single motion: Align your stamp where you want it, then press down firmly and lift straight up. Rocking or smudging might warp the final image.
Let it dry: Depending on your ink, it may take just a few seconds or a minute to dry. Avoid stacking stamped boxes on top of each other to prevent smearing.
Clean your stamp: After each stamping session, wipe off excess ink or residue with a damp cloth. This helps your stamp last longer and ensures sharper results next time.
By following these steps, you’ll get a crisp imprint almost every time. If something doesn’t come out perfect, don’t worry. Imperfections can actually add a handmade, personal touch that customers might find charming.
How to maintain your stamp
Caring for your stamp is crucial if you want consistent, long-lasting results. Proper cleaning removes ink before it has a chance to set in, keeping the details of your design clear.
- Use a mild stamp cleaner or gentle soap and water. Avoid harsh chemicals or scrubbing with abrasive materials.
- Pat it dry with a lint-free cloth or let it air-dry fully before storing.
- Keep your stamp in a cool, dry area where it won’t be exposed to direct sunlight or excessive heat. Too much sun can damage the rubber or polymer.
If you find that your stamp isn’t working as well as before (perhaps it’s not picking up ink evenly), check for any residual ink or tiny dust particles. A quick cleaning session often fixes the issue. When you take good care of your tools, you’ll thank yourself every time you watch your crisp logo appear on a fresh box.
Choosing your stamp provider
So, where do you actually get a custom stamp? While you can find many off-the-shelf DIY or online options, it’s worth looking for a specialized provider who knows their stuff. Some shops let you upload your own design, confirm its feasibility, and then produce a stamp specifically cut to your needs. Others offer design setup services if you need a bit more help converting your logo to a stamp-friendly format.
When choosing a provider, ask about:
- Material quality: Do they use high-grade rubber or polymer?
- Durability: How many impressions can the stamp handle before it might need replacing?
- Support: Are they willing to assist if your design needs tweaking?
- Turnaround time: How quickly can they deliver your custom stamp?
- Pricing: Do they charge extra fees for revision or design checks?
Reputation matters. Check online reviews or ask others in similar industries about their experiences. If you’re serious about stamping large volumes or if you plan to expand your product line, a professional, experienced stamp maker can become a vital long-term partner.
Getting started with Engineer Stamps
At Engineer Stamps (sometimes called ESS by long-time customers), we’re all about helping independent makers and small businesses elevate their packaging game without breaking the bank. We’ve seen firsthand how a clean, well-executed logo stamp can transform an unassuming box into a memorable unboxing experience. Our approach is simple: you bring the inspiration, we handle the hard part of crafting a reliable, high-quality stamp.
If you’re unsure how your logo will look as a stamp, we can guide you through every step. We can help determine whether a rubber or polymer stamp will better suit your design and workflow. We can even discuss the best ink options to help your brand colors pop.
Those first impressions matter, and a logo stamp is one of the easiest ways to ensure your brand stands out in a crowded marketplace. Whether you want a small, discreet logo or a bold statement piece for those bigger boxes, ESS can help turn your vision into reality. With just a bit of preparation and the right tools, your boxes can say, “Yes, this is our brand,” from the moment they arrive on your customer’s doorstep.
—
Below, you’ll find some of the most common questions people ask about using a logo stamp for packaging boxes. If you don’t see your question here, feel free to reach out. We’re always here to help.
Frequently asked questions
Can I use multiple colors with my logo stamp?
Absolutely. Some businesses stick with one color for a consistent look, but you can easily switch to different ink pads if you want variety. Just be sure to clean your stamp before changing colors so you don’t mix inks. Experiment on spare materials to see which color schemes best reflect your brand.How do I make sure my stamp design is readable on textured boxes?
Textured or corrugated cardboard can sometimes soak up ink or cause partial imprints. One solution is to use a slightly thicker ink that’s designed for porous surfaces. You can also try flattening out the packaging area before stamping. Testing is important. Stamp a few sample boxes, then adjust your pressure or ink to get cleaner results.Is it better to stamp my boxes before or after I fill them?
Either way can work. Some people find it easier to stamp flat, unassembled boxes, letting them dry before folding and filling. Others prefer to stamp the box once it’s already sealed so they can center the logo precisely. If you’re stamping after sealing, just be careful of any bumps or edges that could distort the stamp.What if my logo has fine lines and tiny details?
Fine lines can look great digitally, but they might blur when stamped if the design is too detailed. You may want to simplify the artwork slightly for a cleaner impression. Engineer Stamps can help you determine the right level of detail or suggest an optimal size to help maintain crisp lines.Will a stamp work for plastic or glossy packaging?
It can, but you might need a fast-drying, permanent ink that’s specifically formulated for slick surfaces. Regular water-based inks often smudge on glossy materials. Ask your stamp provider about ink recommendations for non-porous surfaces if that’s part of your packaging strategy.How many boxes can one stamp handle before wearing out?
This depends on factors like material quality and how you maintain it. A well-made rubber stamp can often handle thousands of impressions. If you keep it clean and stored properly, it’ll last longer. Polymer stamps can also be quite durable, though they may wear out a bit sooner with heavy use. In general, you should expect to get plenty of mileage before noticing any significant decline in quality.
—
A quality logo stamp is a straightforward yet powerful branding tool, and it doesn’t take a huge investment to see the impact on your packaging. Customers appreciate when you’ve clearly put care into both your product and its presentation. Whether you try bright colors, pair your logo with a short message, or keep it minimal, well-placed stamping can be that personal touch that sets you apart.
If you’re ready to enhance your packaging experience, we at Engineer Stamps are here to make it happen. Logo stamps offer simplicity, professionalism, and custom flair in equal measure. Go ahead, give your boxes a creative boost and let your brand’s personality shine every time you ship a product. Your business deserves to leave a truly memorable first impression, one stamp at a time.