A logo stamp for product labeling might seem small at first glance, but it can make a big impact on how people perceive your brand. Whether you sell homemade pastries or handcrafted skincare, a custom stamp helps you keep costs down while adding a personal touch to your packaging. It also offers speed and consistency if you’re labeling multiple products in one sitting. In this guide, you’ll learn everything you need to know about picking the ideal logo stamp, preparing your artwork, and stamping in a way that looks professional and holds up over time.
By the end, you’ll understand why a logo stamp is a straightforward tool with the power to showcase your brand identity. You’ll also have tips on materials, care, design, and more, so you can feel confident choosing the perfect stamp the first time around. Ready to jump in?
Understand why a logo stamp matters
A logo stamp might be one of the most overlooked tools for small businesses. Yet it’s the kind of subtle branding element your customers will remember. When you use a consistent and recognizable stamp, you create a link between the product in someone’s hand and the professional image of your small business.
The brand connection
Imagine unboxing a handmade candle. If the label has a crisp, clearly stamped logo, you instantly feel like the maker put thought and care into it. That personal flair forms a bond with your buyer, letting them see that your brand is more than just a product on a shelf. It’s that sense of handcrafted authenticity that sets you apart from mass-produced goods.
A logo stamp for product labeling helps you maintain that connection, especially when you use it across multiple items—think boxes, paper bags, small tags, or even the tissue paper you wrap the product in. Each time a customer sees your logo, they’re reminded of your business story. Over time, this recognition builds loyalty and trust.
Cost-effective marketing
Big marketing campaigns can be expensive. If you’re just starting out or running a smaller operation, it’s not always feasible to pay for printed packaging or fancy sticker rolls. A simple stamp with your logo can offer a more affordable option. Instead of ordering short-run prints (which can be pricey), you can stamp each package by hand. This approach keeps costs low, but still gives you that professional, uniform look across your products.
Easy to update
Sometimes a business rebrands or updates its logo. When you rely on pre-printed packaging, you might be stuck with hundreds of old boxes or labels you no longer want. With a stamp, you can adopt the new design without losing all your existing supplies. Simply change the stamp itself, and you’re ready to continue labeling. That flexibility lets you stay agile and fresh while minimizing waste.
Choose the right stamp material
Before diving into design or sizing, it’s important to figure out what type of stamp fits your needs. There’s no one-size-fits-all solution. Different materials and stamping mechanisms can influence the final look and how quickly you can label your products.
Rubber stamps
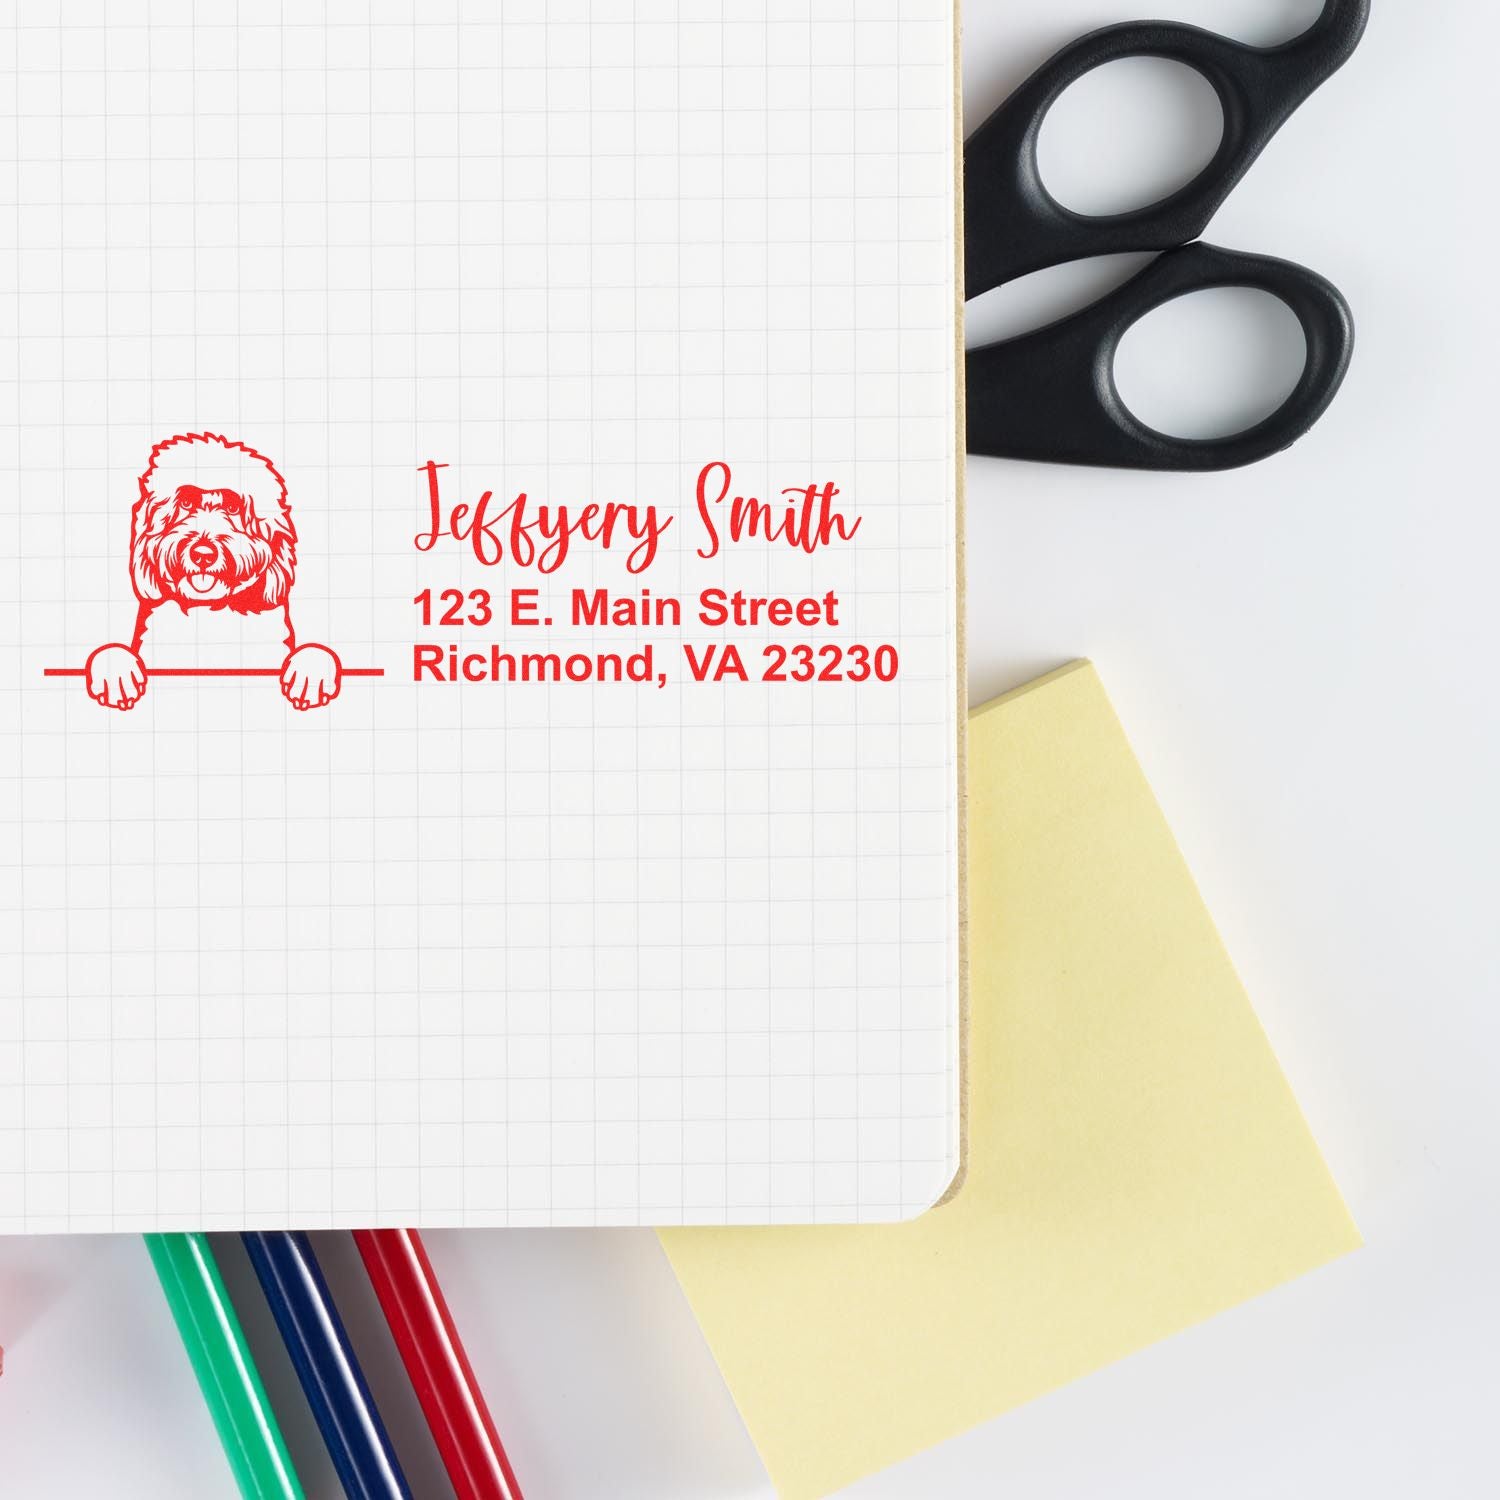
Rubber stamps are among the most traditional options. They’re often mounted on a wooden or plastic handle, and they’re loved for their durability and cost-effectiveness. You’ll need a separate ink pad for rubber stamps, but that also means you can choose from a wide variety of ink colors. If you like to experiment with metallic ink or special shades, a rubber stamp gives you the freedom to swap out colors whenever you want.
- Pros: Usually budget-friendly, simple to replace if they wear out, flexible color choices.
- Cons: Requires a separate ink pad, can get messier if you’re not used to handling ink.
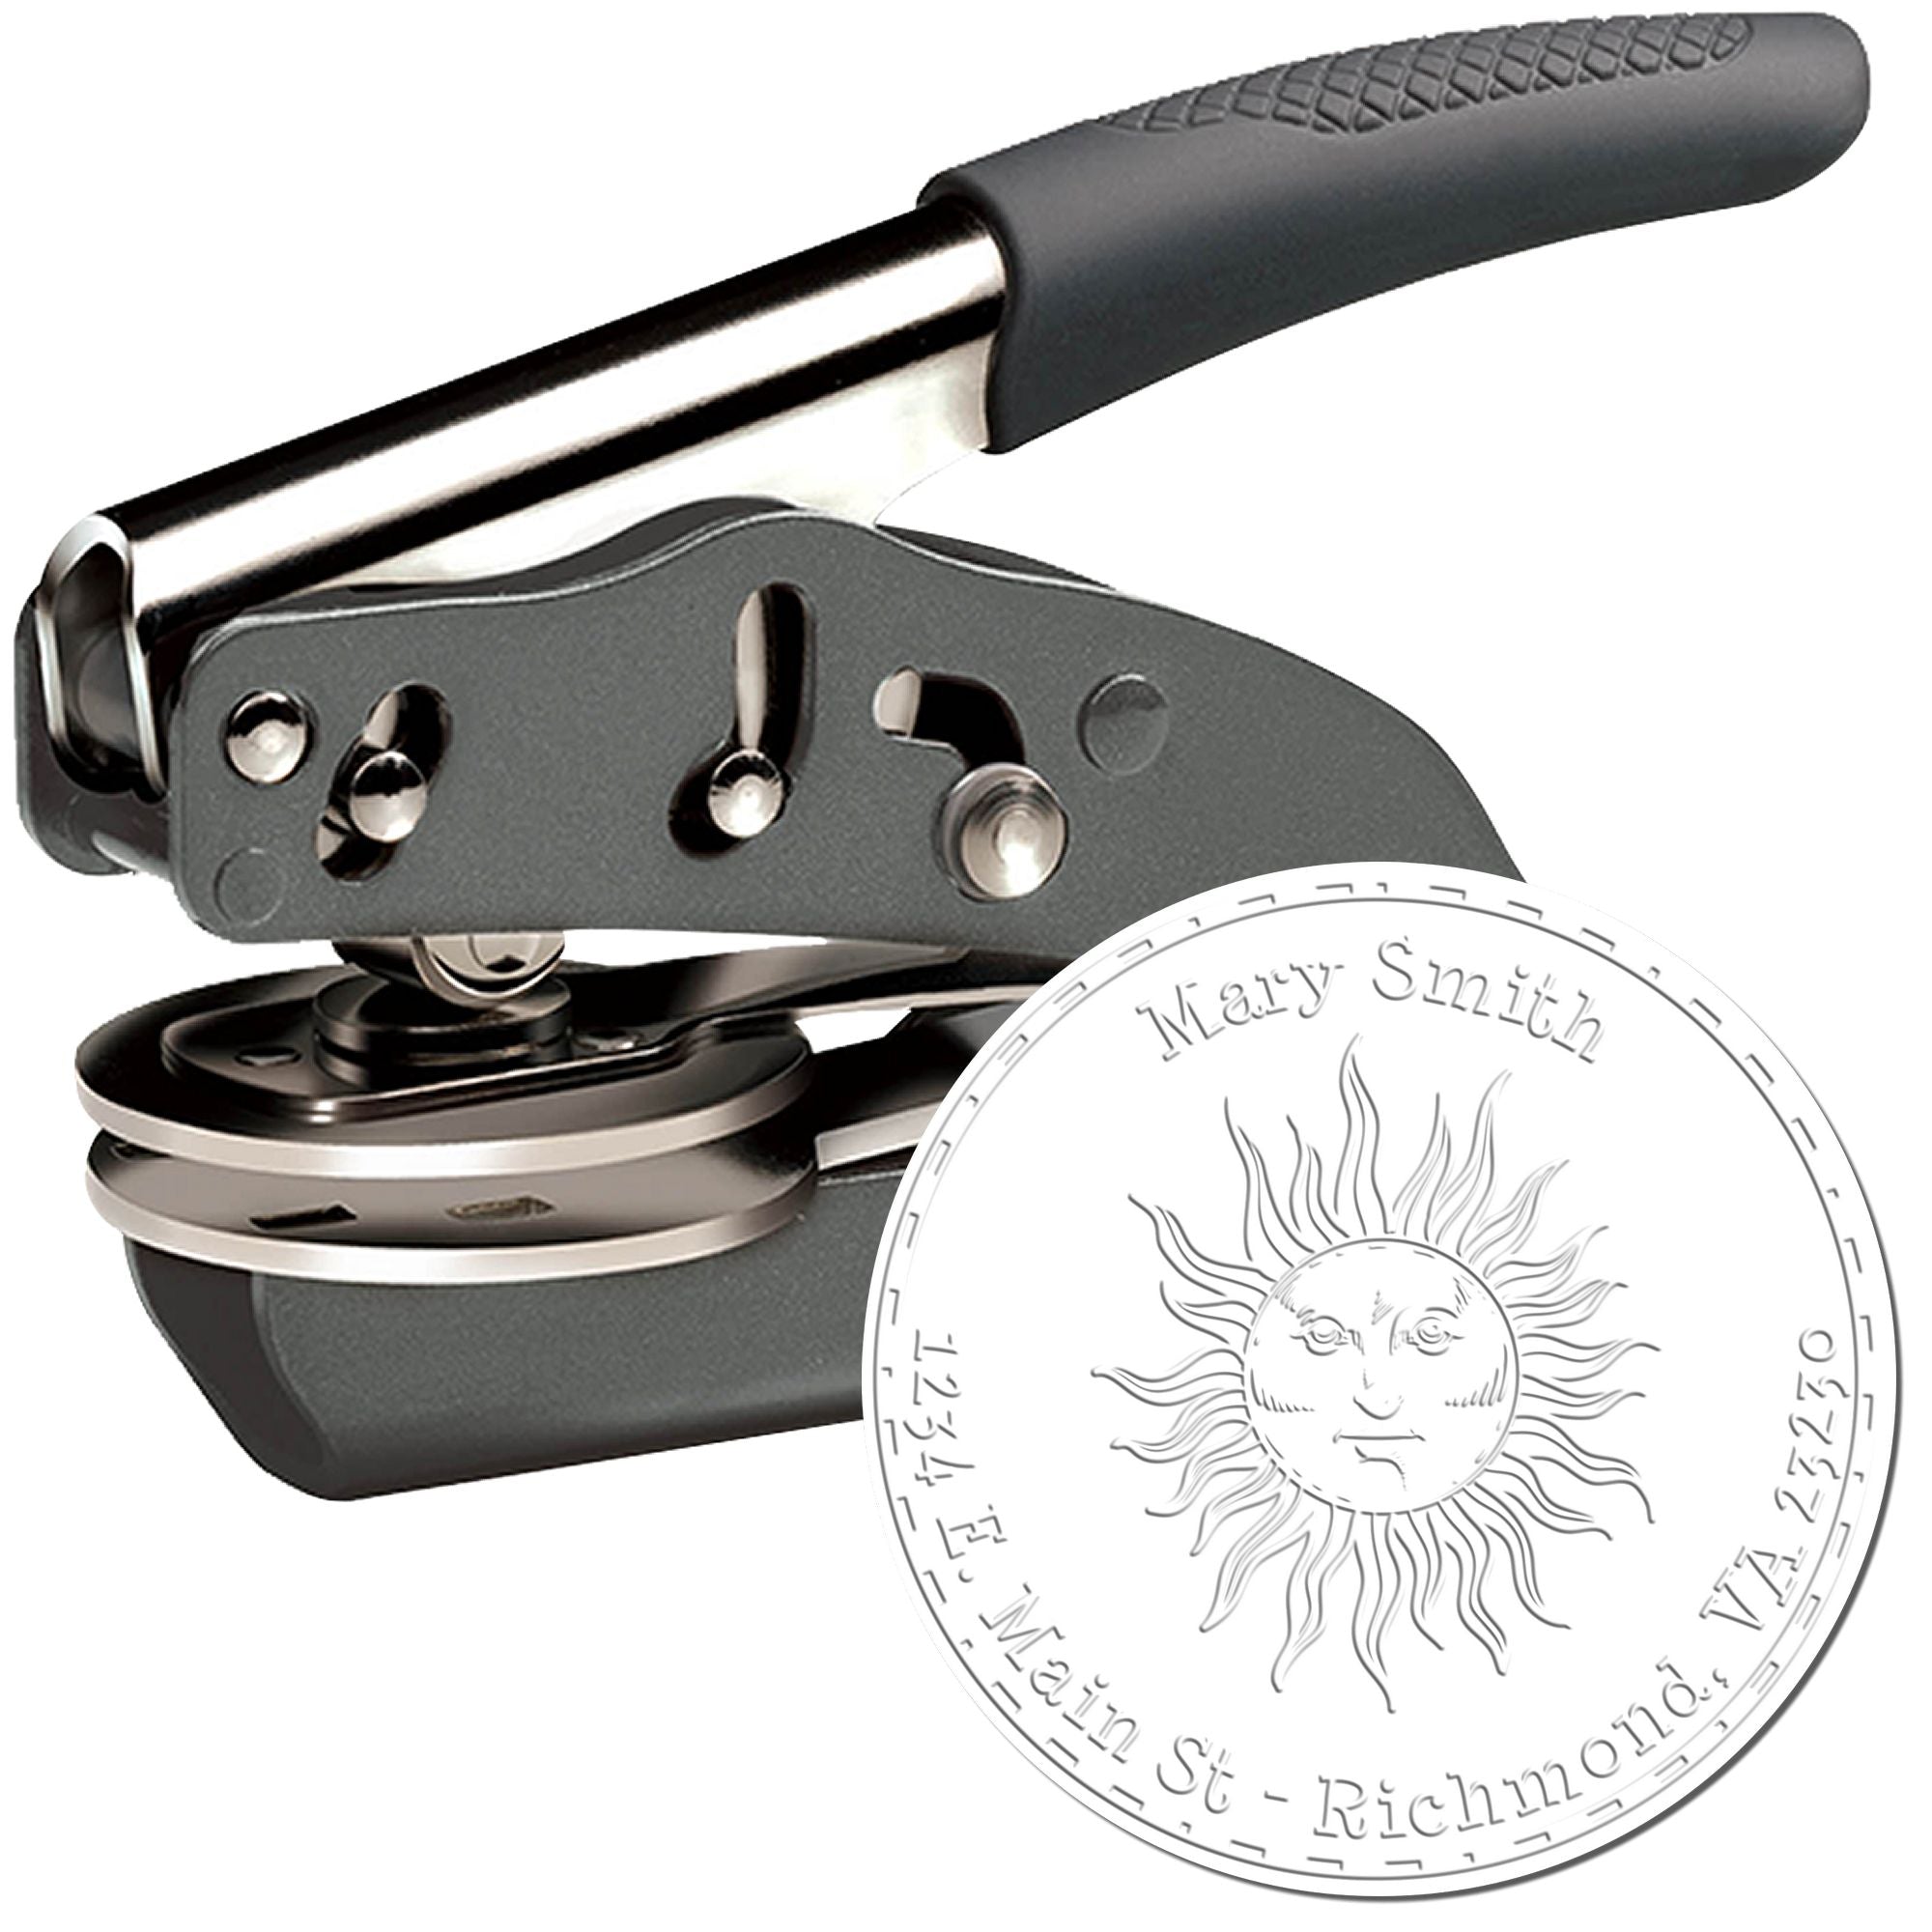
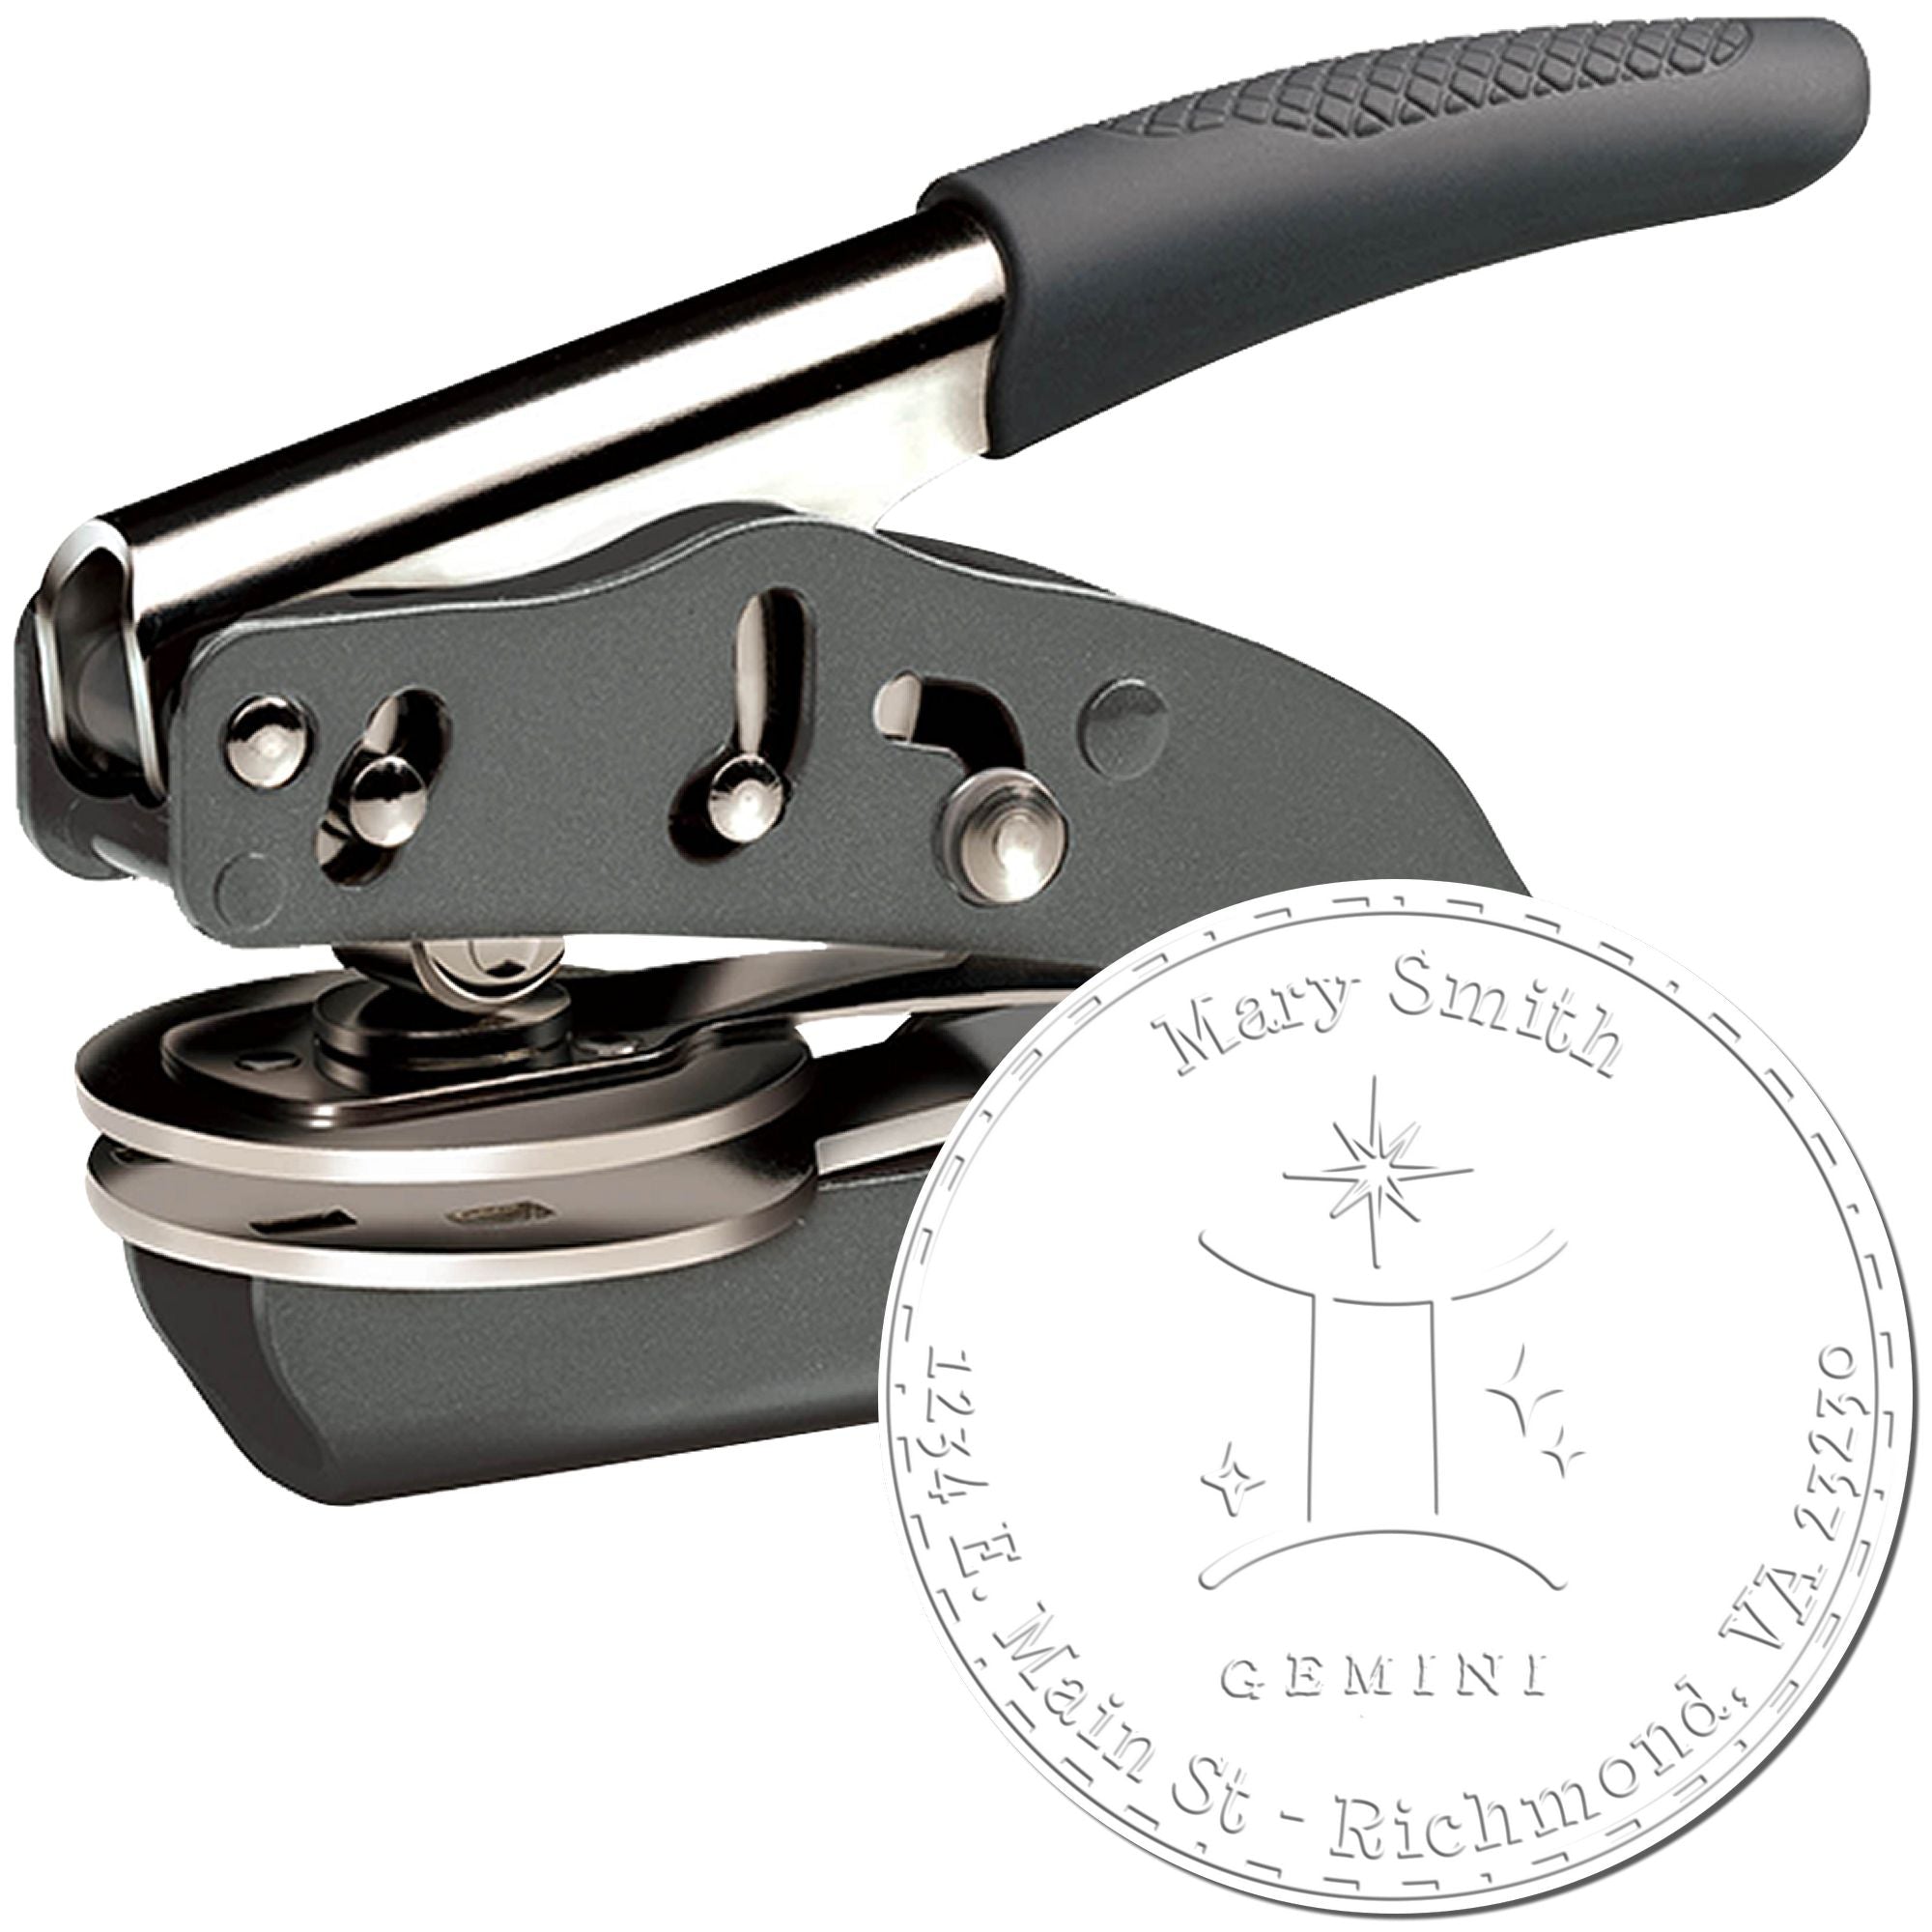
Self-inking stamps
Self-inking stamps take convenience up a notch. The stamp is housed in a mechanism that automatically re-inks the die after each press. If you’re labeling a large batch of products—say, dozens or hundreds at once—a self-inking stamp can save you time, because you don’t have to pause and re-ink manually.
- Pros: Speedy application, cleaner to use, consistent impressions.
- Cons: Limited ink color options, tends to dry out if unused for long periods.
Pre-inked stamps
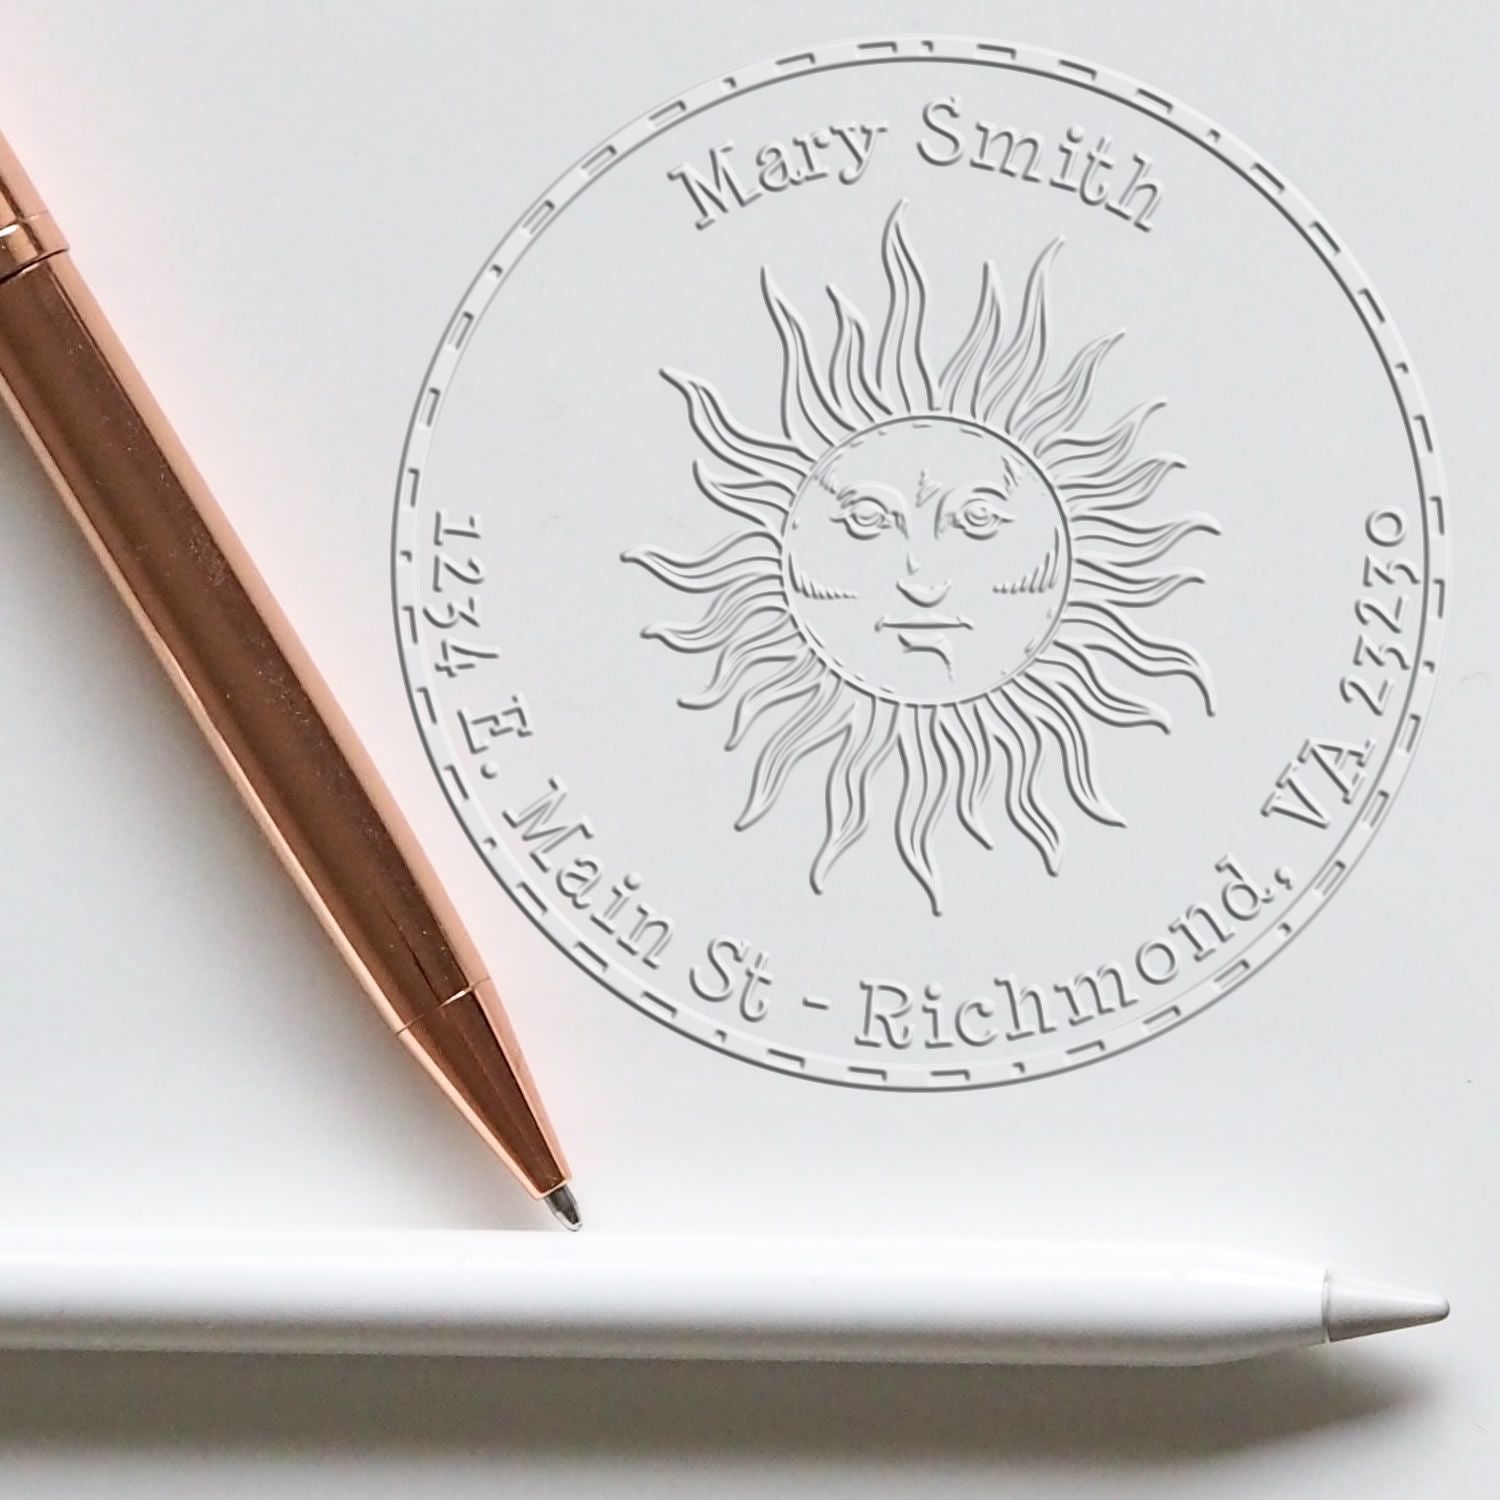
Pre-inked stamps differ from self-inking ones in that the ink reservoir is integrated directly into the stamp surface. You get crisp, clean impressions and can often make many impressions before needing a refill. This style is known for sharp detail, which can be particularly useful if your logo has fine lines or small text.
- Pros: High-quality impressions, can handle detailed designs, less chance of misalignment.
- Cons: More expensive than rubber or self-inking stamps, limited ink color range.
Specialty stamps
Sometimes you need materials beyond standard rubber, especially if you’re stamping on unusual surfaces or you want a specific artistic effect. Foam stamps and polymer stamps are two options that work well with certain inks and surfaces. They might be less common, but they can be quite helpful if your product demands something out of the ordinary.
- Pros: Great for unconventional materials, unique textures, or creative finishes.
- Cons: May be pricier, might need special inks or cleaning steps.
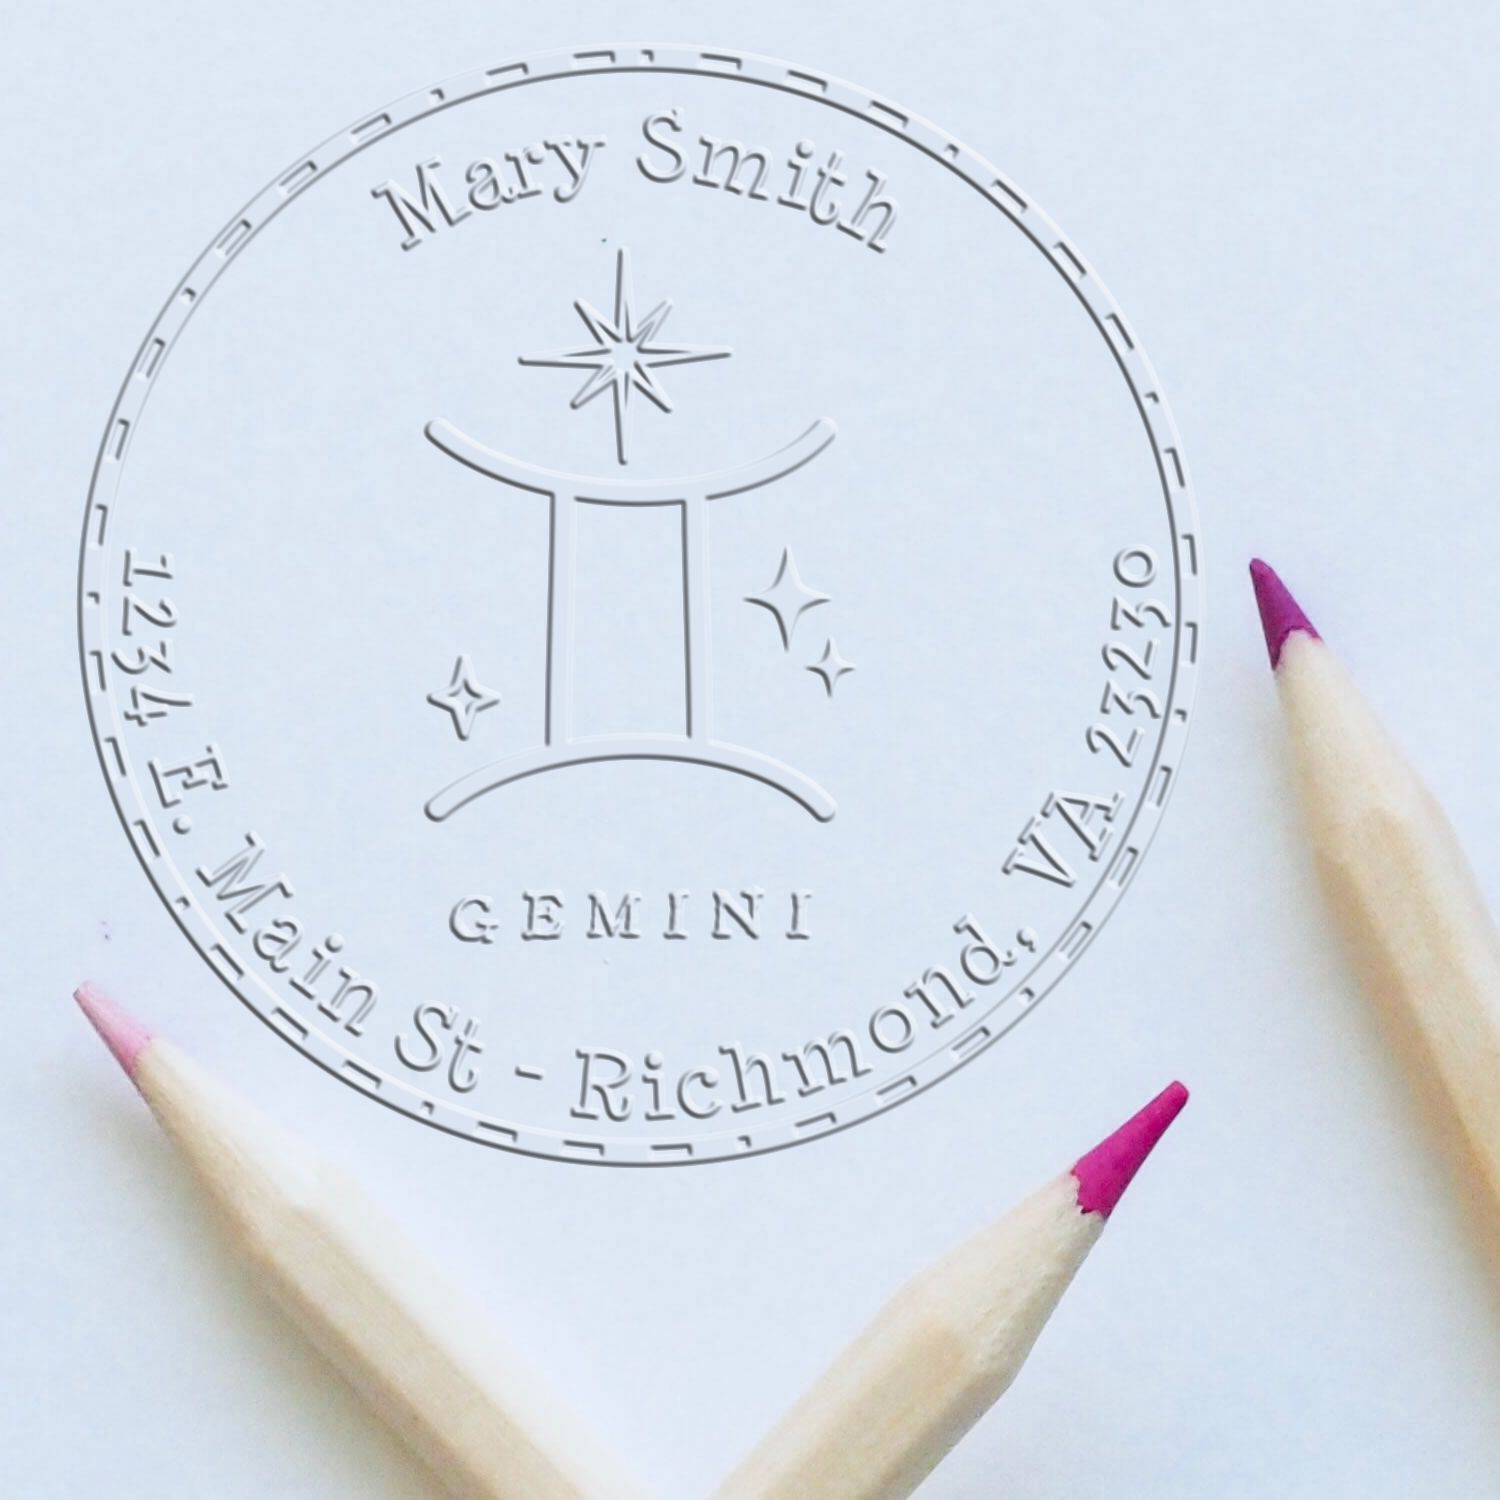
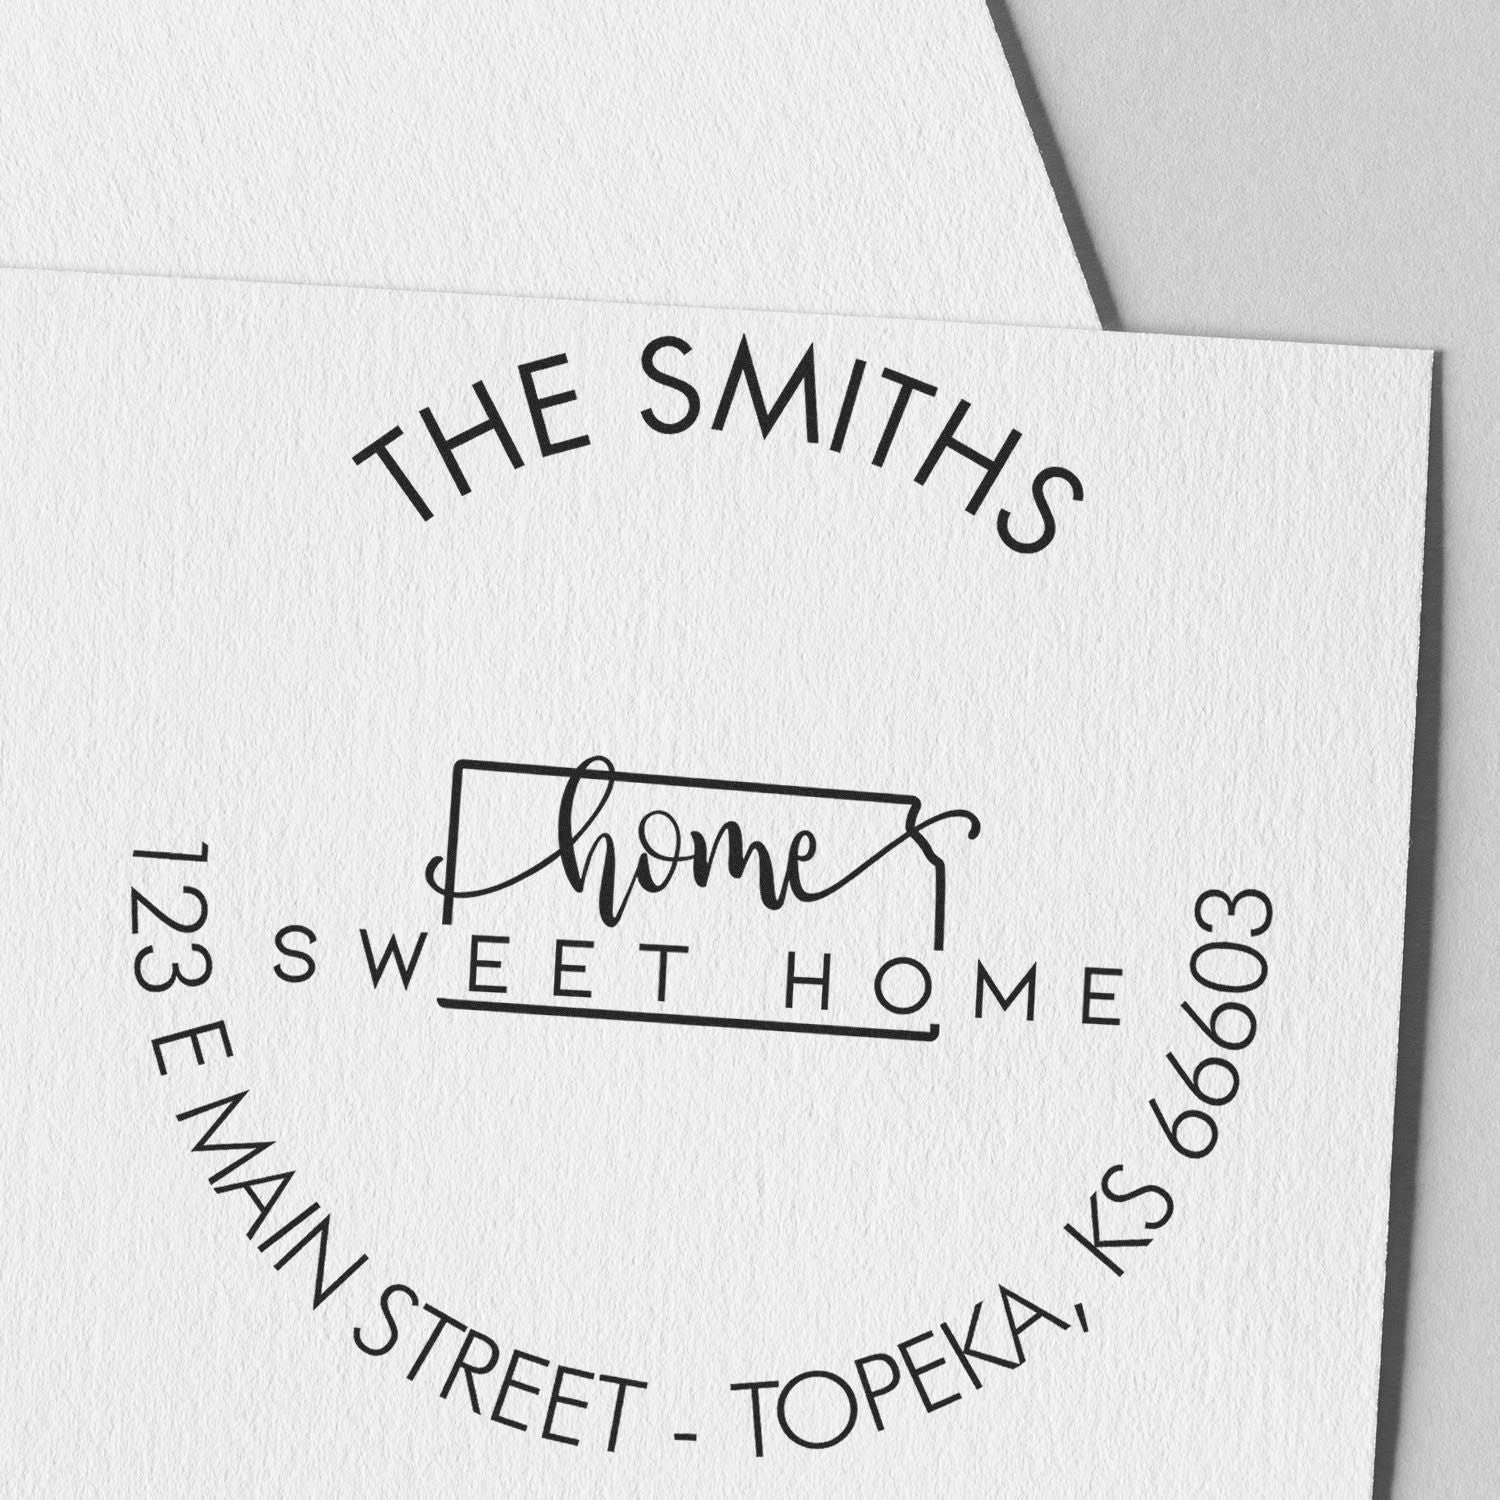
Nail the design
Designing your logo stamp for product labeling requires attention to detail. While color and complexity can draw the eye, you don't want your artwork to become a blob of ink once stamped. This section covers the essentials of preparing your artwork, choosing the right size, and keeping your brand identity front and center.
How to prepare your artwork
First, you want a clean, high-resolution image of your logo. If you have a vector file (such as an .ai or .eps), that’s ideal. Vector images maintain crisp lines no matter how you resize them, ensuring your logo remains sharp on your final stamp. However, if you only have a bitmap or a .png file, aim for a resolution of at least 300 dpi.
Consider simplifying intricate details. Extremely thin lines or small elements can get muddy when you stamp. If your brand identity relies on minimalism and bold shapes, you’ll have an easier time. If your logo is more elaborate, see if you can create a simplified version that still echoes the essence of your brand.
Sizing tips for clarity
Figuring out size is a balancing act. You need the logo stamp to be large enough so details are readable, but small enough to fit on the surface you plan to stamp. If you use multiple packaging sizes, this can become tricky. Some businesses invest in different stamp sizes—small for tags, medium for boxes, large for shipping containers.
A general guideline is to ensure that text remains readable from a normal viewing distance, typically about 12-18 inches away. If you have a tagline or website address in your design, consider whether it will be legible once stamped. Test prints on scrap paper before finalizing your order. It’s the easiest way to avoid regrets.
Brand identity considerations
Your stamp should instantly communicate who you are. If you’re known for whimsical doodles, a stamp that captures those playful lines is key. If your brand is sleek and modern, you want a crisp design that reflects your refined aesthetic. In any case, consistency is king. Use similar logo elements, color palettes (for the ink), and brand messaging across your online store and printed materials. That cohesive approach keeps you recognizable, whether it’s on a business card or on a product label.
Prepare surfaces for stamping
No matter how great your stamp is, it won’t look good if the surface is dusty, oily, or uneven. Spending a little time on prep ensures clean lines and vibrant impressions every time.
Different product materials
You might be stamping on various surfaces—paper, cardboard, fabric, glass, or even wood. Each material behaves differently with ink. For instance, on glossy surfaces like glass or laminated packages, standard ink might smudge or bead up. In that case, you might need a specialty ink formulated for non-porous surfaces. For fabric, consider fabric ink that won’t wash out immediately.
When you’re stamping paper or cardboard, watch for textures. A heavily textured paper can cause small gaps in the stamped design. If that’s a look you like, go for it, but if you want a solid imprint, choose a smoother paper stock.
Stamping alignment tips
Misalignment is a common frustration, especially when you’re dealing with large batches of labels. A straightforward trick is to create a light pencil mark or use a guide to position each impression. Some small business owners use a stamp positioning tool, which helps keep the impression in the same spot every time. If you’re stamping tags or smaller items, consider stamping them in batches, laying them out on a table, and ensuring you have consistent margins.
Testing before mass application
Before you stamp a big batch of wedding favors, cosmetics containers, or product boxes, do a few test runs on scrap material. This lets you see if the ink saturates properly, if you need to adjust your pressure, or if you’re placing the stamp too high or too low. Doing a quick test can save you from accidentally ruining half your packaging stock. Once you’re happy with the test results, you can move on with confidence.
Purchase your logo stamp
After deciding on the design and preparing your surfaces, it’s time to pick a provider. There’s a range of options, from local office supply stores to specialized online shops.
Price factors
Stamp prices can vary depending on the size, type, and level of detail. Larger stamps or more intricate designs often cost more because they require more precision. If you’re going with self-inking or pre-inked styles, the internal mechanisms add to the price. Also remember that custom stamps sometimes involve one-time setup fees, which cover the cost of turning your artwork into a stamp die.
When you’re looking at the long-term cost, factor in how many impressions you expect to make in a week, month, or year. If you’re stamping hundreds of packages daily, a high-quality self-inking or pre-inked stamp—which can withstand frequent use—might be worth the investment. On the other hand, if you only stamp a handful of items, a classic rubber stamp and a separate ink pad may do the trick.
Where to find quality
You can find a variety of online retailers offering custom stamps at decent prices. Some have interactive tools so you can upload your design and preview the final artwork. If you need guidance, many shops also have customer service reps who can walk you through the process. Be sure to read reviews or check examples of their work. Seeing how other businesses’ stamps came out can tell you a lot about the craftsmanship.
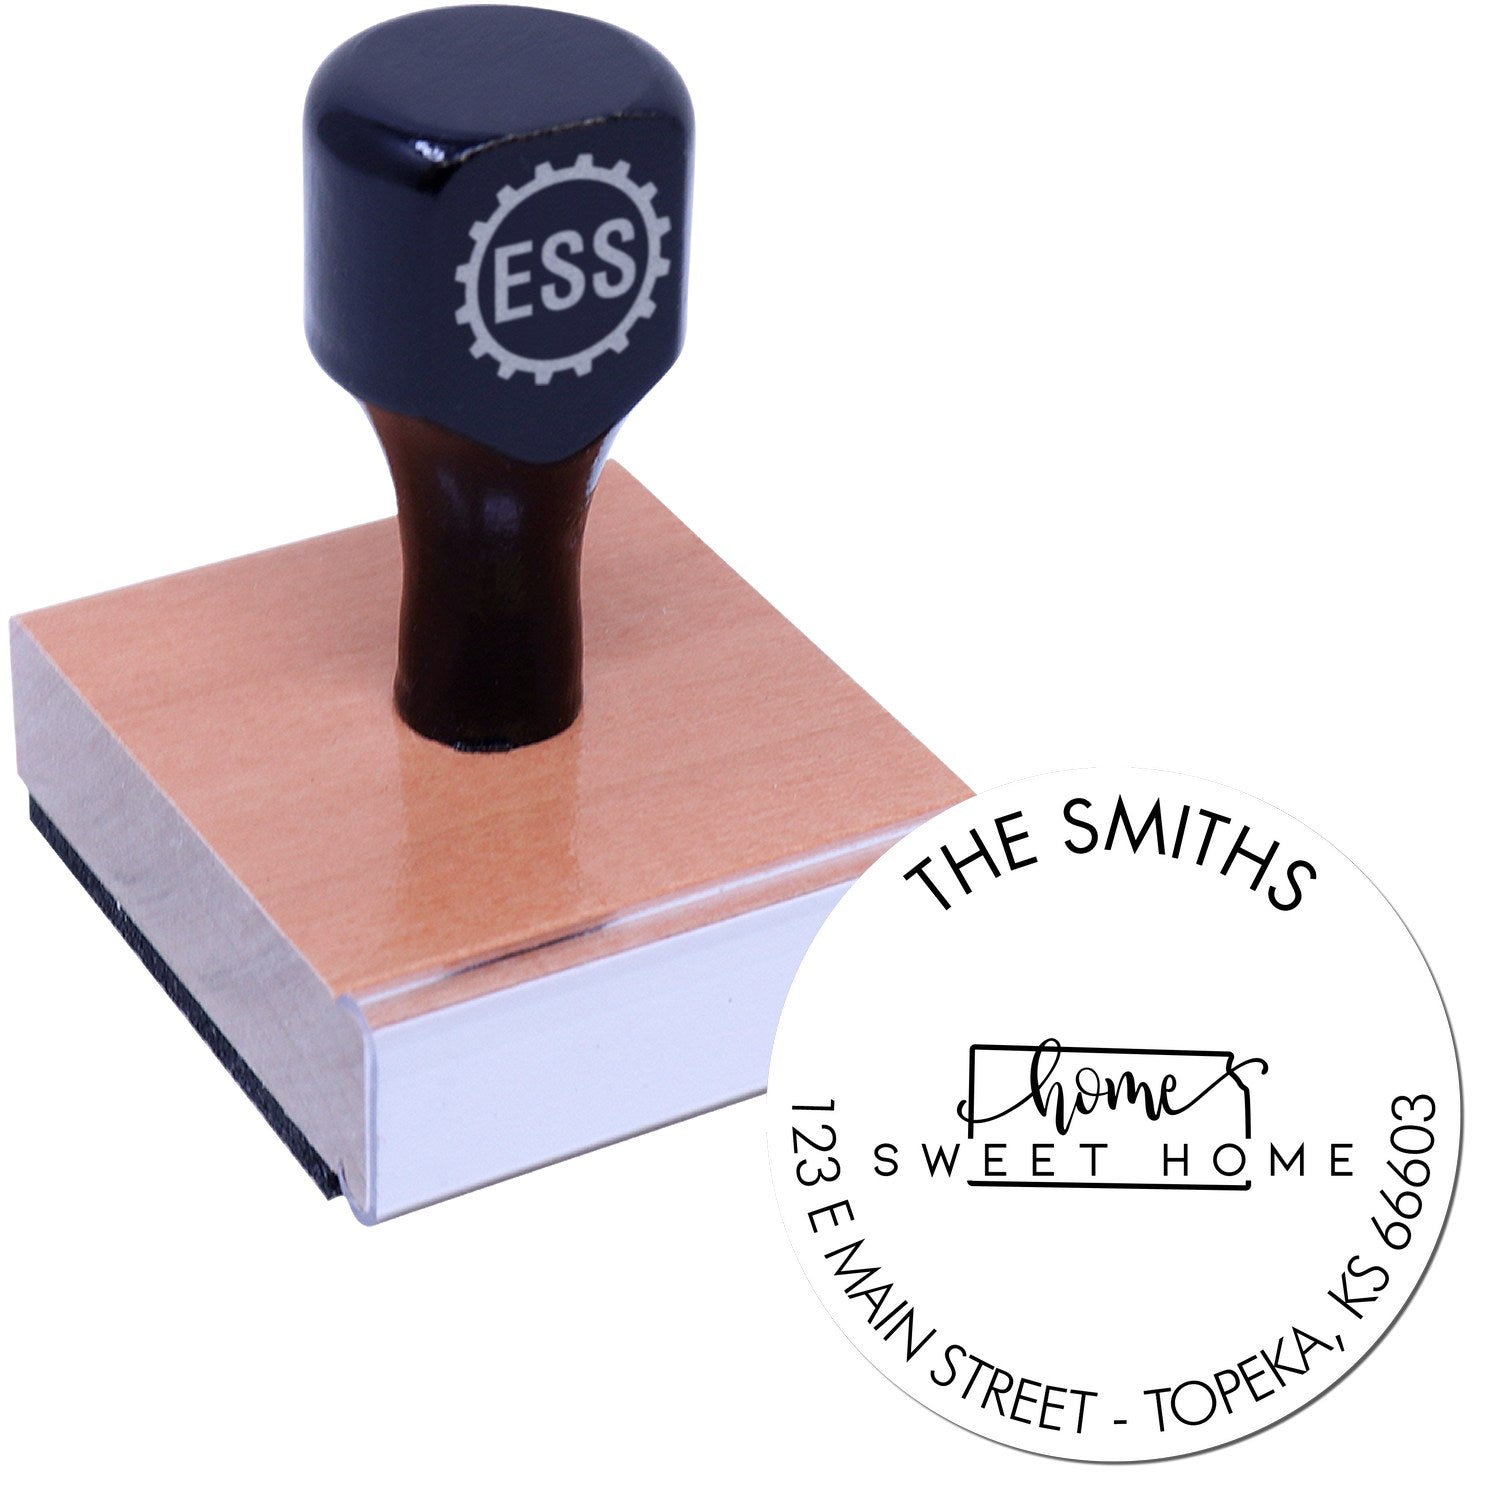
Working with Engineer Stamps or ESS
Engineer Stamps—often referred to as ESS—stands out as a specialized service for custom logo stamps. They focus on helping small businesses achieve a professional look without breaking the bank. If you need guidance on materials, design simplification, or choosing the right ink for your surfaces, they have expertise that can save you time and trial-and-error. When you order from a dedicated stamp provider like ESS, the process is streamlined. Plus, they’re well-versed in small business needs, so you’ll likely come away satisfied with both the product and the experience.
Maintain and store your stamp
A stamp isn’t a disposable tool. With proper care, you can keep it in top shape for thousands of impressions. The trick is to maintain your stamp correctly and store it in conditions that preserve the ink and rubber (or other materials).
Cleaning best practices
Even if you’re using the same color ink, regular cleaning helps remove excess ink buildup. Over time, leftover ink can clog your carefully crafted logo details, leading to sloppy impressions. For rubber or polymer stamps, gentle soap and water usually do the job—just avoid scrubbing too hard, as you can damage fine lines. Let the stamp dry thoroughly before using it again, especially if you’ve just cleaned it right before a stamping session.
If you switch inks (say, from water-based to solvent-based), thorough cleaning becomes even more important. Solvent-based inks might require a specialized cleaner, so check the manufacturer’s instructions to keep your stamp from degrading or warping.
Replacement parts
Self-inking and pre-inked stamps have moving pieces or ink reservoirs that eventually wear out. Many brands offer replacement pads or refill inks. Pay attention to the recommended refill schedule, which is usually based on the number of impressions. Keep an extra refill or ink pad on hand, especially if you have a big project coming up. That way you’re not stuck mid-run without a working stamp.
Frequently asked questions
Below are some quick answers to common questions about using a logo stamp for product labeling. If you’re still uncertain about any detail, keep researching until you feel completely confident. After all, your packaging is often the first impression someone has of your brand.
How long does a typical custom stamp last?
It varies depending on the type of stamp and how often you use it. Rubber stamps can last for thousands of impressions if cleaned regularly. Self-inking and pre-inked stamps also offer a high number of impressions—some can exceed 10,000 before needing a refill or replacement pad.
Will my logo print clearly if it has fine details?
Yes, as long as you choose the right stamp type and prepare your design carefully. Pre-inked stamps often handle fine details best. Also, make sure your artwork is high resolution or in vector format so your lines stay sharp.
Can I use different ink colors with the same stamp?
You can with traditional rubber stamps, because you’re free to switch out ink pads. Self-inking and pre-inked stamps are usually tied to one color unless you replace the ink reservoir or pad.
What if I need multiple stamp sizes?
You can order different sizes, especially if you plan to stamp everything from small tags to larger boxes. Having varied sizes helps maintain a consistent brand look while fitting the needs of different product types.
Is a custom stamp better than pre-printed labels?
It depends on your budget, style preference, and logistical needs. Pre-printed labels can be faster to apply in large-scale operations, but they can also be more expensive, especially for small runs. A stamp offers a handcrafted feel with lower upfront costs, making it a common choice for smaller businesses.
How should I store my stamp between uses?
Keep it in a cool, dry place, away from direct sunlight, because heat and UV light can damage the rubber over time. If you have a self-inking or pre-inked stamp, store it upright so the ink doesn’t pool or dry out unevenly.
Final thoughts
A logo stamp for product labeling is an easy way to add personality and consistency to your packaging. From choosing the right stamp material to perfecting your artwork, each step in the process helps you stand out in a crowded marketplace. A clear, well-stamped logo signals professionalism, builds brand recognition, and proves that small details matter to you—because they matter to your customers too.
As you weigh your options, remember that a little preparation goes a long way. Test your design on different surfaces. Consider the frequency of your stamps when choosing the mechanism and ink type. And if you need guidance, specialized providers like Engineer Stamps or ESS are in your corner, ready to offer personalized suggestions.
So go ahead. Pick a stamp style, ready your packaging, and watch your brand name show up consistently on every item you send out. It’s a small tool, but you’ll soon discover it makes a big difference.